
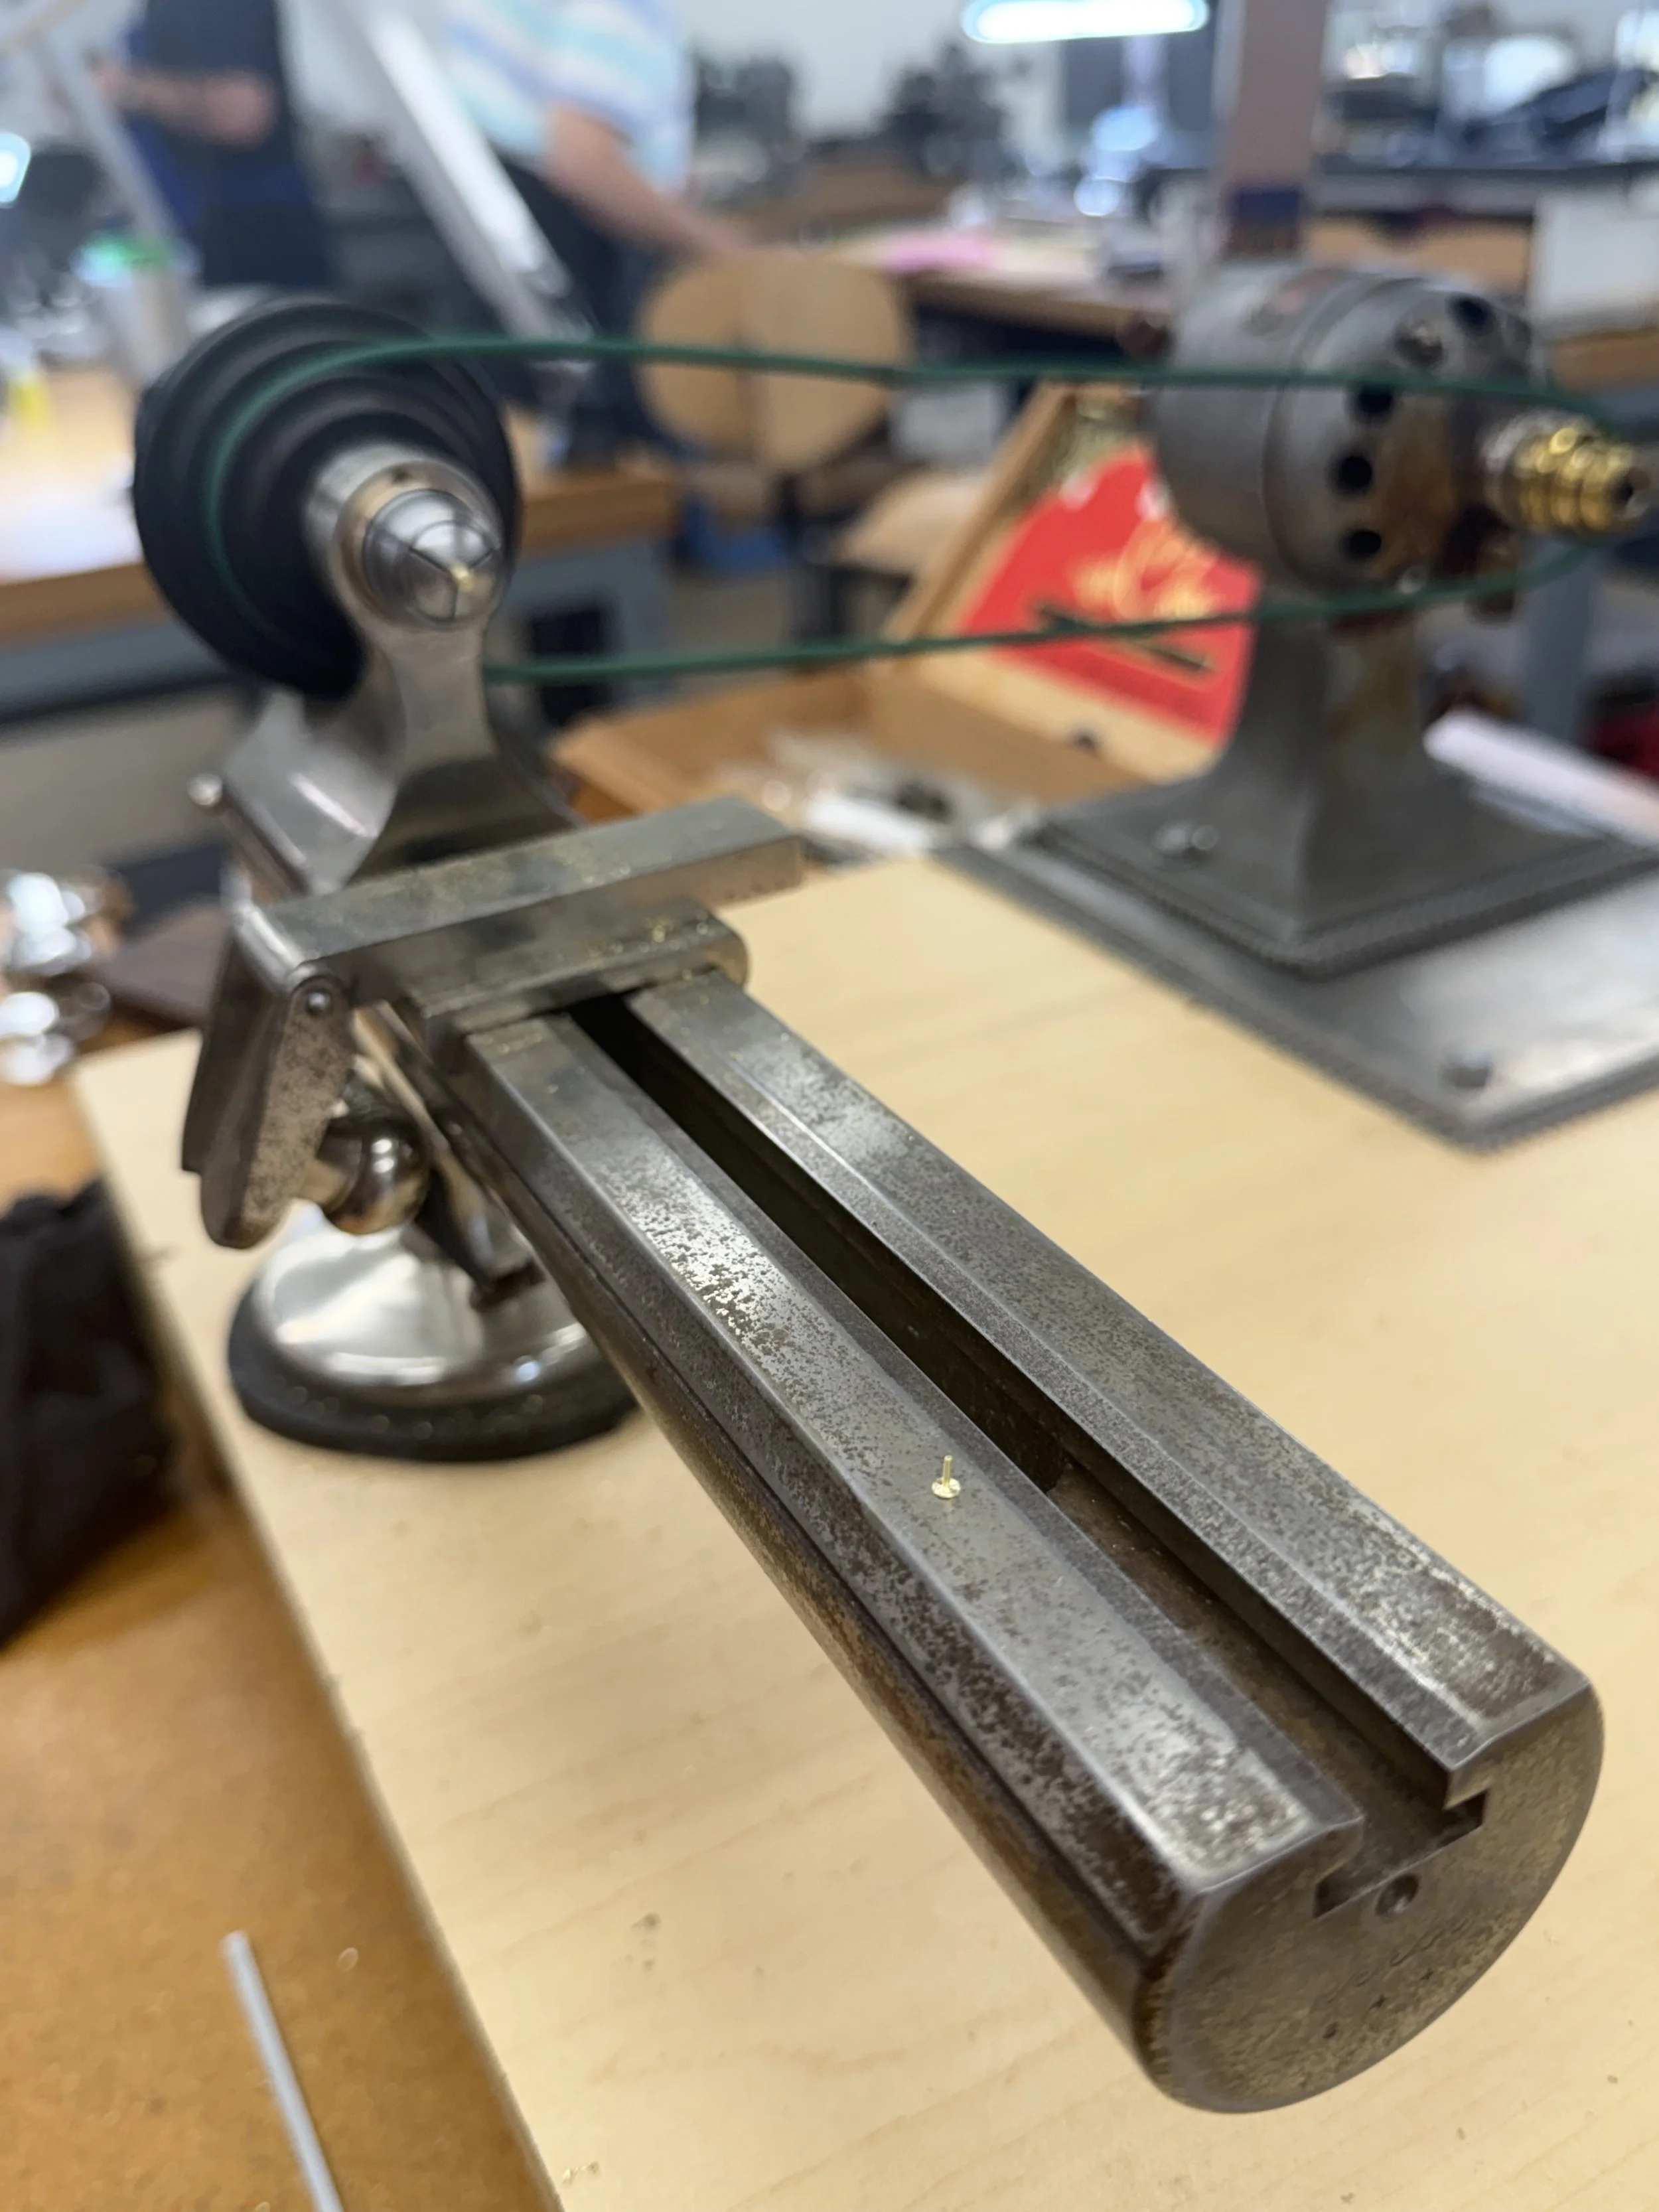
Learning lathes
Three days at the NAWCC turned an old lathe on my bench from a somewhat mysterious machine into a tool I’m beginning to understand. Along the way, I learned to service it, sharpen gravers, turn my first dial feet, and discover just how satisfying it is to make very small pieces of metal even smaller.
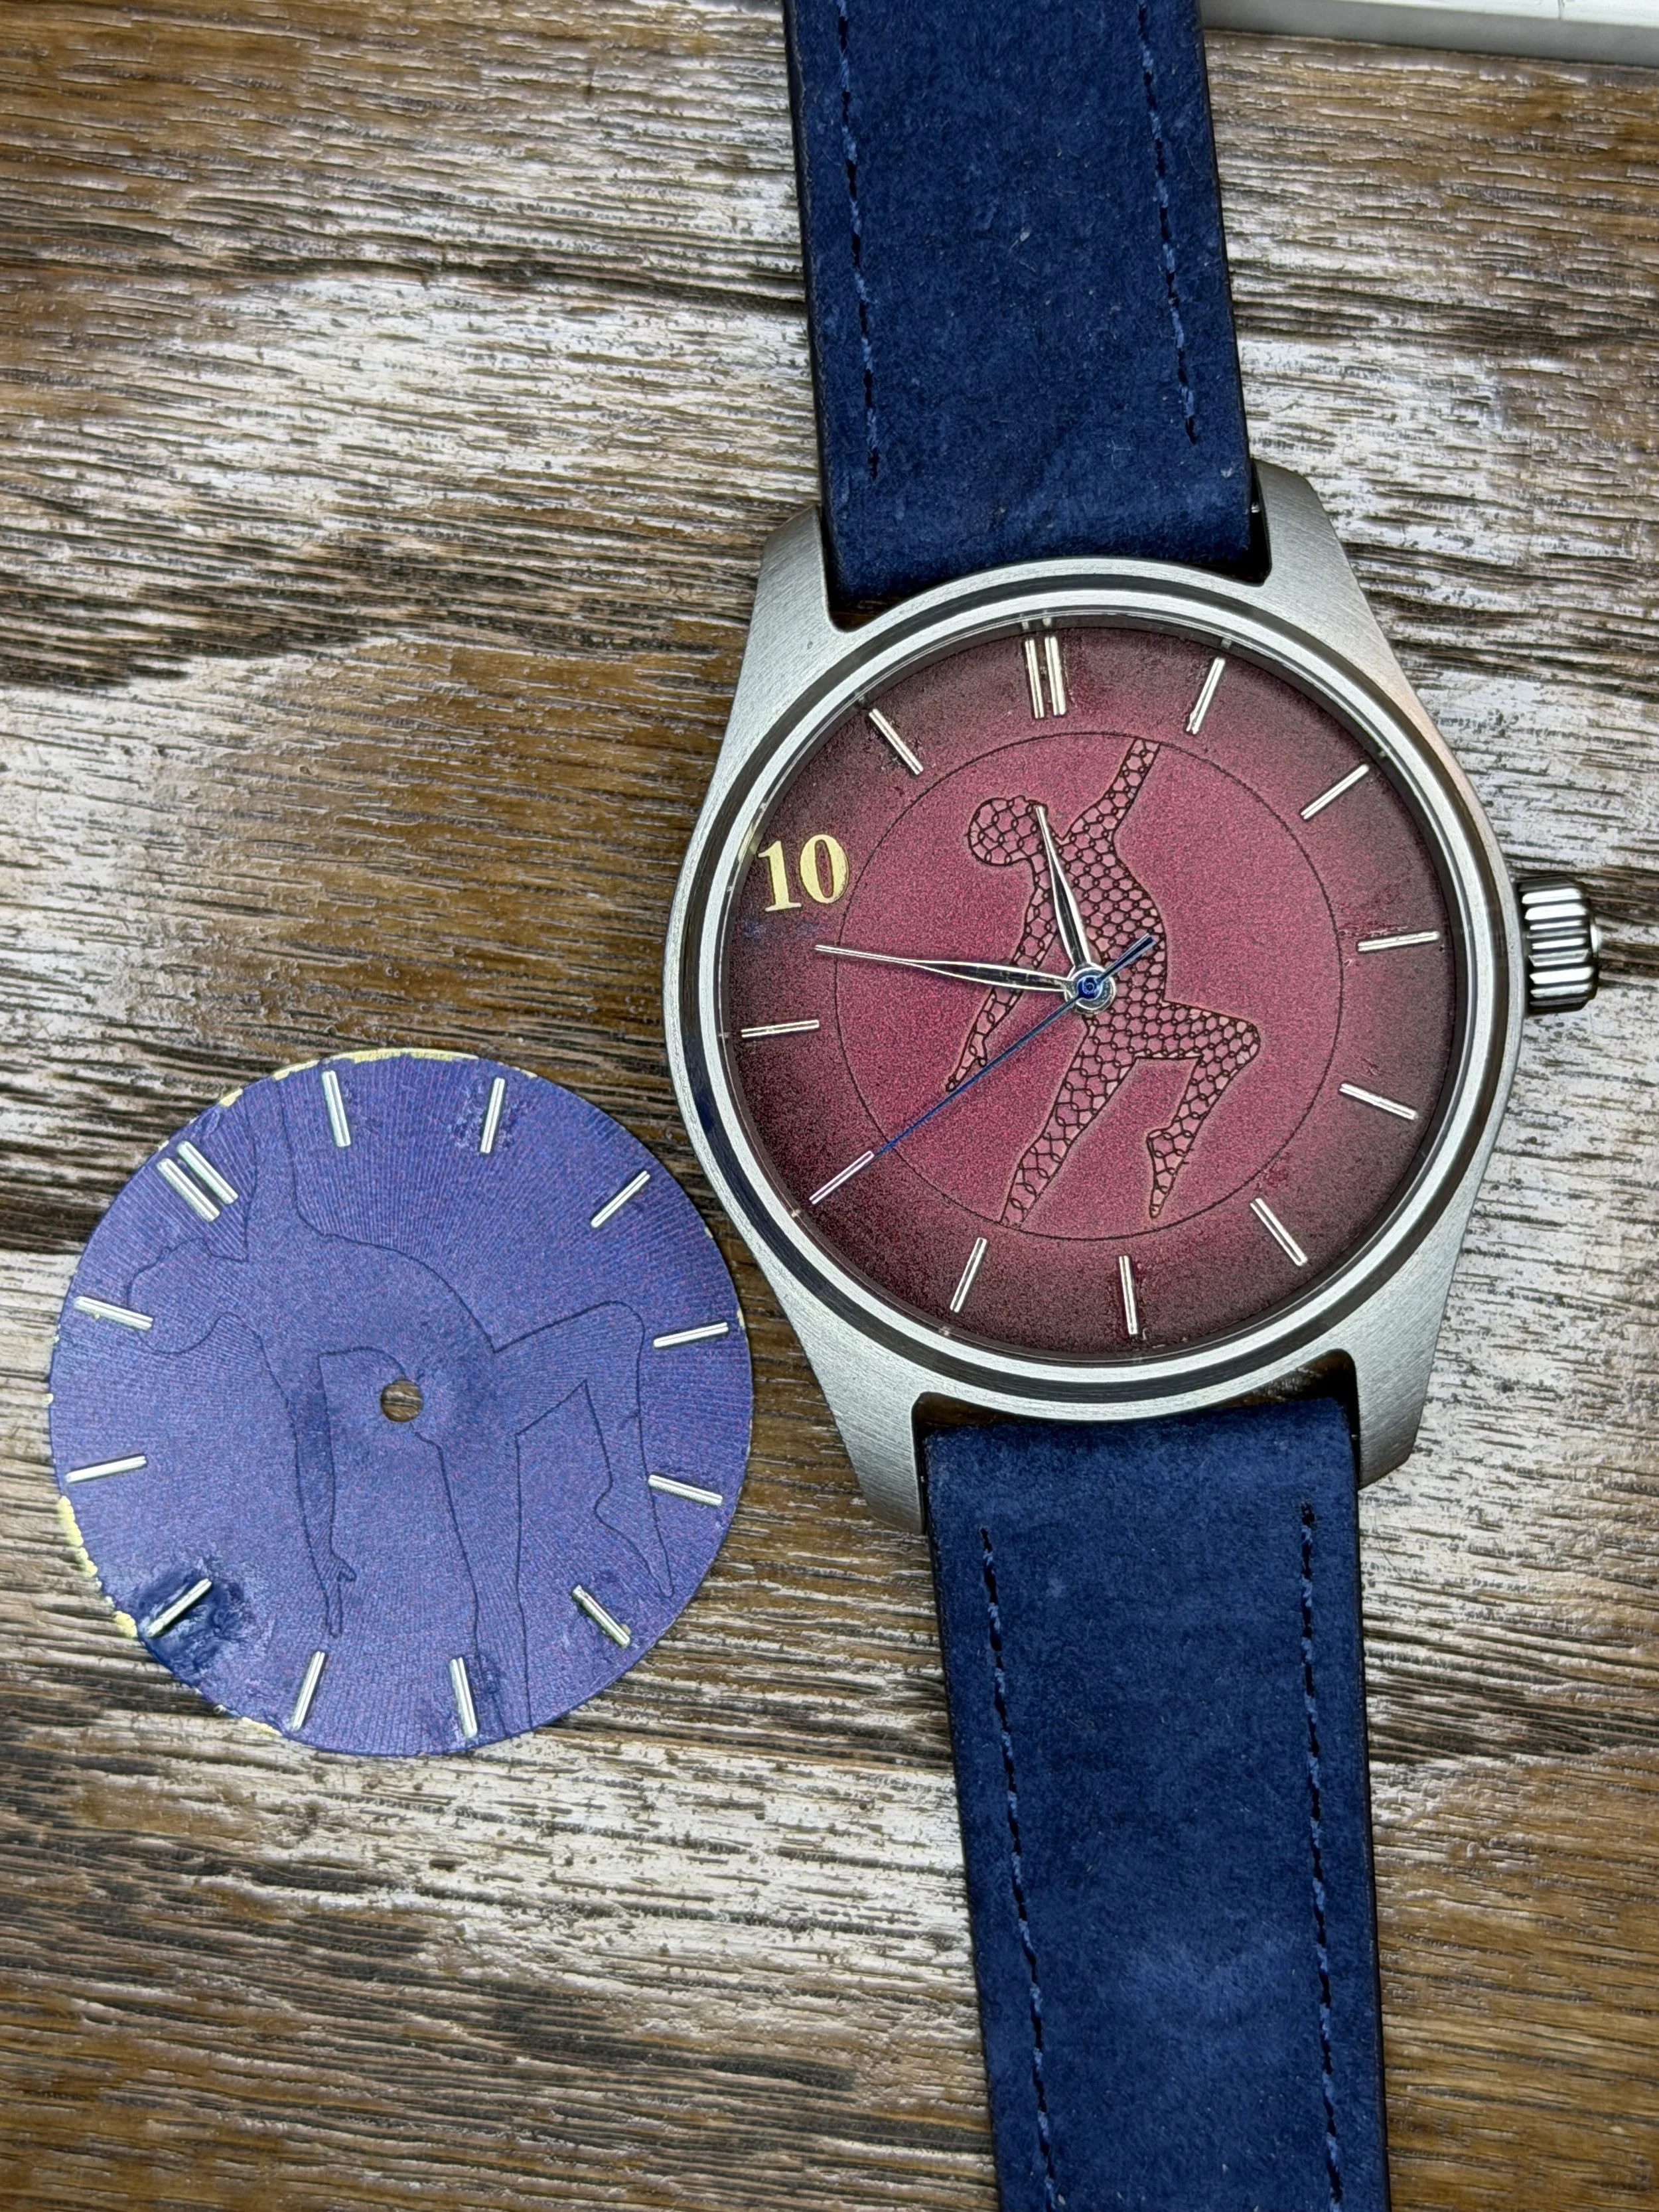
The 10th Anniversary Watch: Iteration Two
Still 0/3 on the problems. But I indulged a creative impulse, shifted the purple, and got the friction fit to work. The watch is cased up and on my wrist. Much like golf, one or two good shots is enough to convince me to keep going.
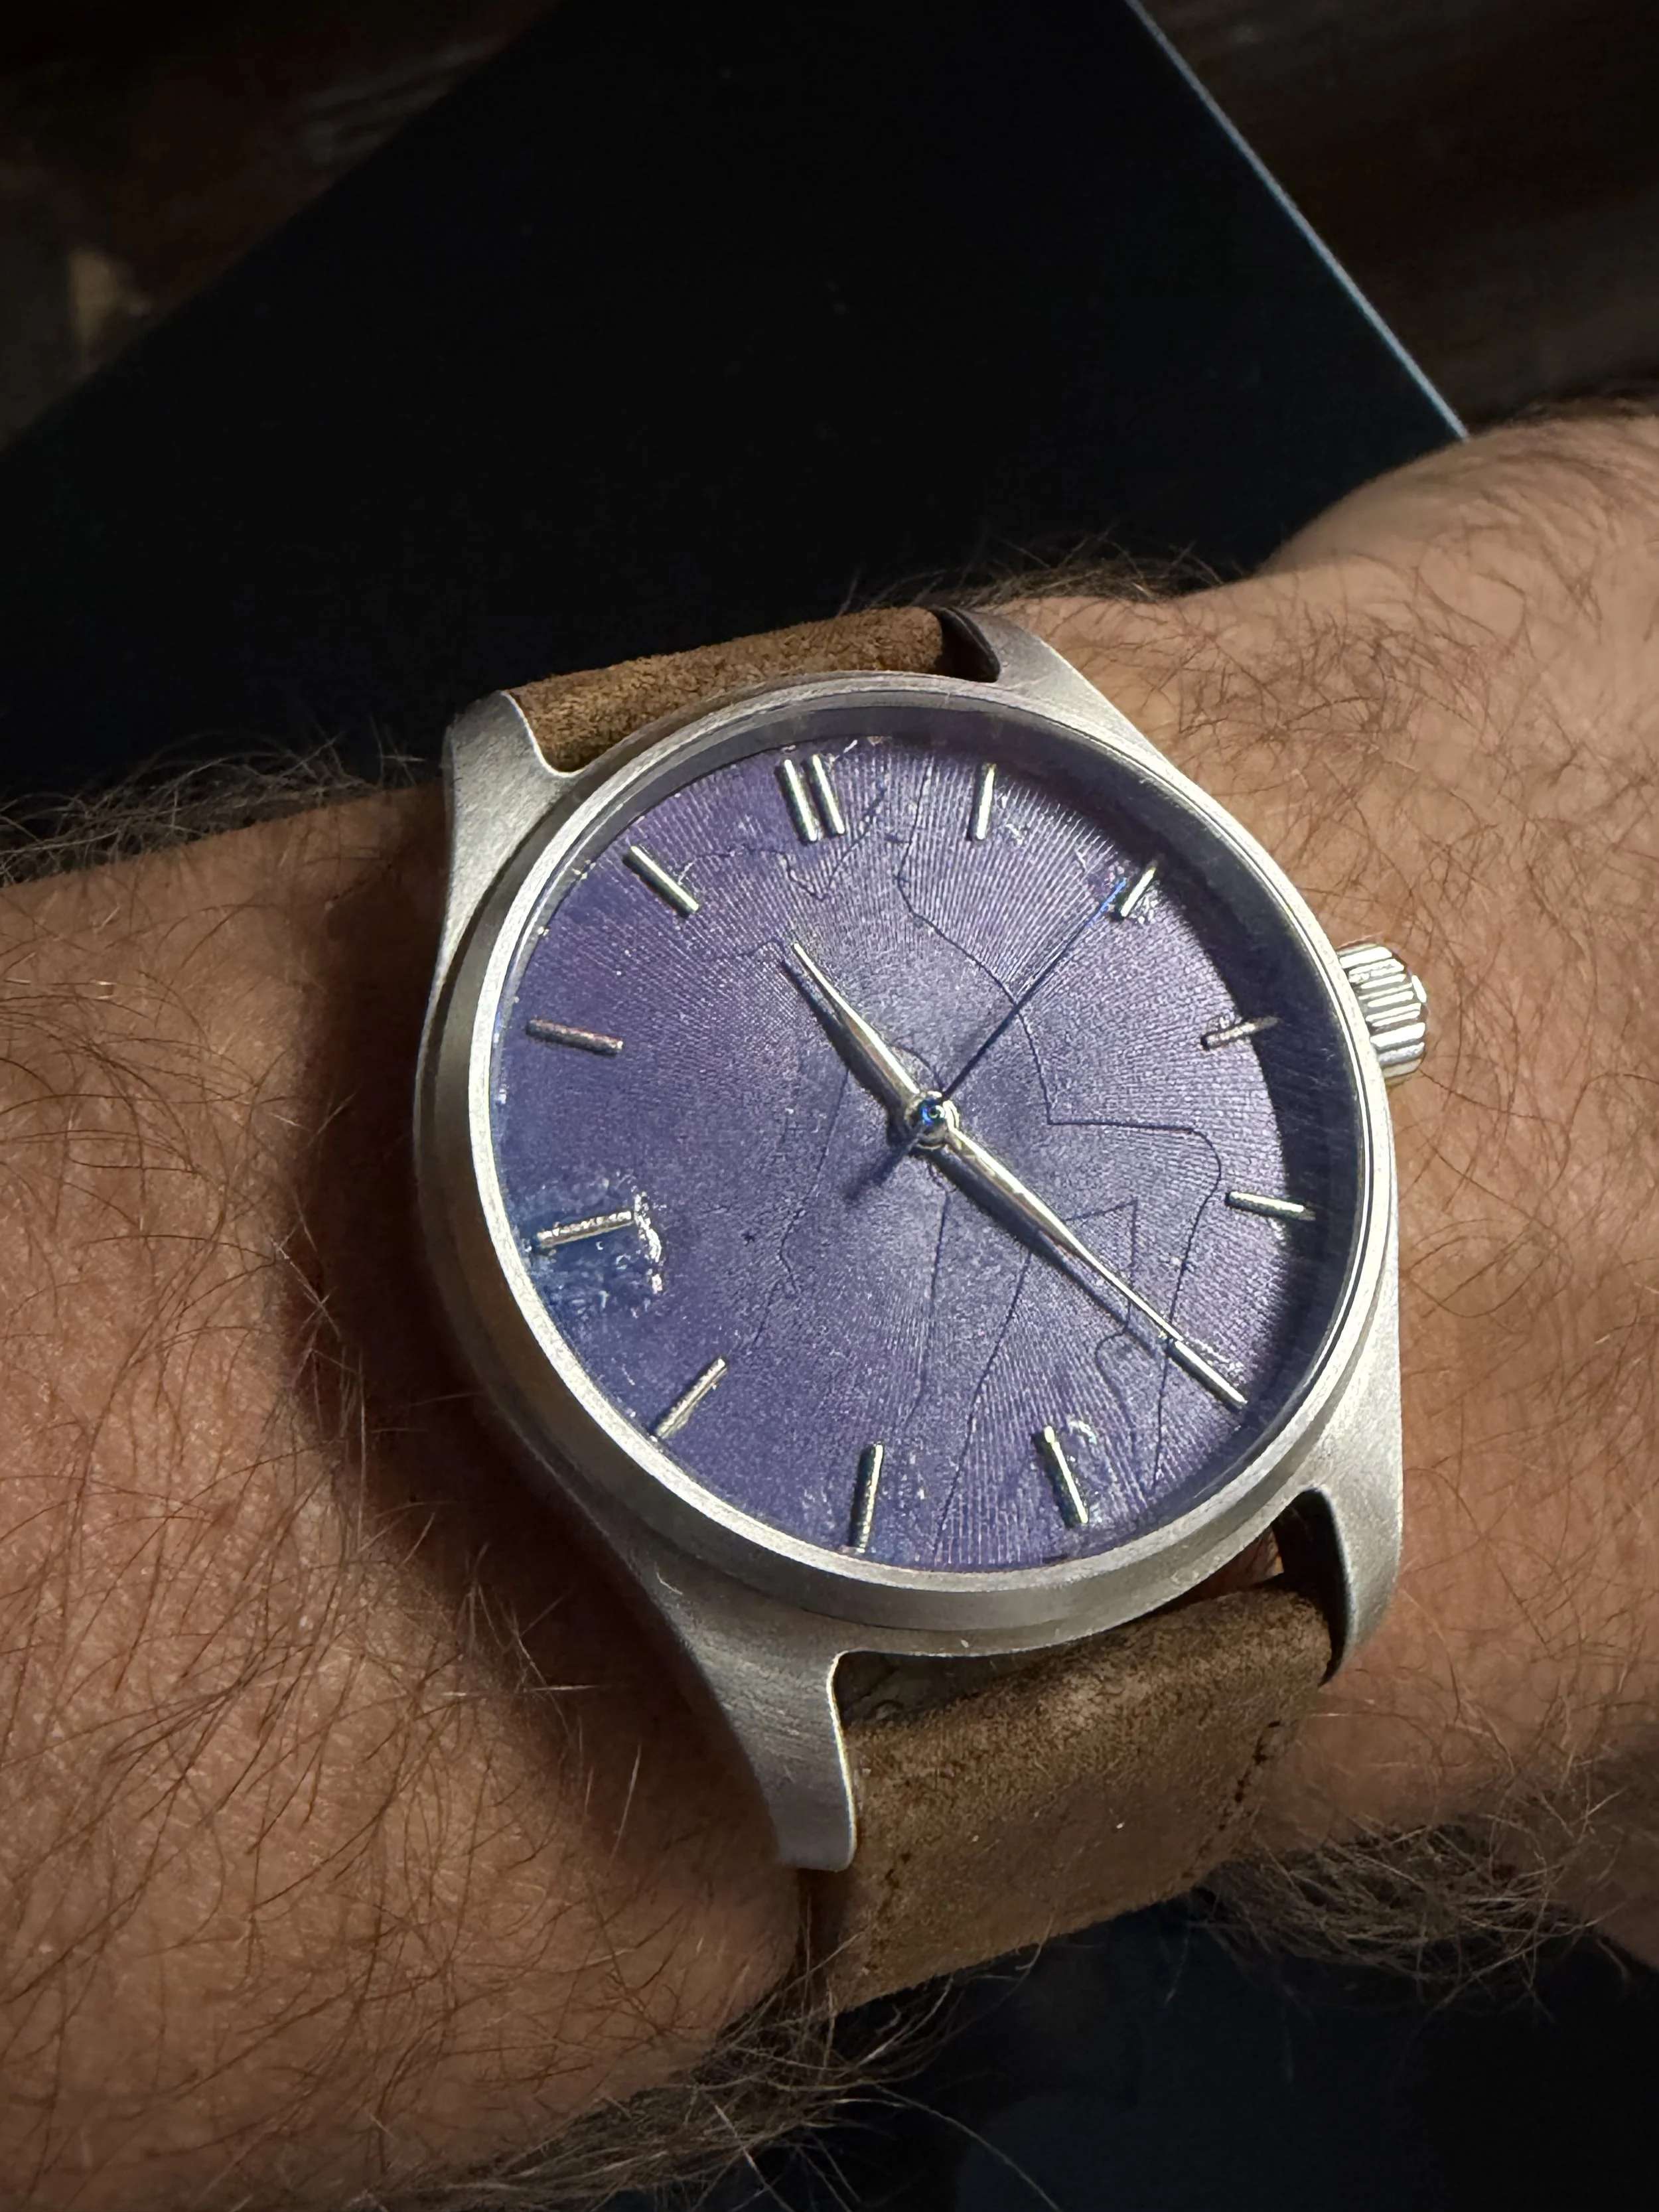
The beginnings of a collab
A trip to Basel sparked a new project: a watch with purple sunburst dial, a dancer silhouette, and applied indices—except nothing's working quite yet. The indices got gummed up with super glue, the dancer's too subtle to read, and the purple's still a shade off, but that's what the next six months are for.
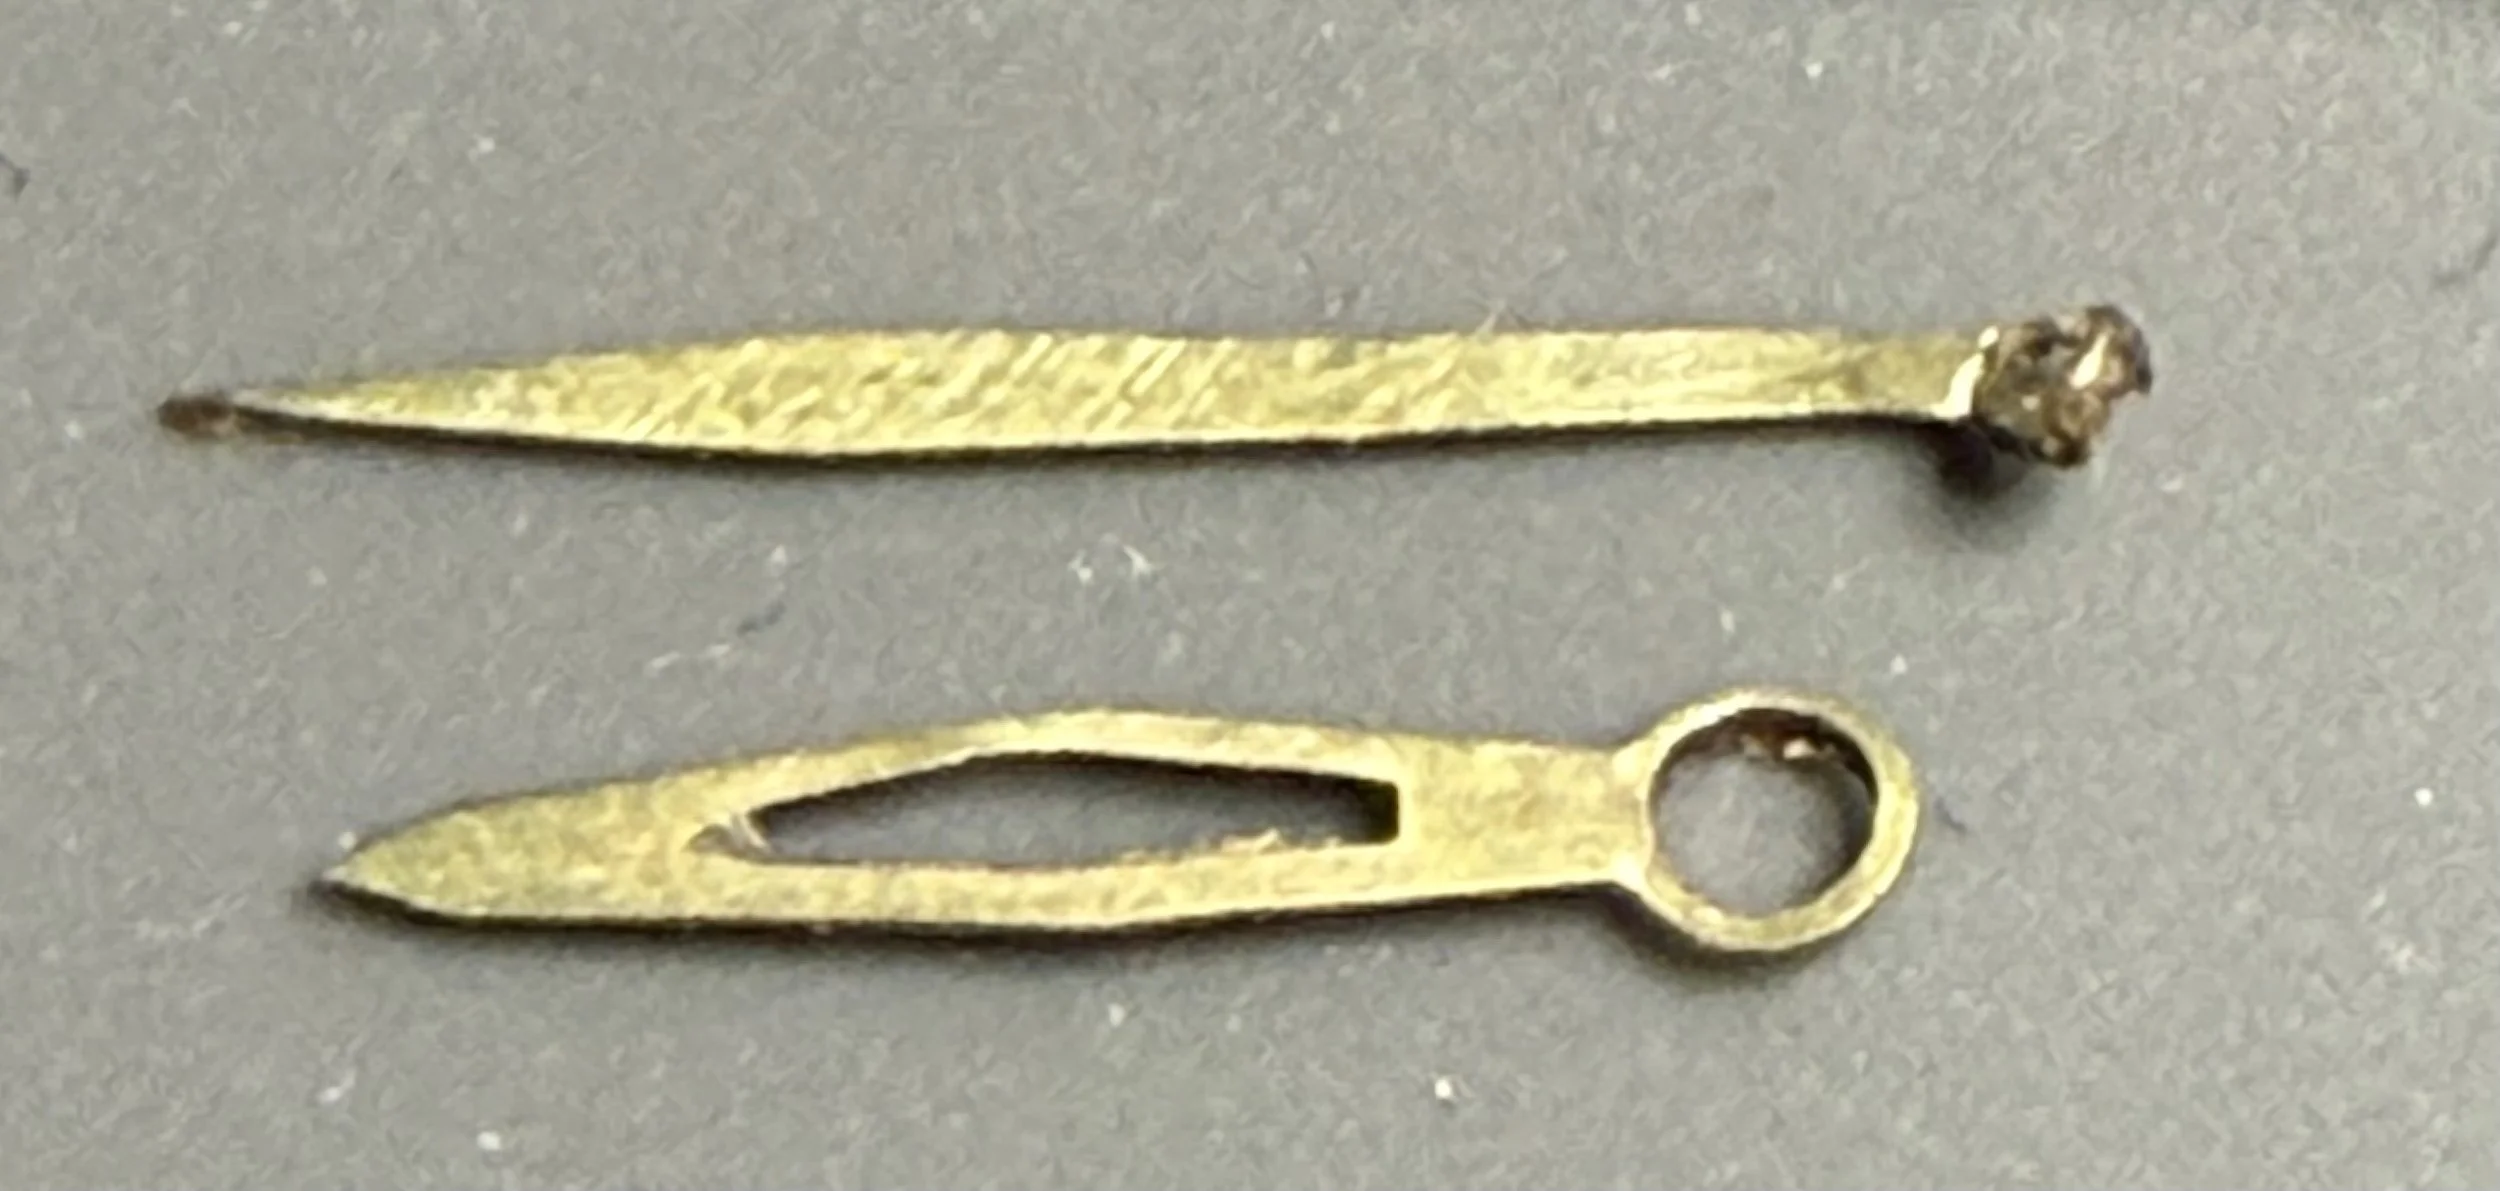
A first try at hands
I engraved brass thin, cut profiles, then used my staking set to form friction collars. The hour hand's collar was insufficient; the minute hand broke. Next: smaller starting holes and wider borders.
Casing Up, and Closing In
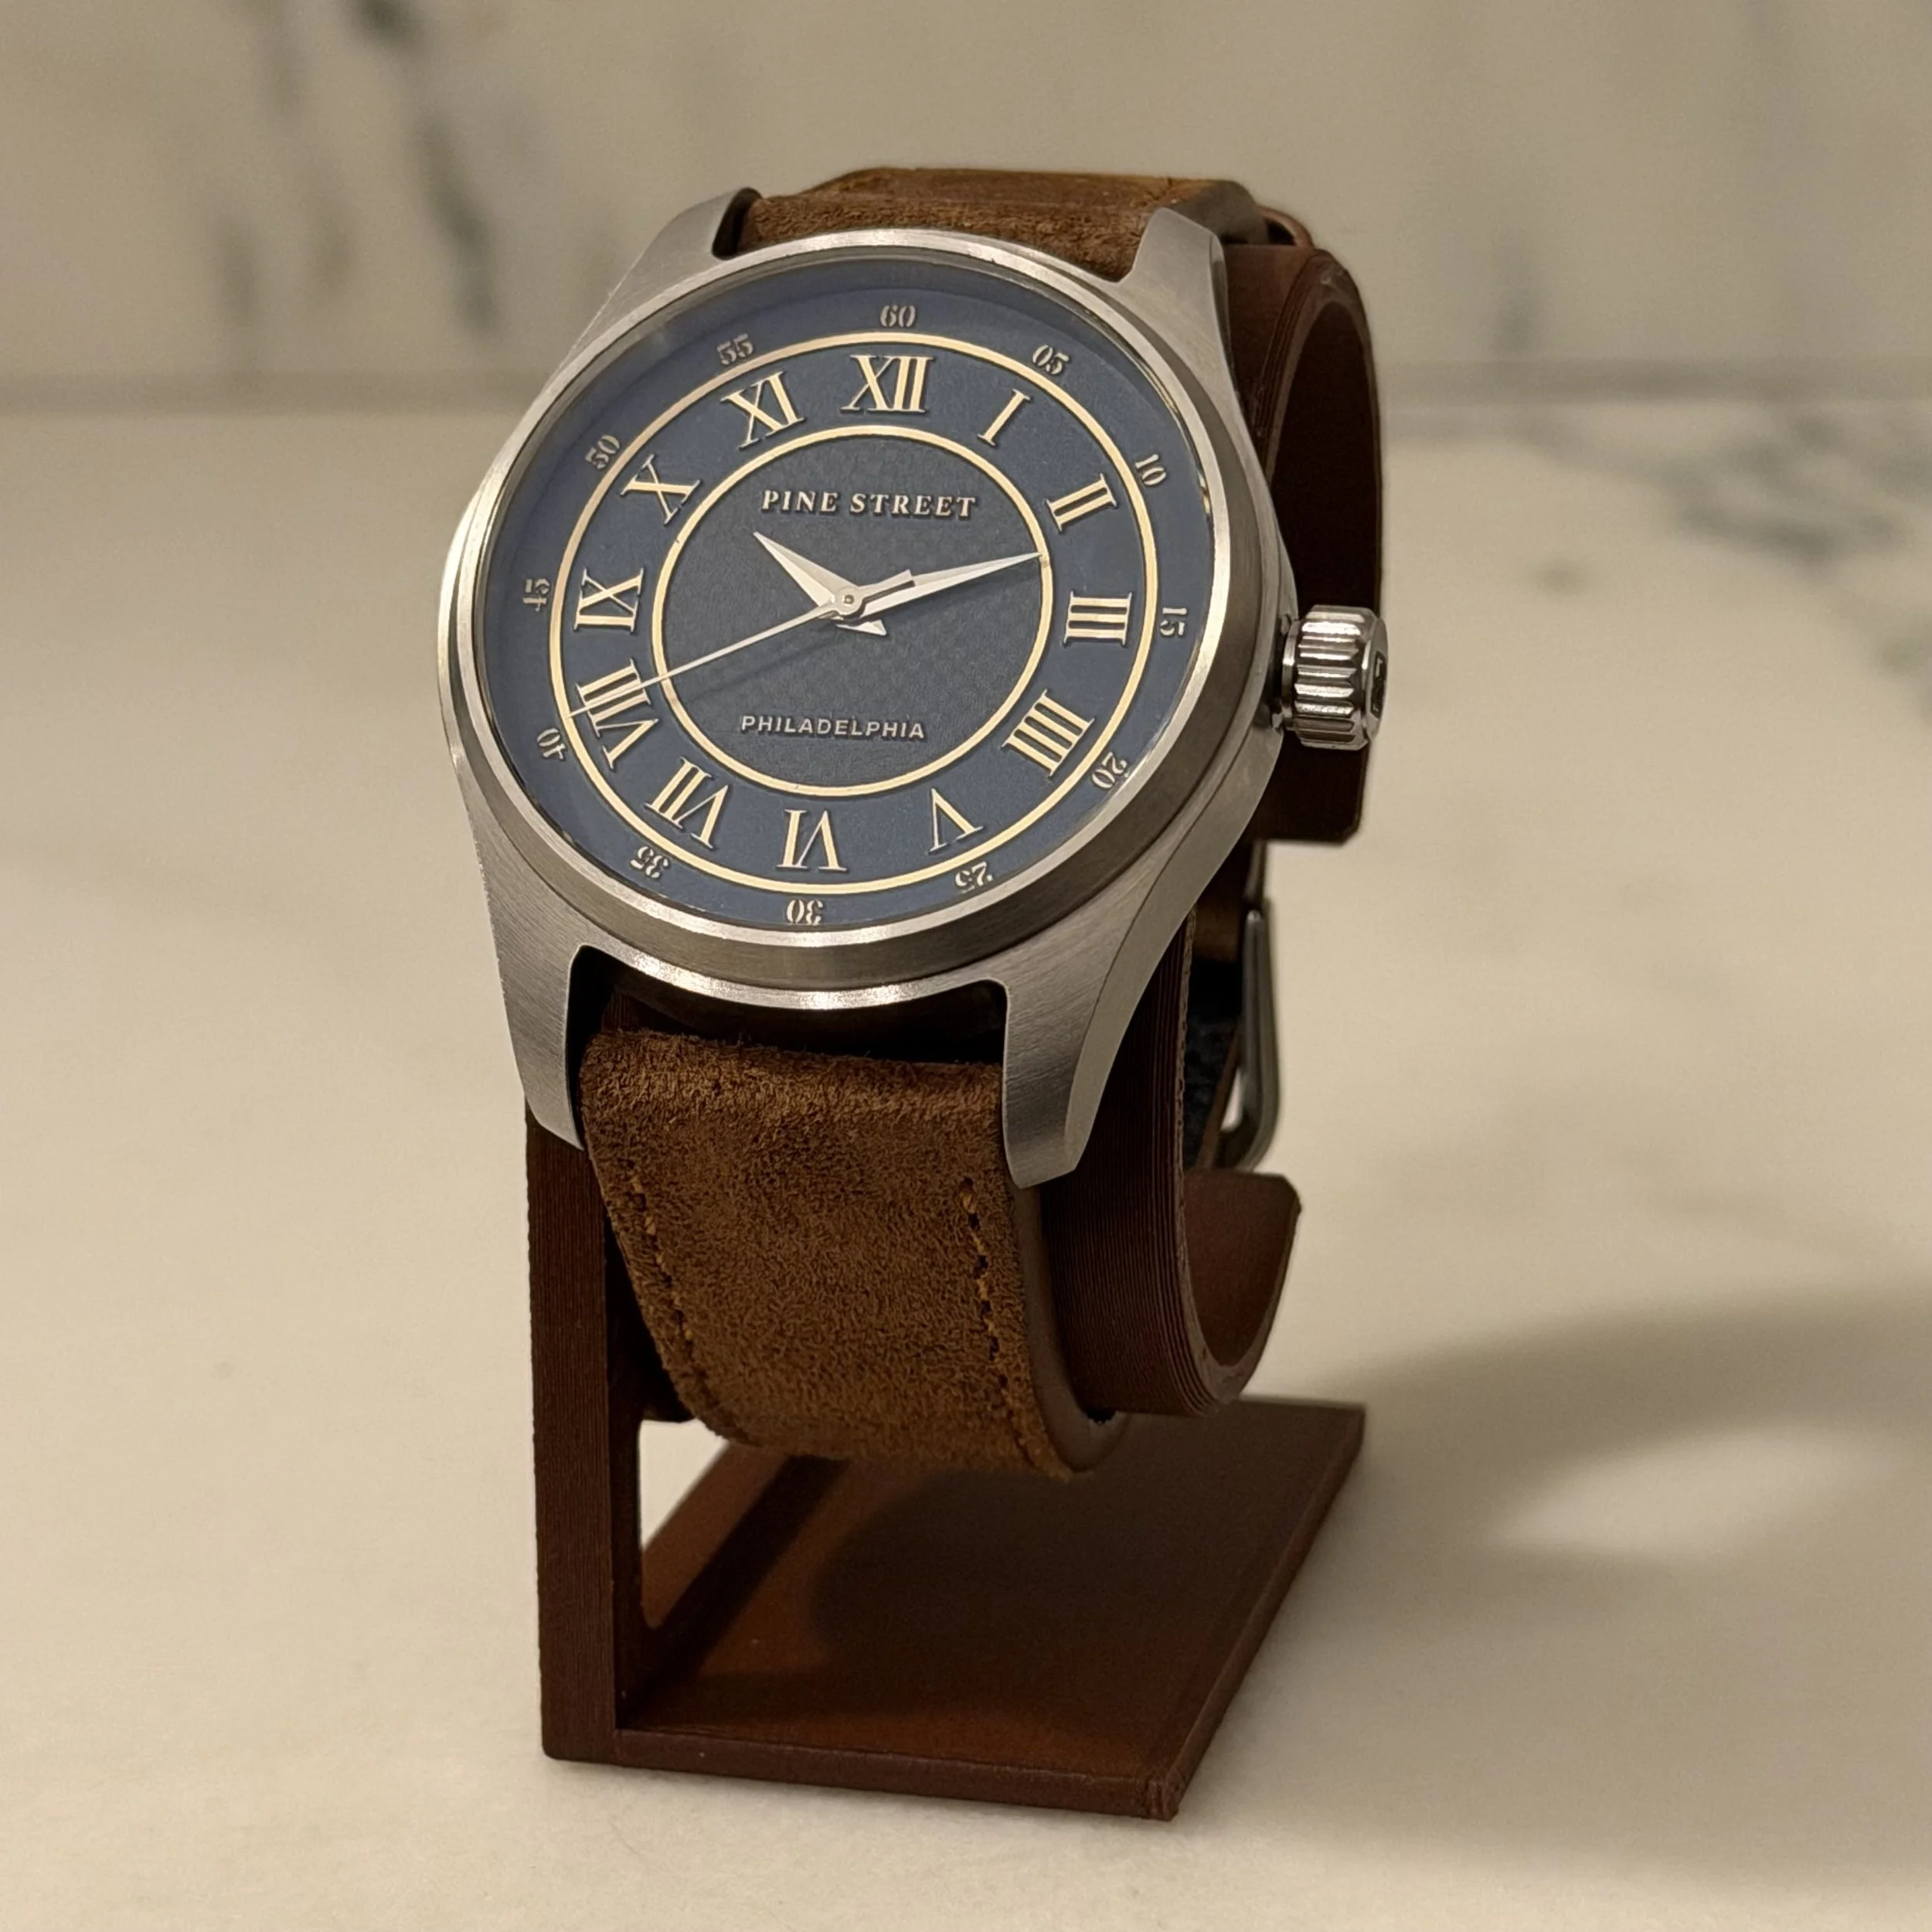
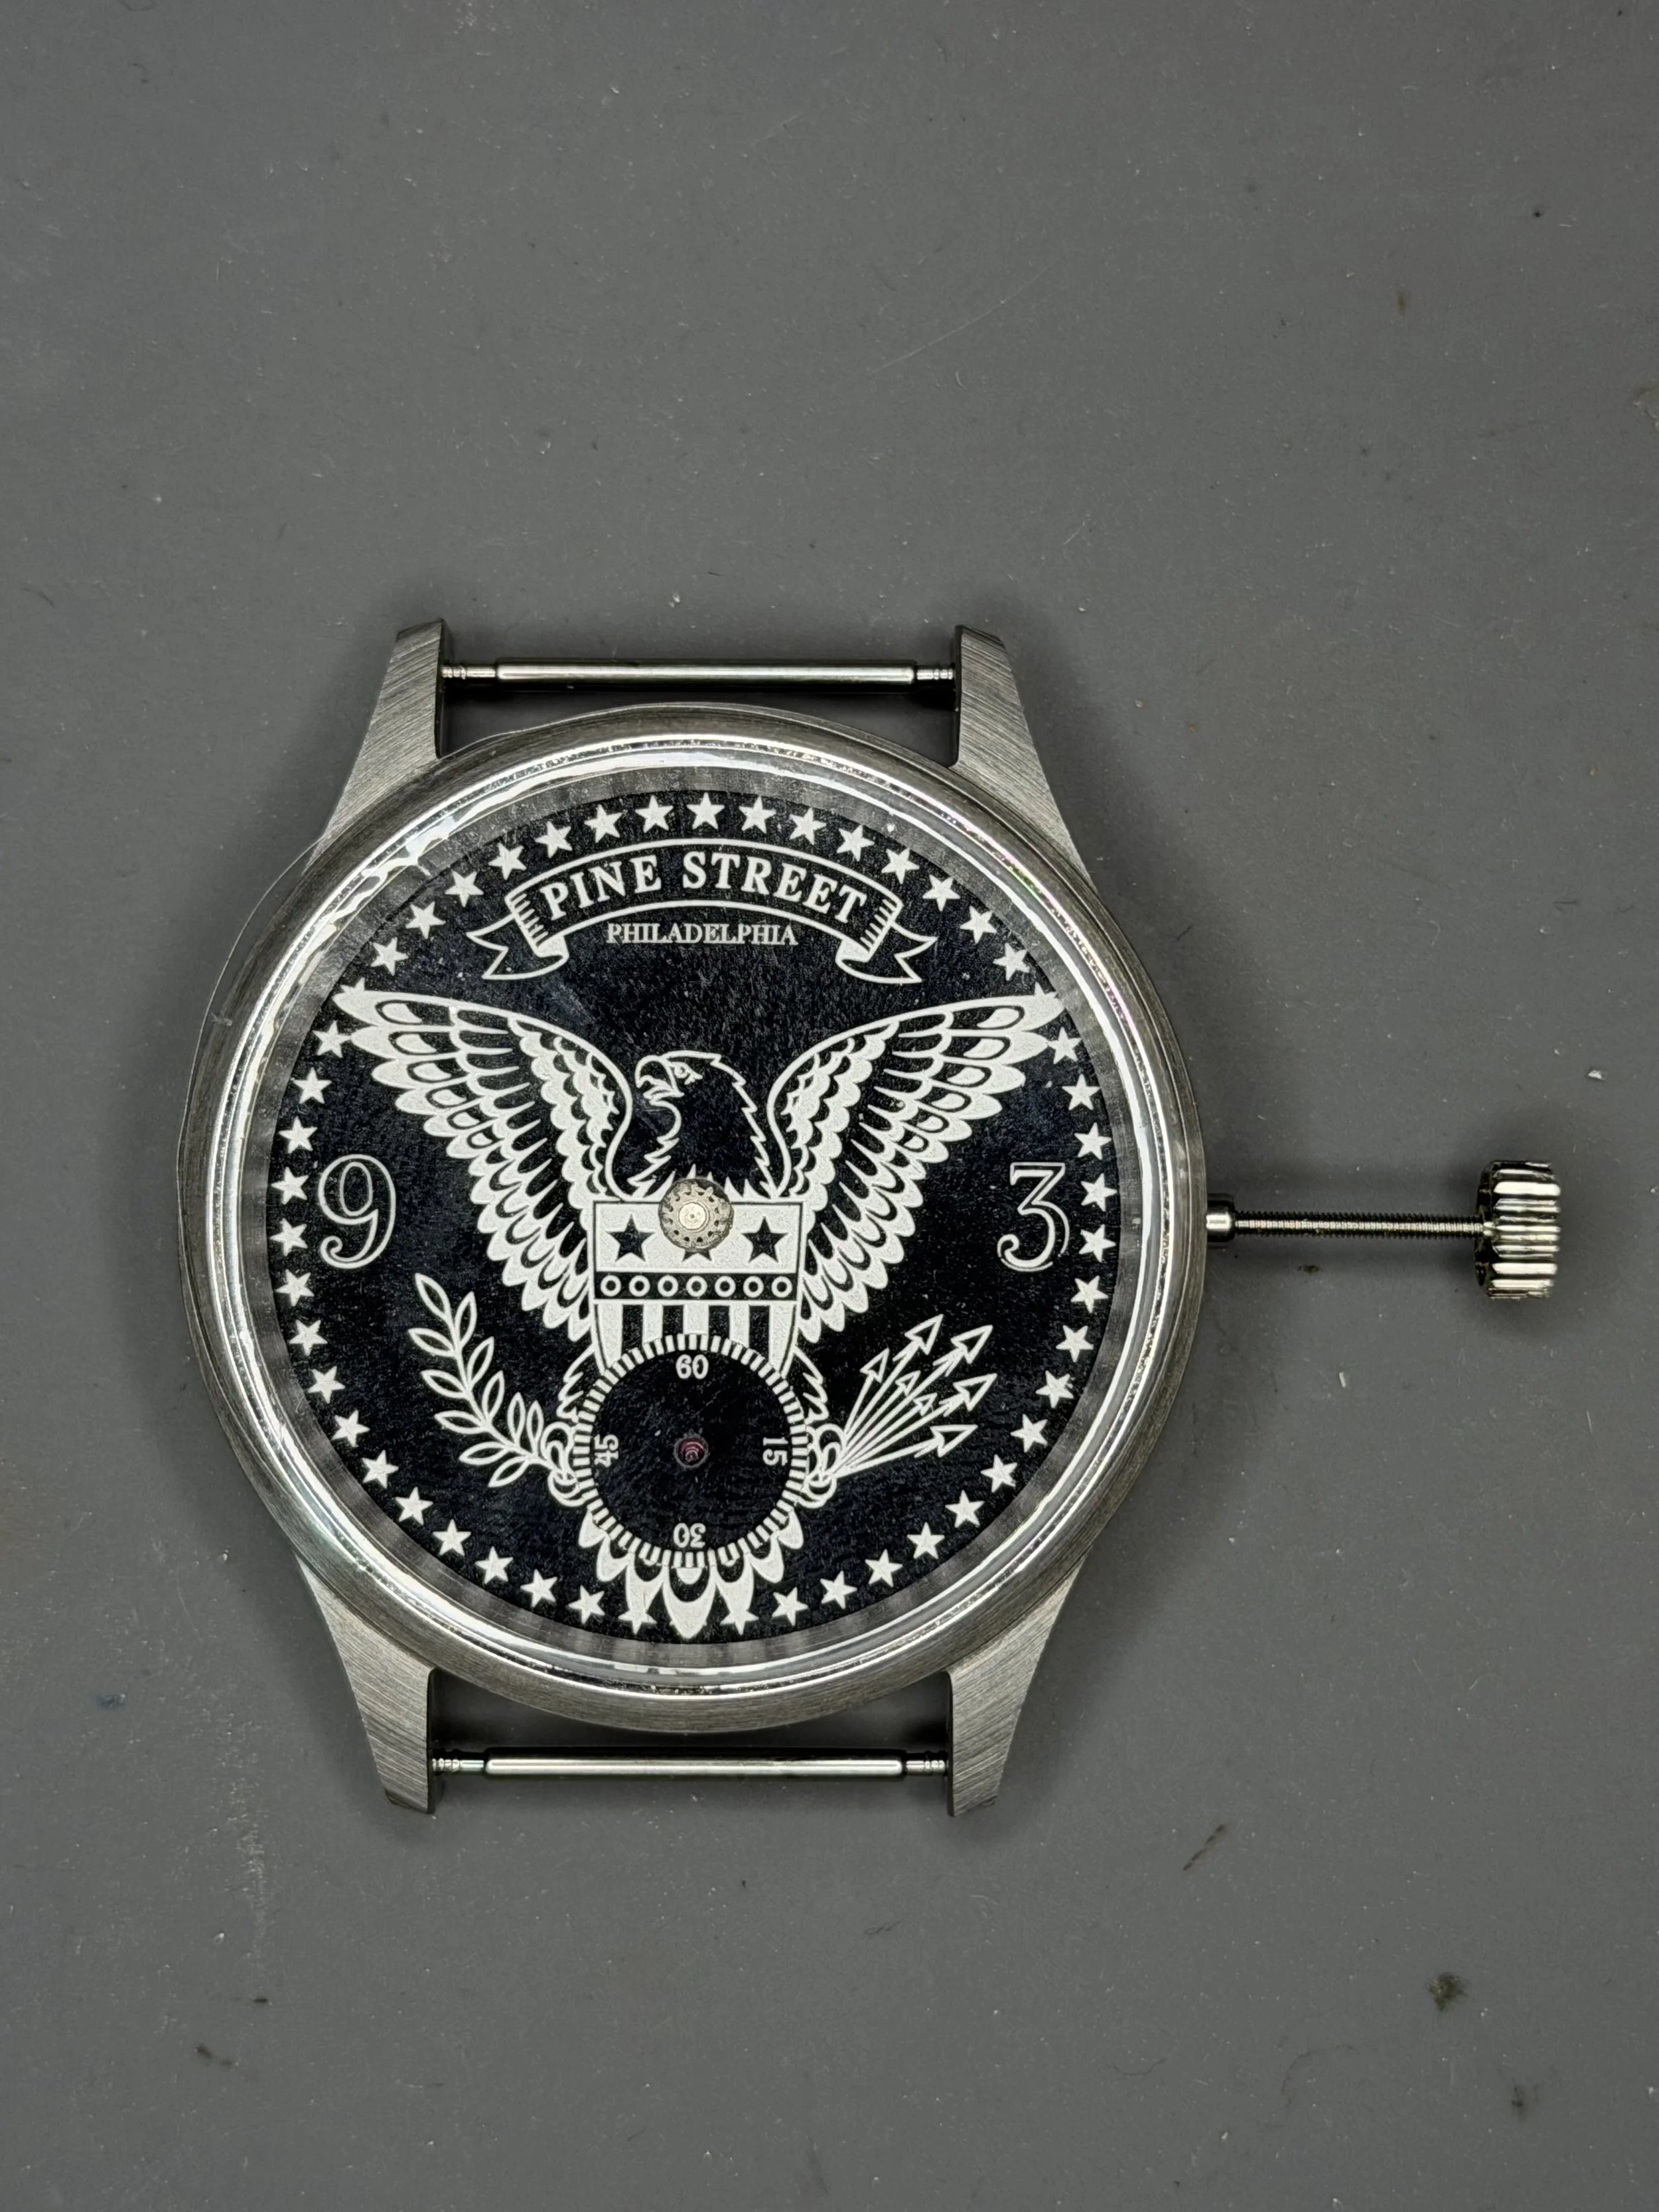
Fresh off some useful feedback at a Fishtown Watch Supply meetup, I went back to the bench to fix a Rittenhouse dial that had gone a little too "bullseye." A LightBurn breakthrough got me back to traditional linear wording, I'm closer than ever to the dark blue with royal blue metallic flicker I've been chasing, and this build is finally cased up — misaligned engraving, dial feet trims, and all. Read on for the wins, the still-unsolved clear coat problem, and why sticking with the frustrating parts is the whole point.
Fishtown, and a Bent Hairspring
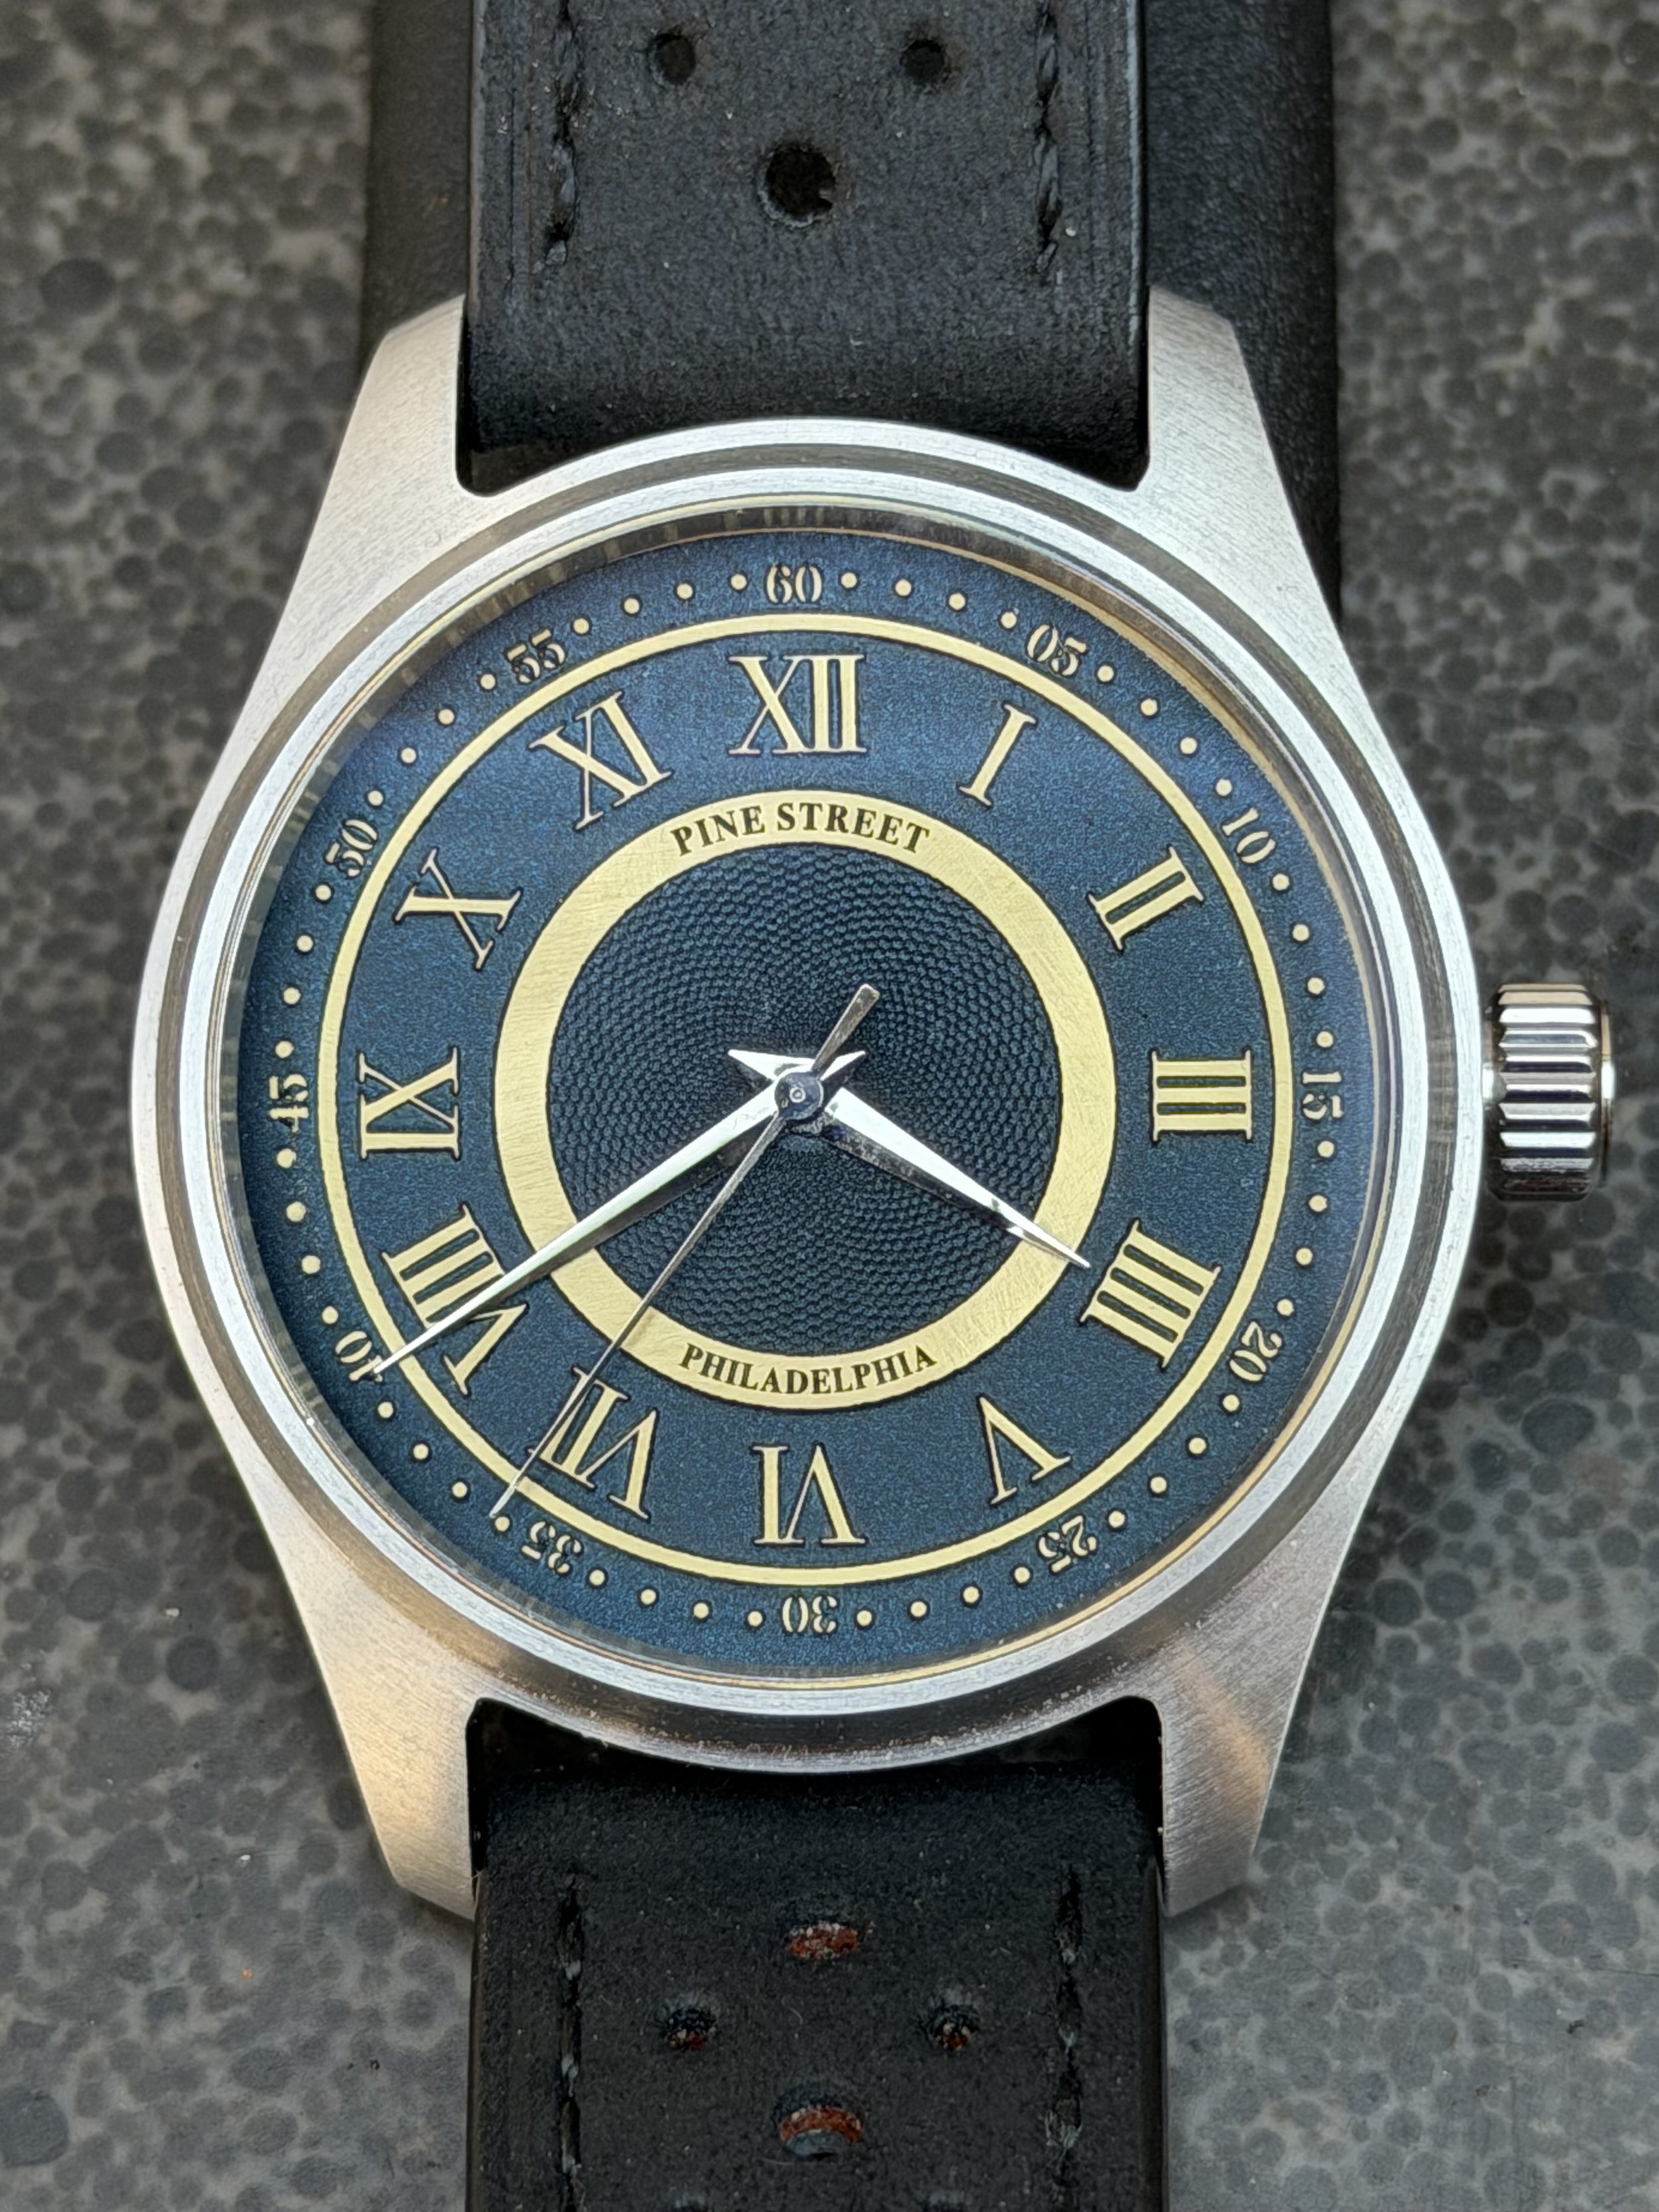
The Rittenhouse got its first real outing at a Fishtown Watch Supply meetup this week, cased up and running well on the freshly serviced PT5000 — until a dial sticker's paper backing slipped into the movement and a rushed extraction bent the hairspring. A candid account of showing up with a dead watch anyway, the patience lesson that came with it, and a new dial feet workflow taking shape in its wake.
Building the First Rittenhouse
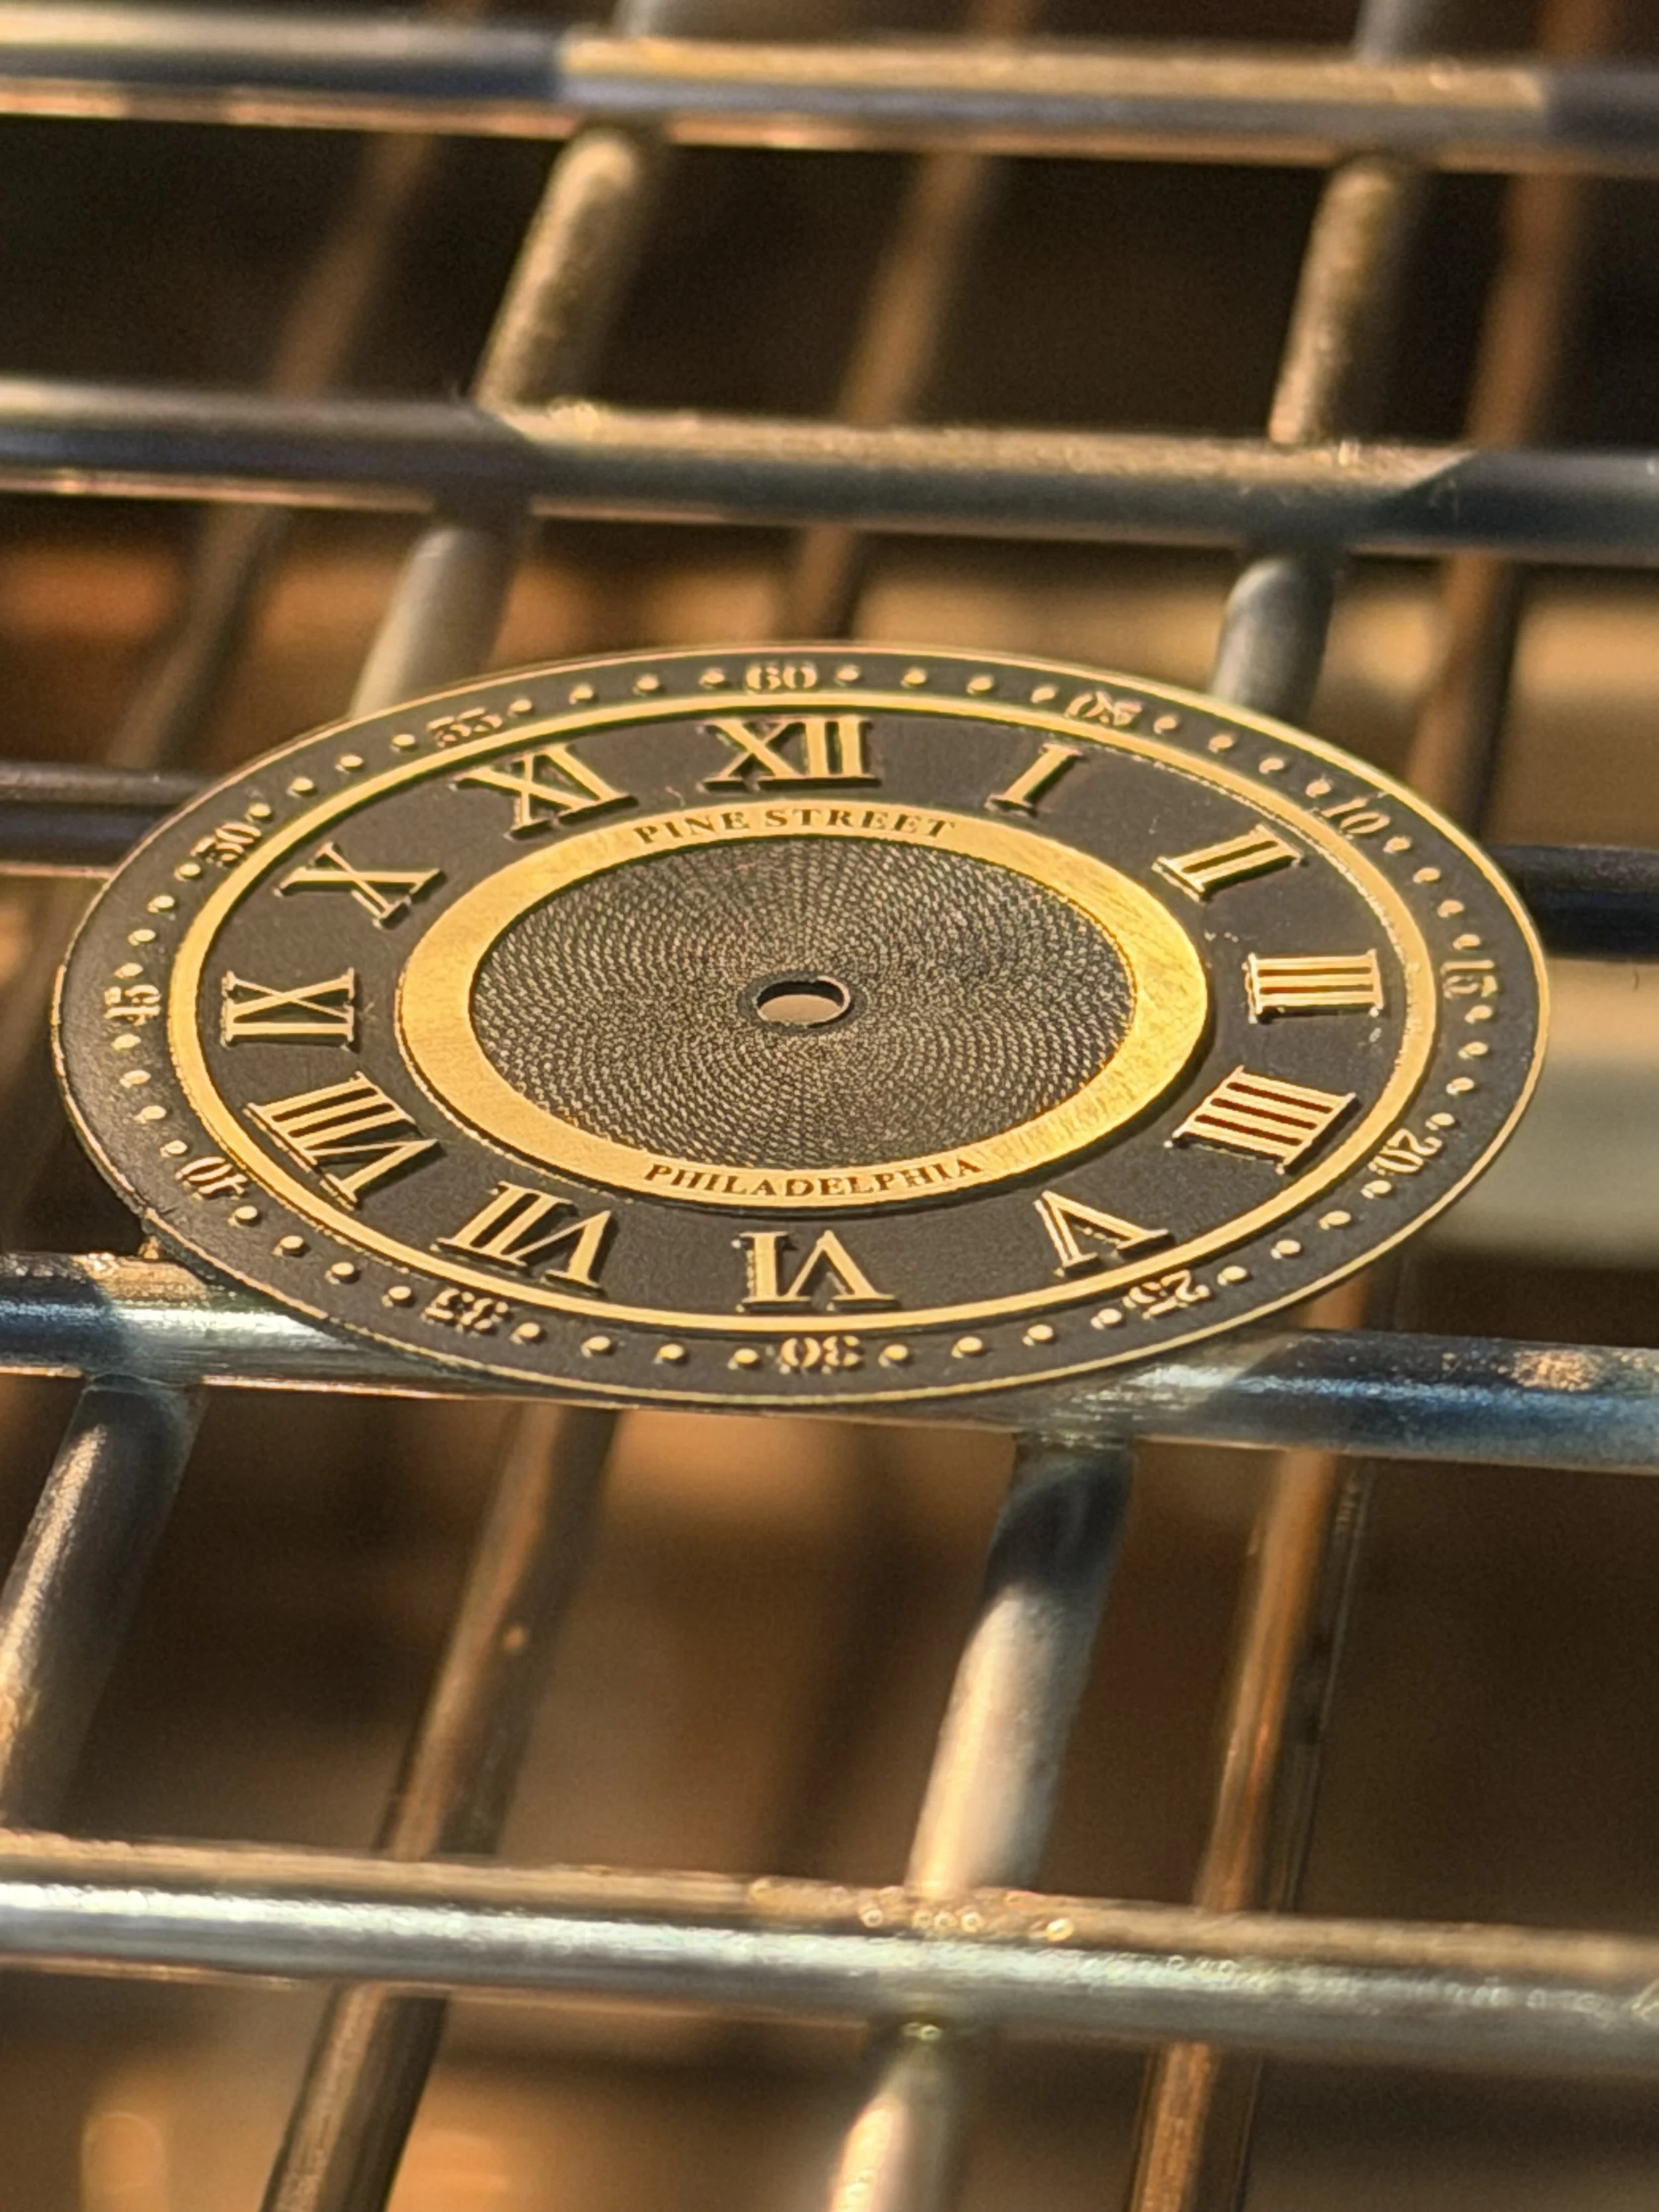
The first Rittenhouse prototype is nearly complete. Built from laser-engraved brass, the dial combines raised numerals and geometric details with a custom dark metallic blue finish, sanded back to reveal the brass beneath. This Bench Notes entry follows the process from raw sheet stock through cutting, painting, curing and final clear coat—and looks ahead to Rittenhouse as a continuing series inspired by the scientific and mechanical legacy of David Rittenhouse.
Waiting on the mail
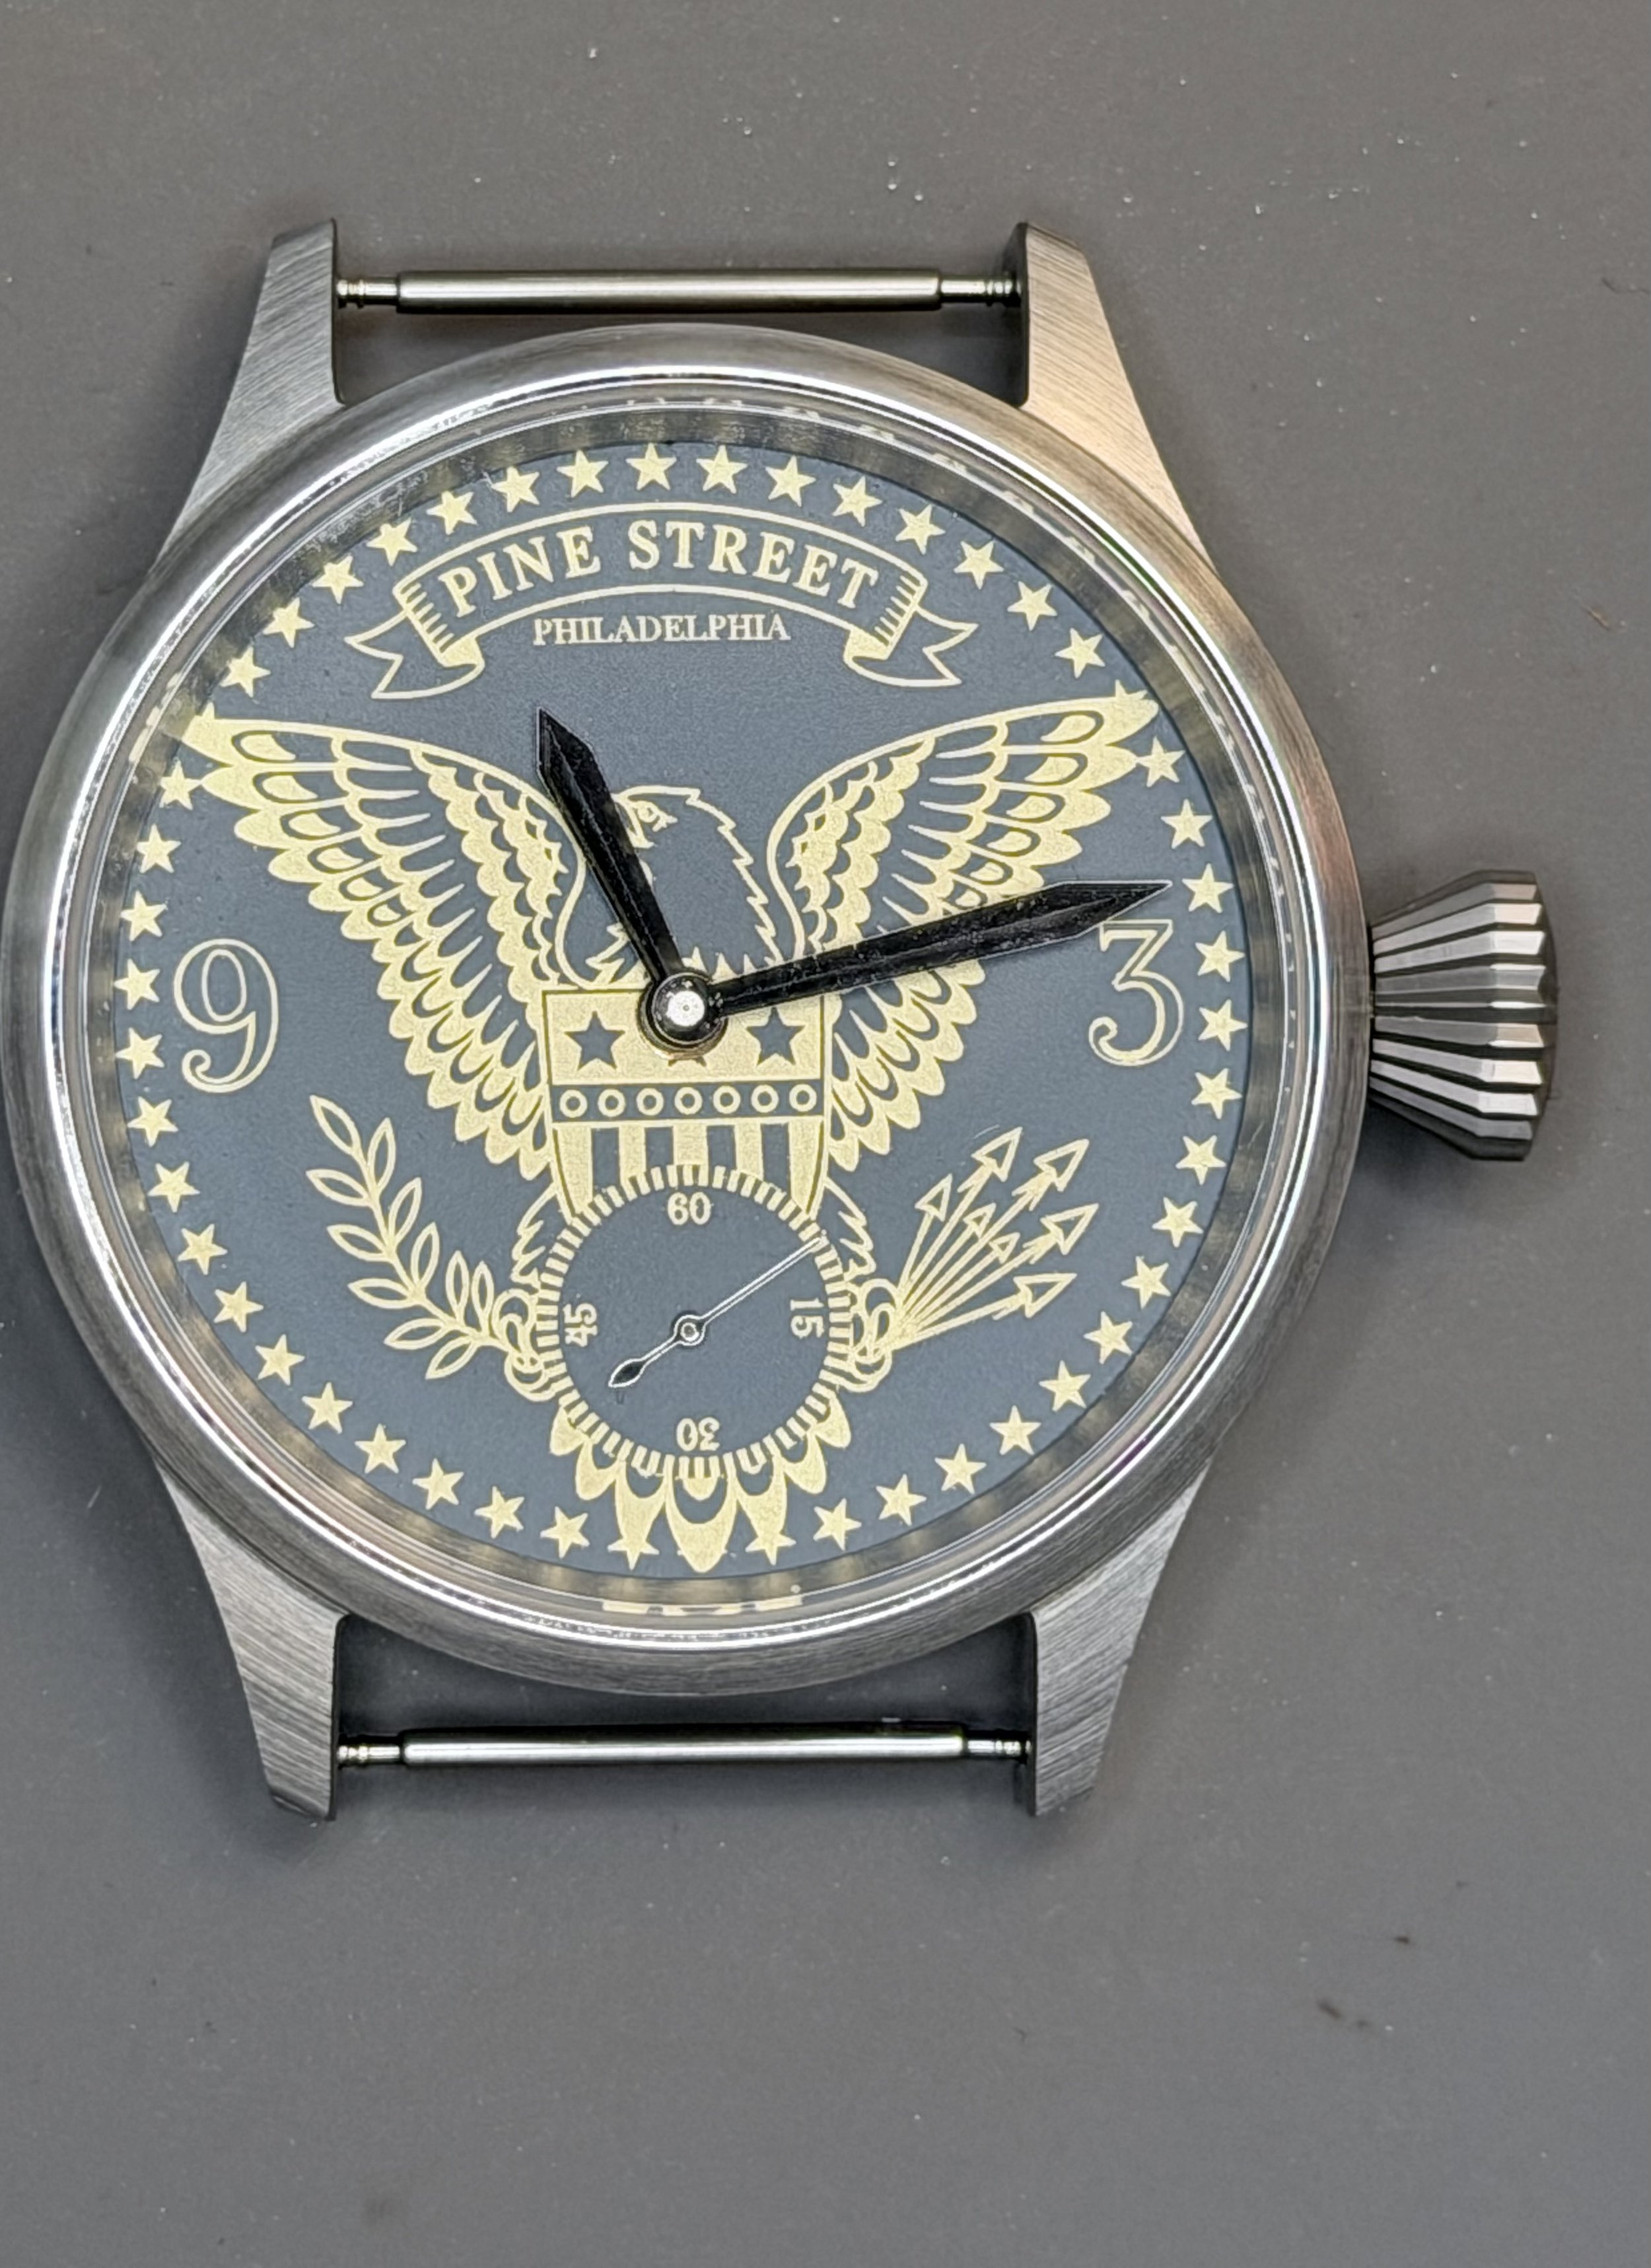
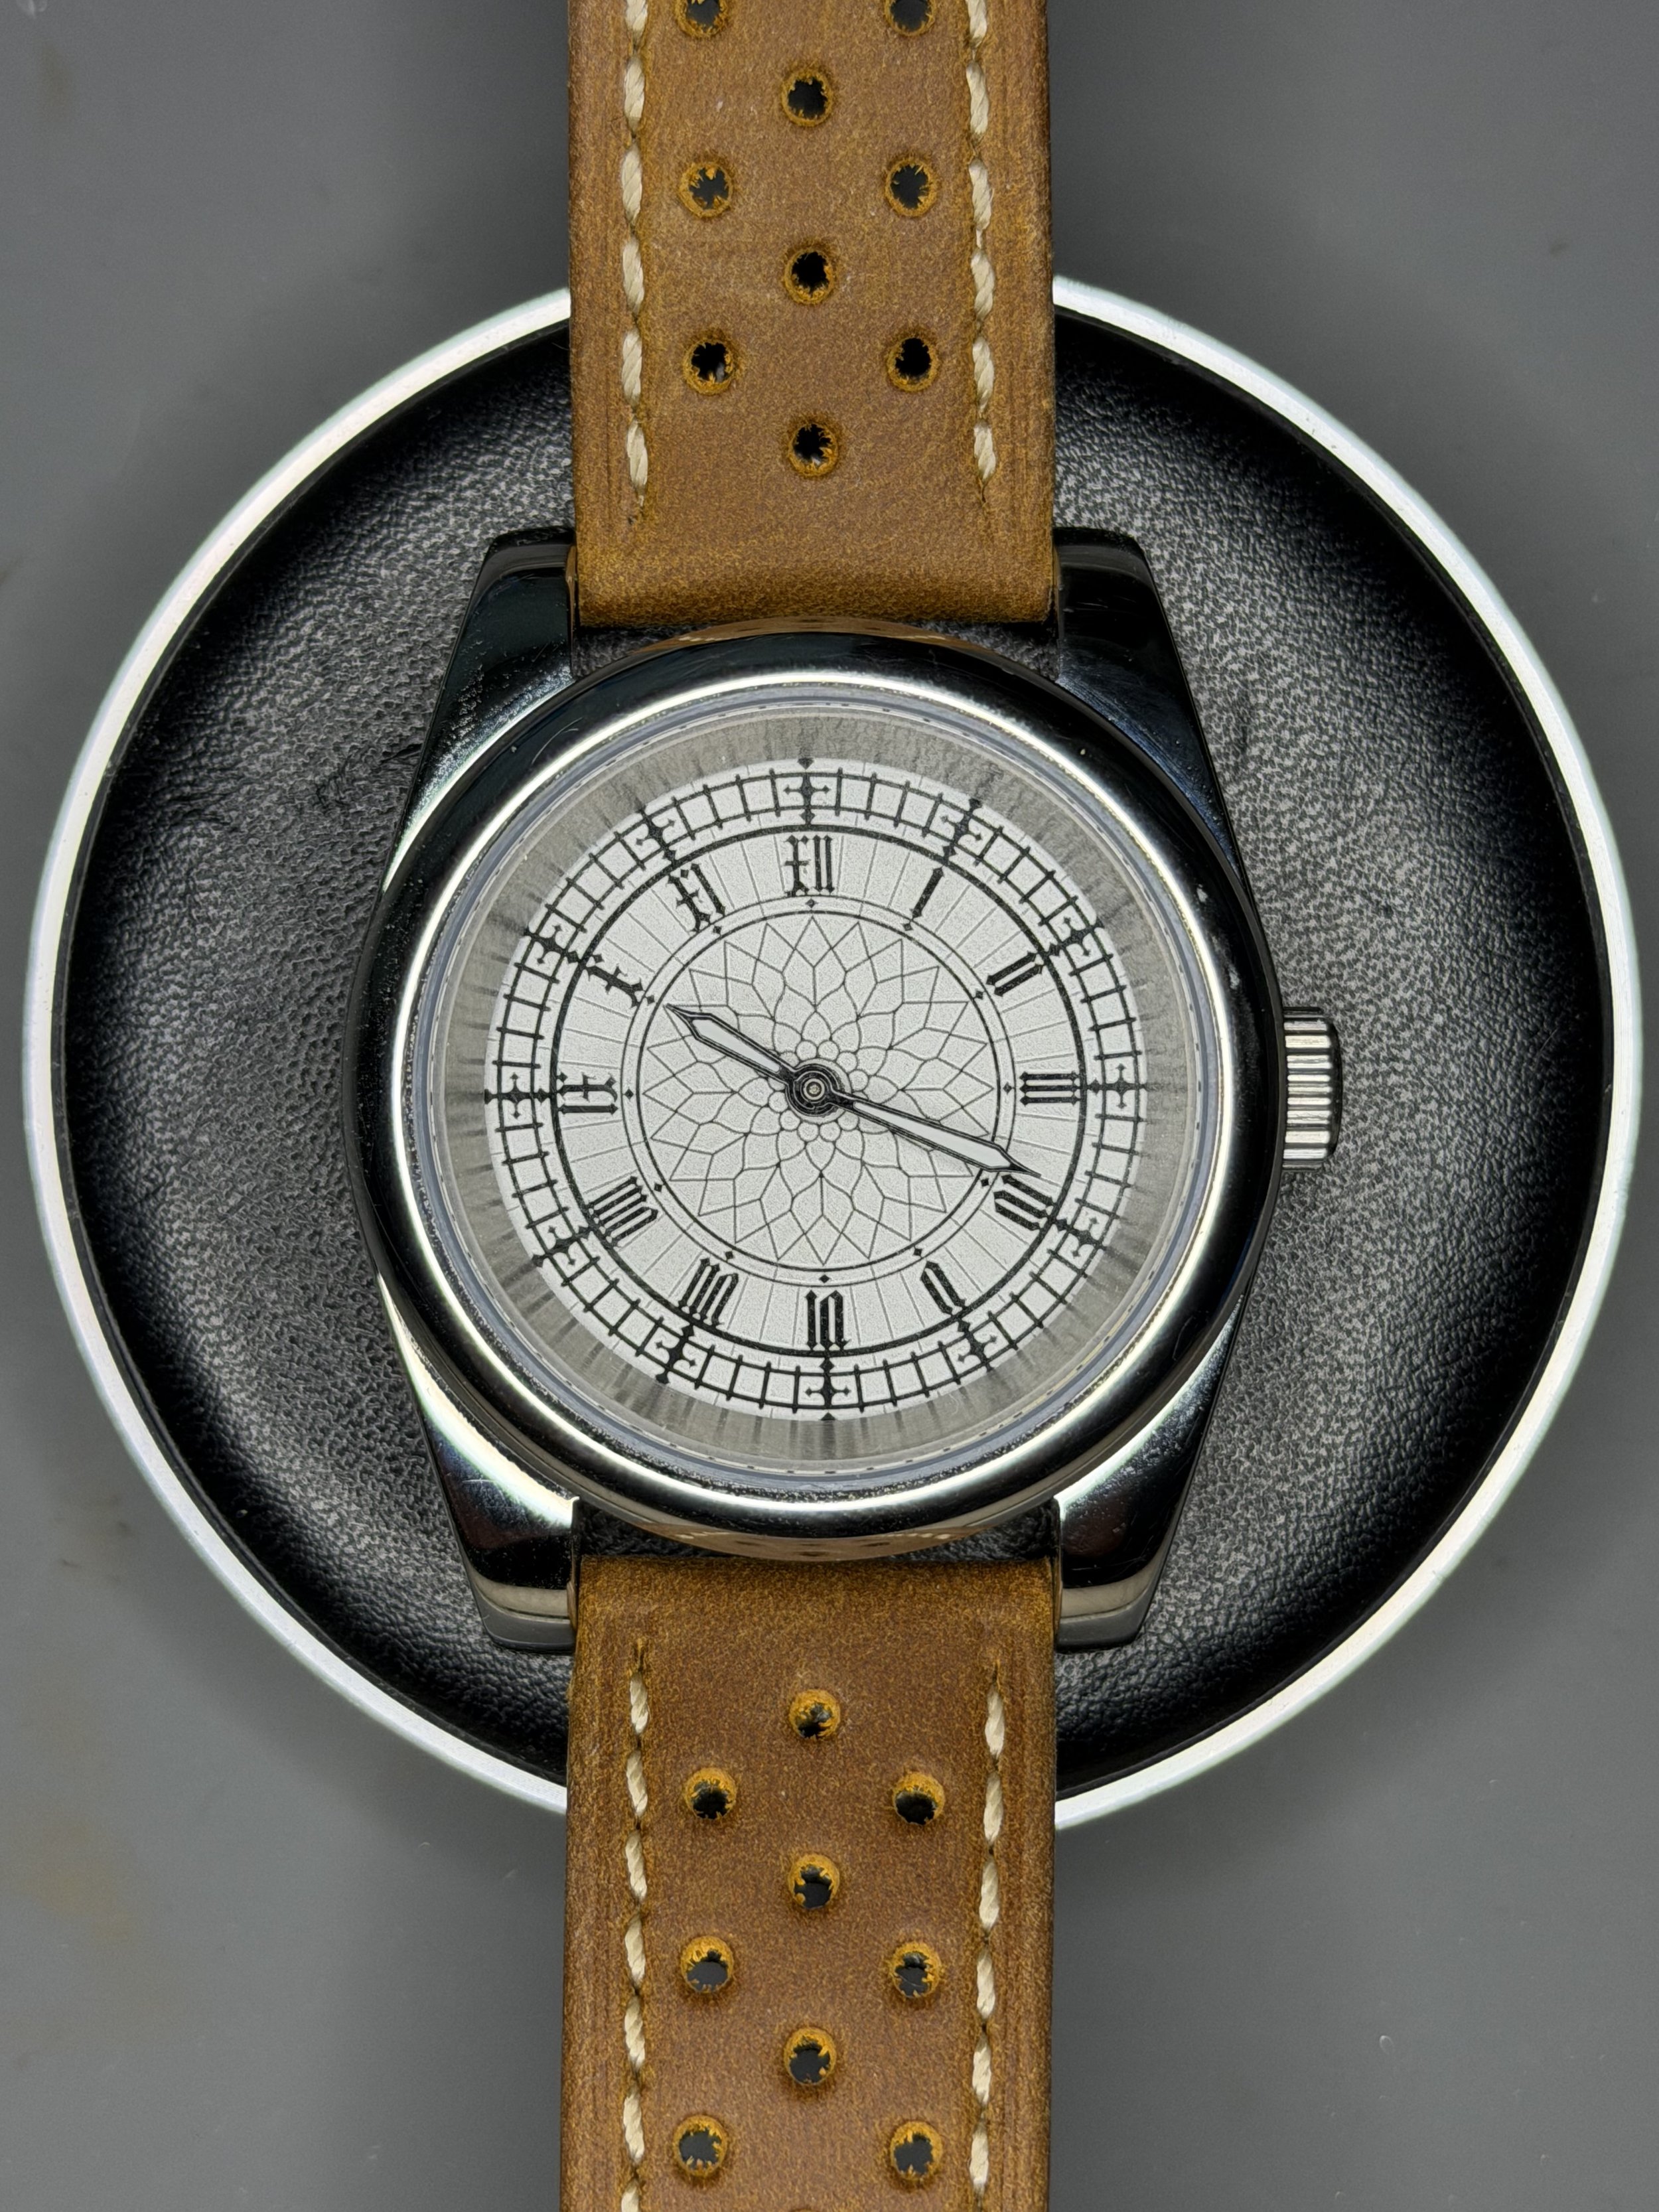
Waiting on the final pad printing ingredient while experimenting with new Rittenhouse laser settings, a distinctly Philadelphia shade of colonial blue, and a Big Ben–inspired dial made from black anodized aluminum.
Leaving a mark
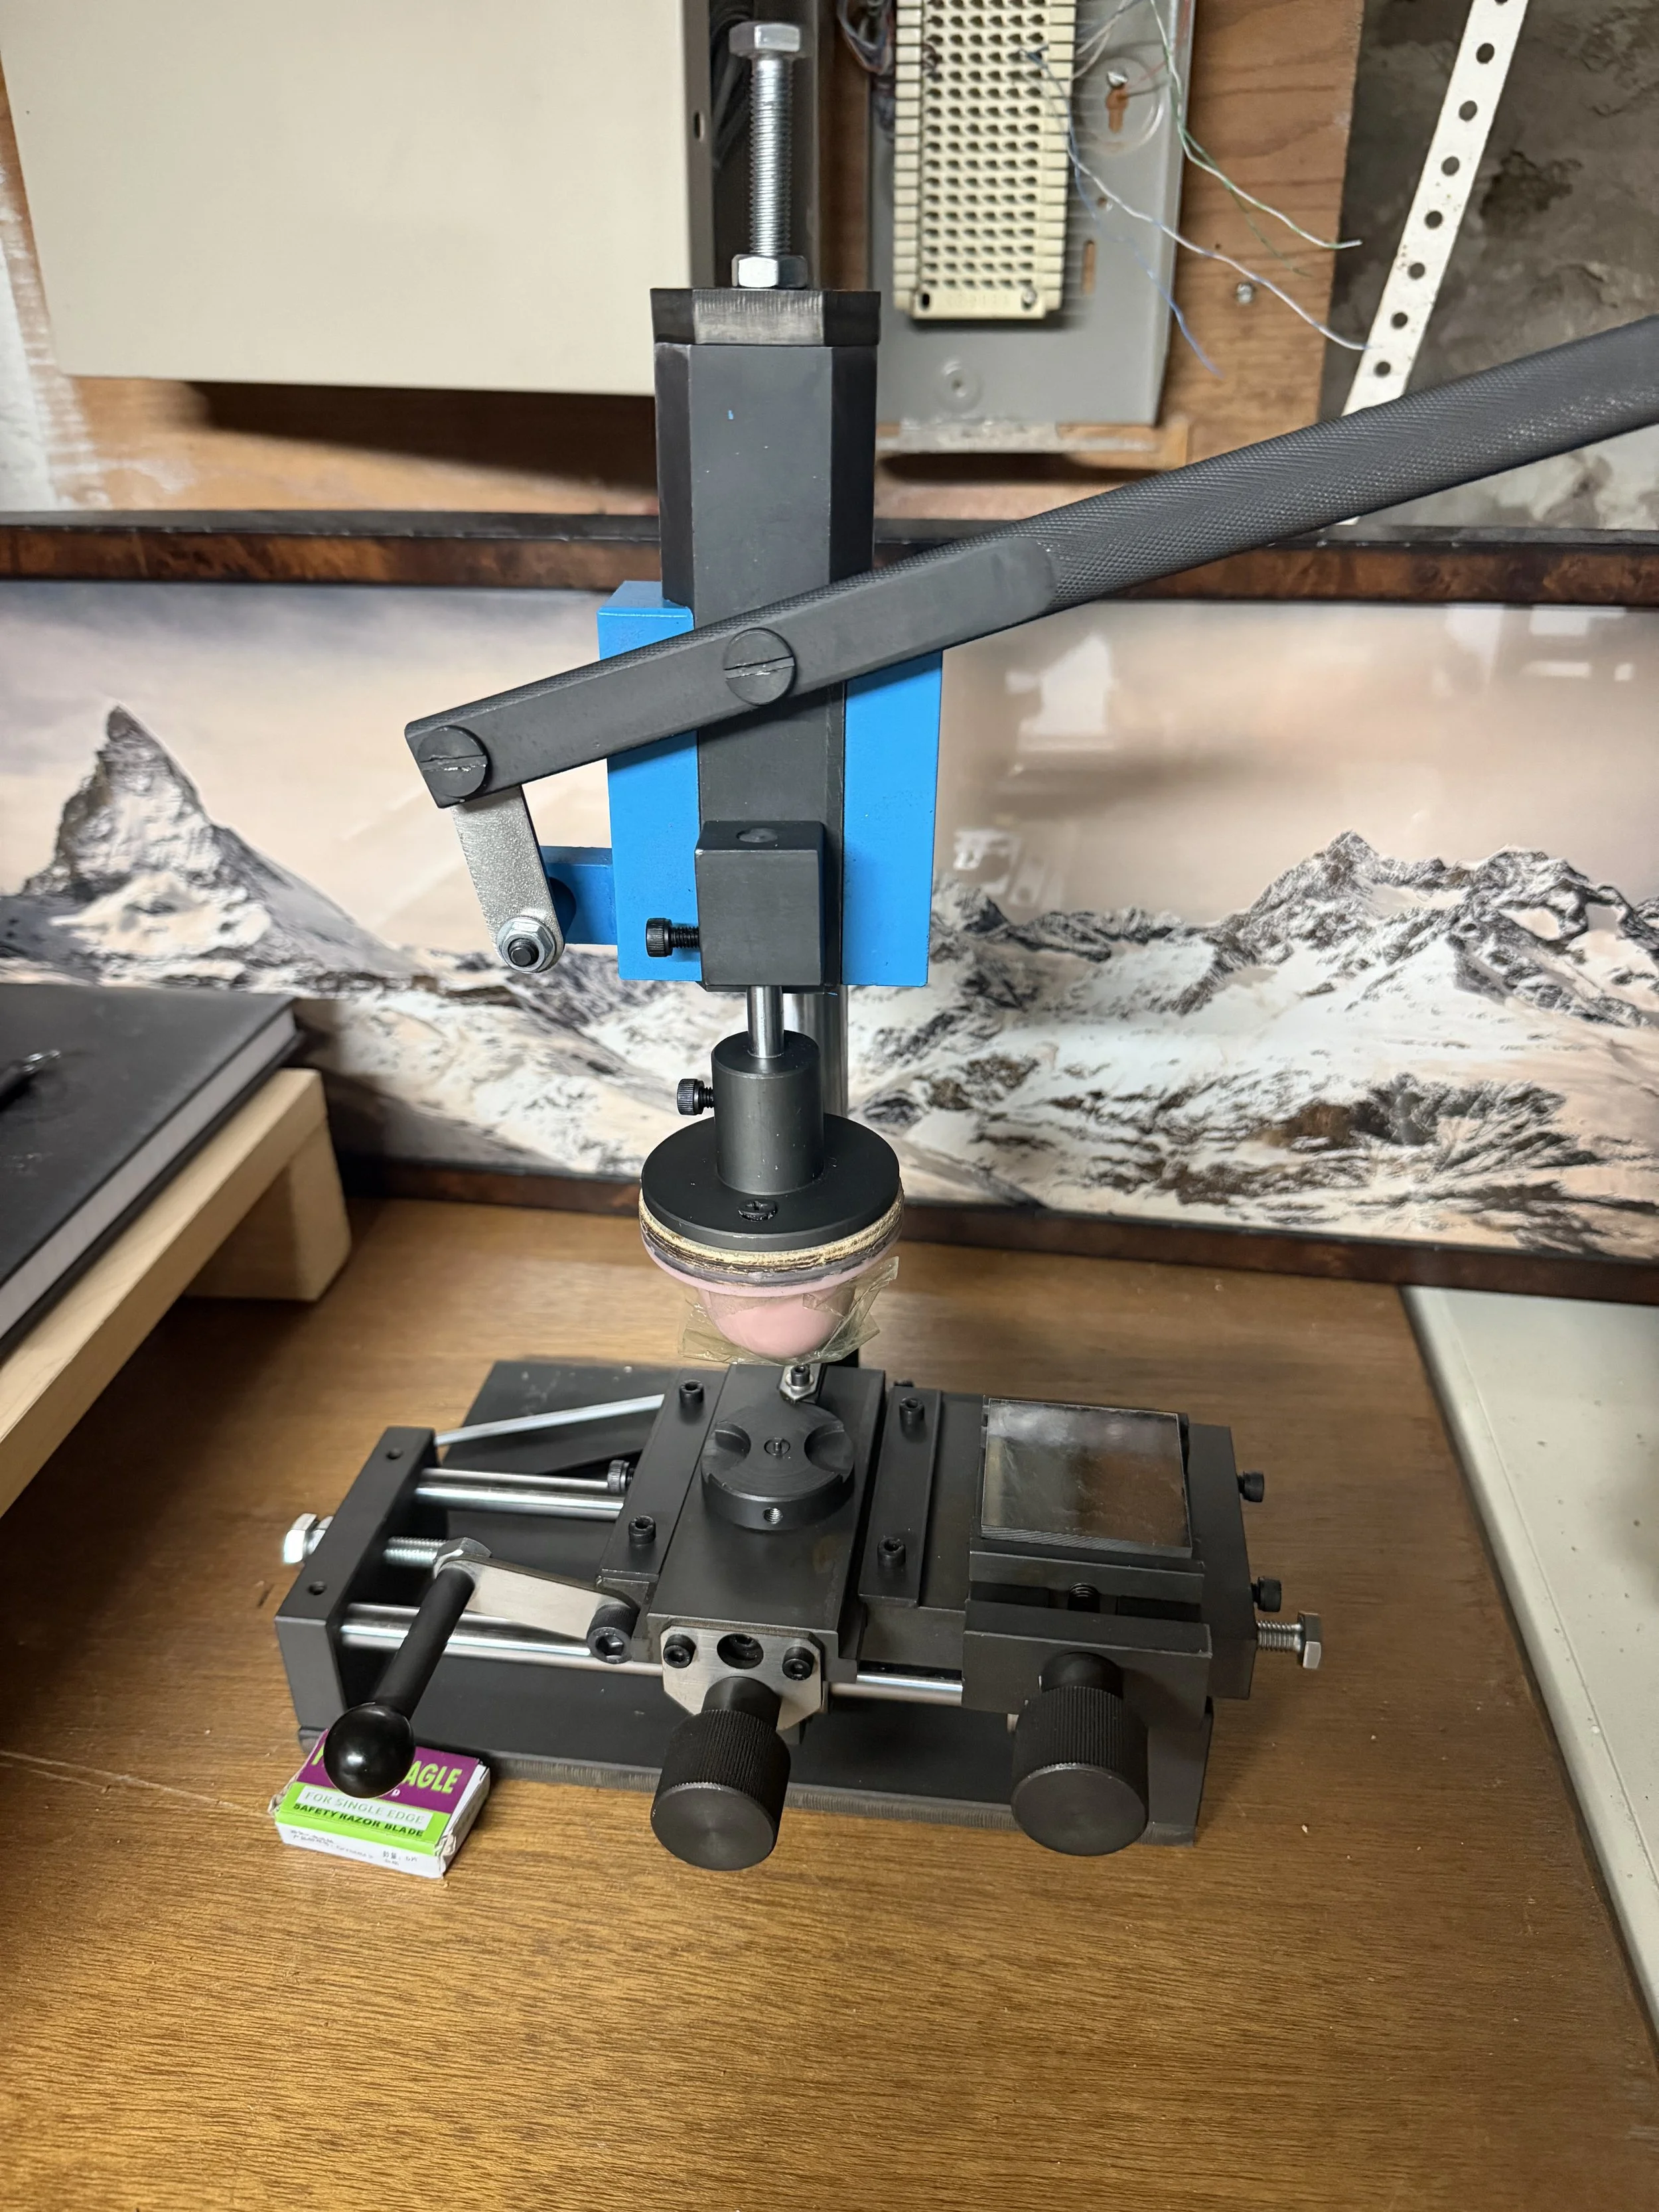
The dial pad printer has arrived, and cliché development is underway. Alongside that, I’ve been working through Justin Laser’s Fiber Laser Ignite course to sharpen my MOPA laser skills across materials — from slate coasters and anodized aluminum gift cards to a marked leather watch box and one very overworked camping knife.
Sidewalk inspiration
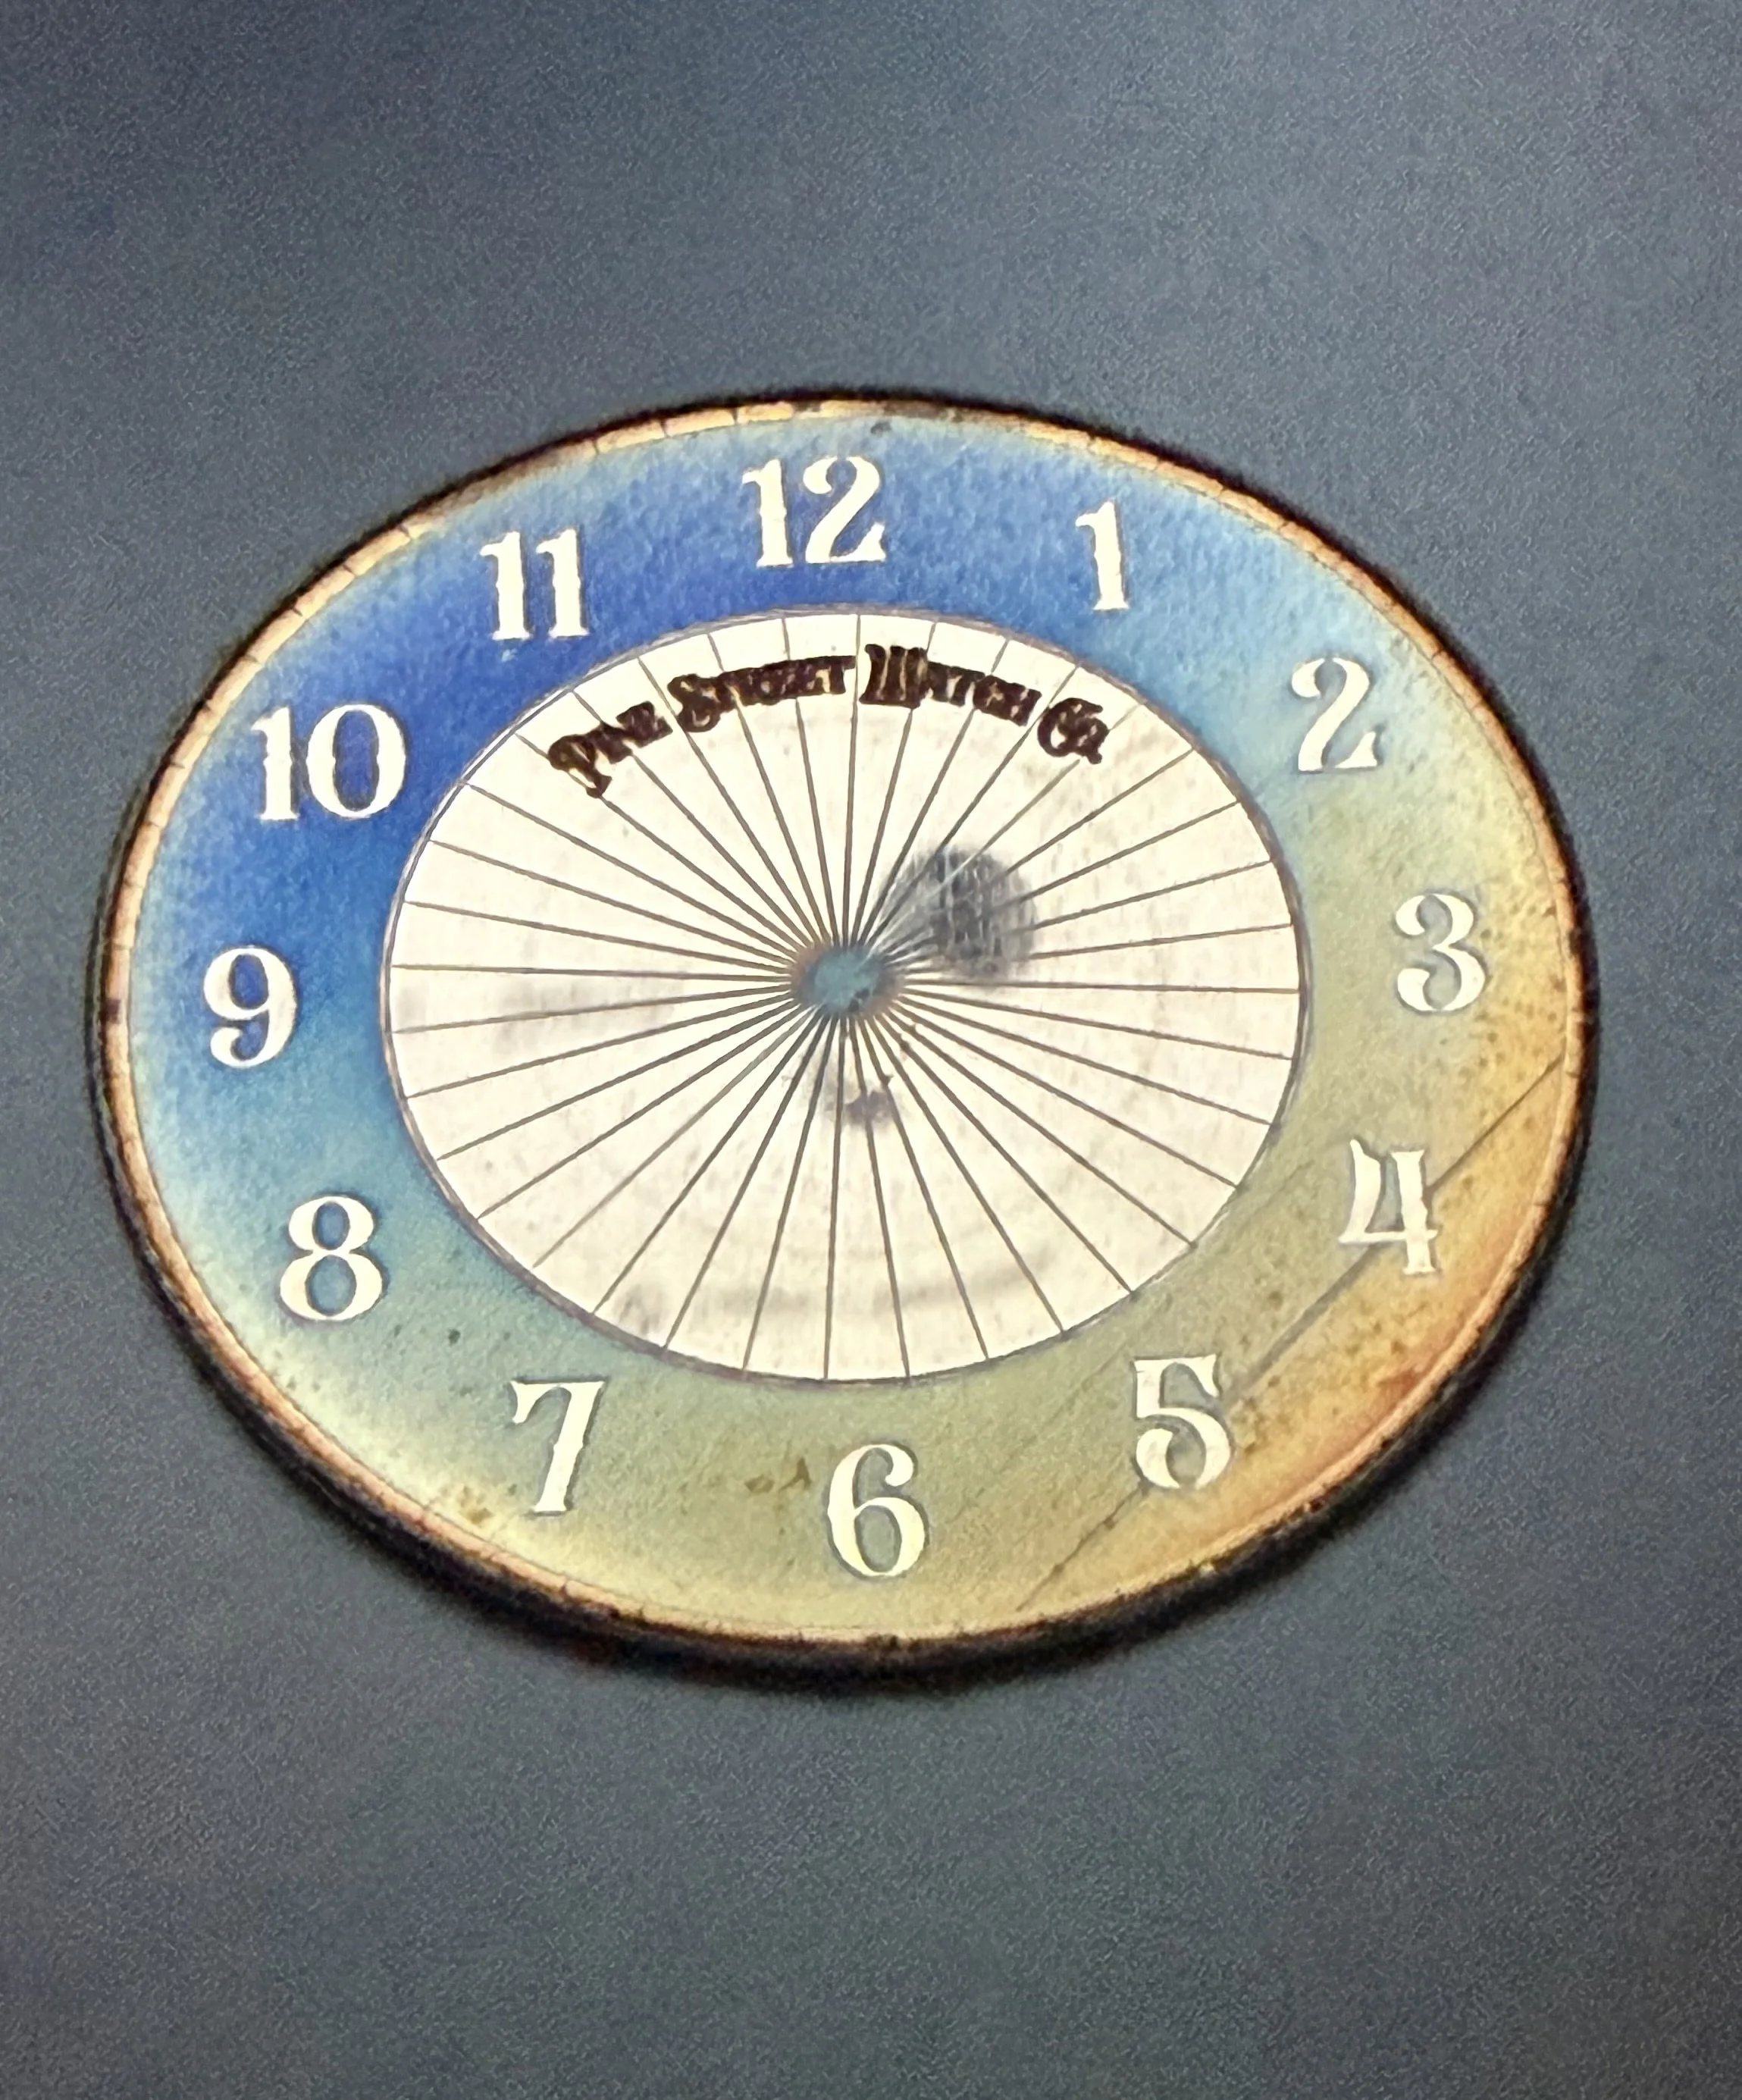
A revolving door near Rittenhouse Square became the starting point for a quick stainless steel dial experiment. I used the MOPA laser to test color marking variables, then translated the sidewalk inspiration into a rough dial design. The results were uneven, reflective, and probably not viable — but useful all the same.
Primed and painted
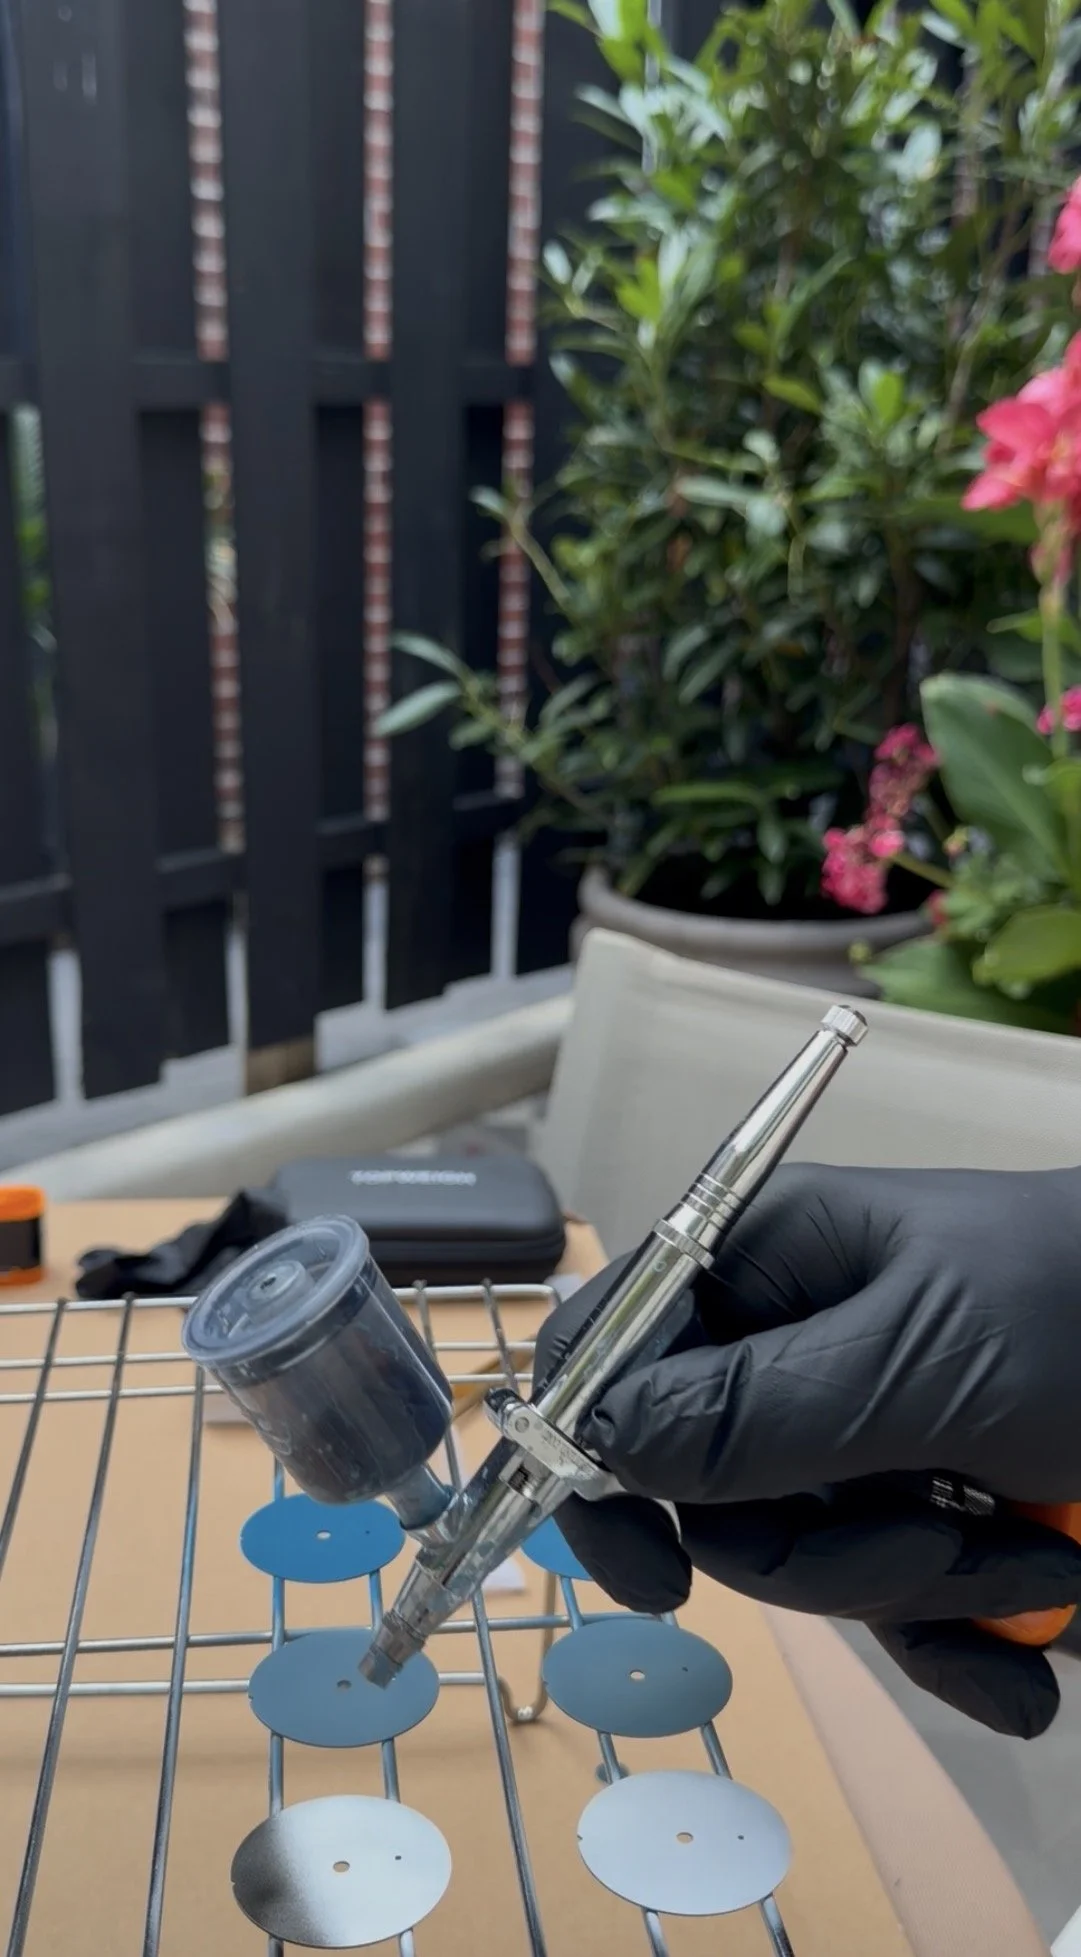
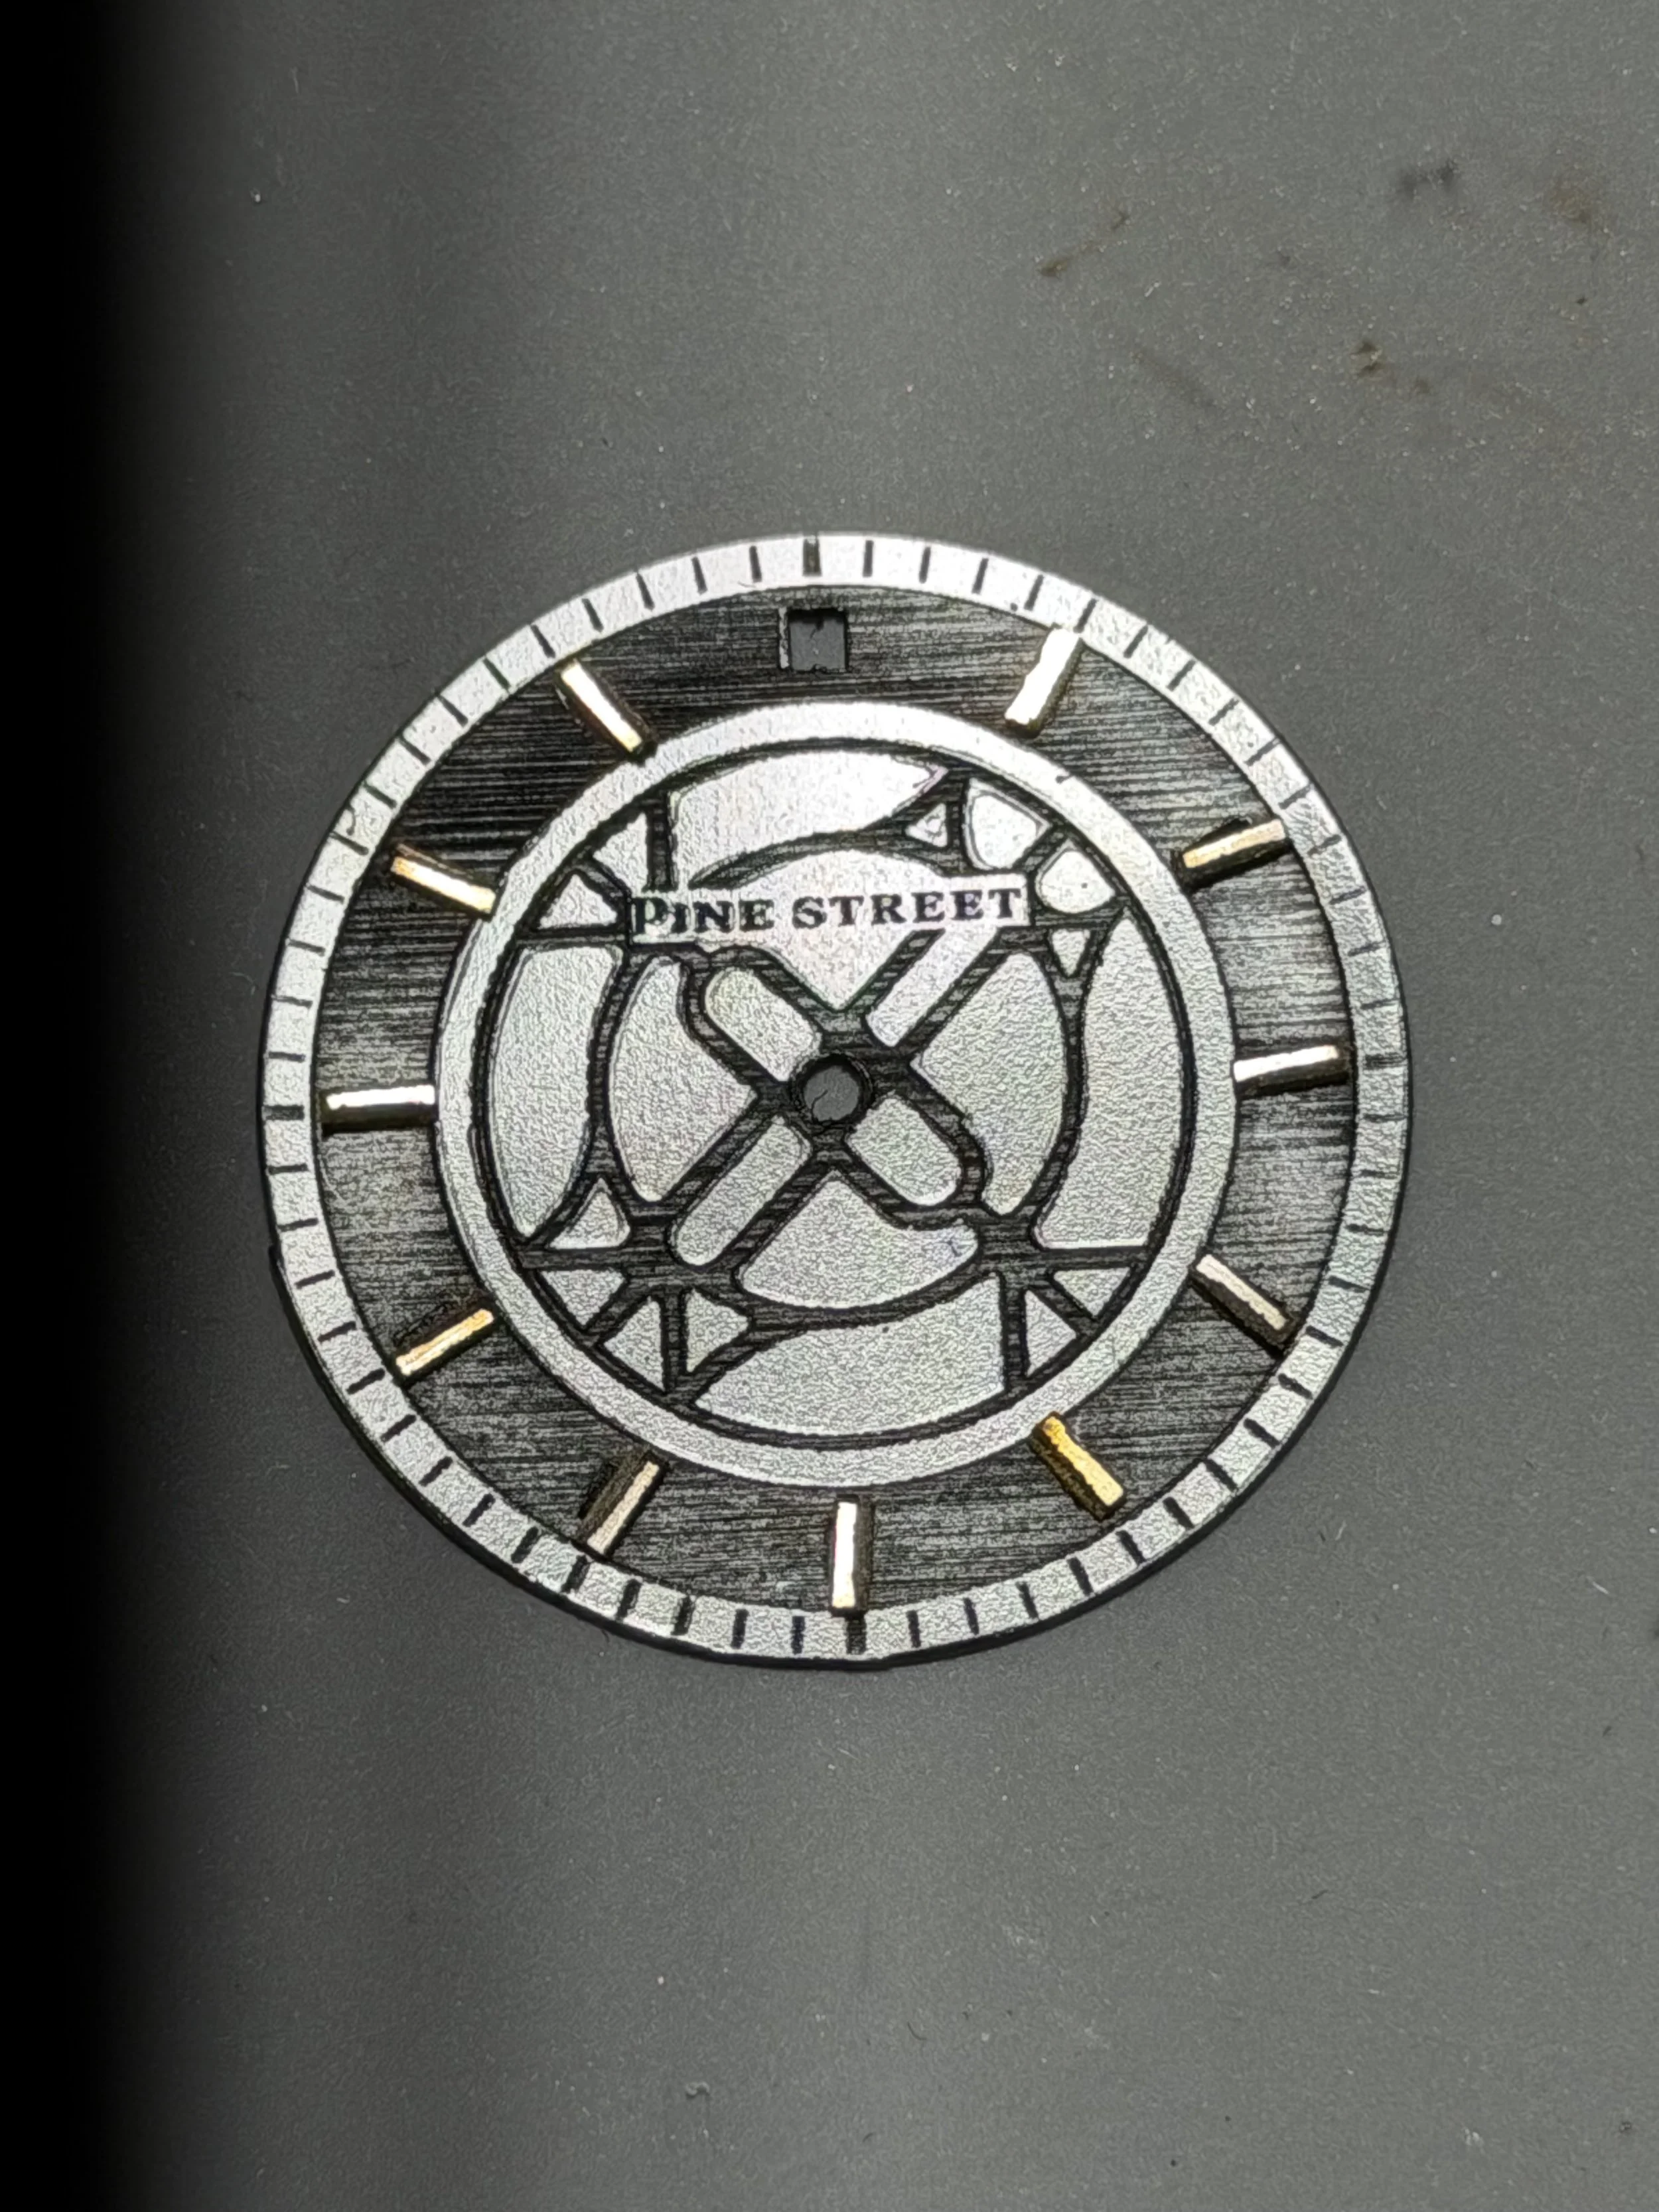
This morning’s airbrush testing was mostly about control: gloves on, cleaning flow prepared, and a simple wooden friction mandrel to paint the dials vertically. I painted two primed dials and four deliberately unprepared dials to compare adhesion, surface quality, and finish after curing. First impressions are that primer creates more texture, while paint directly on brass may offer a cleaner semi-gloss look — if the brass surface is good enough. One Rittenhouse prototype also joined the test to see how much engraved relief and texture will survive under paint.
Laying down some primer
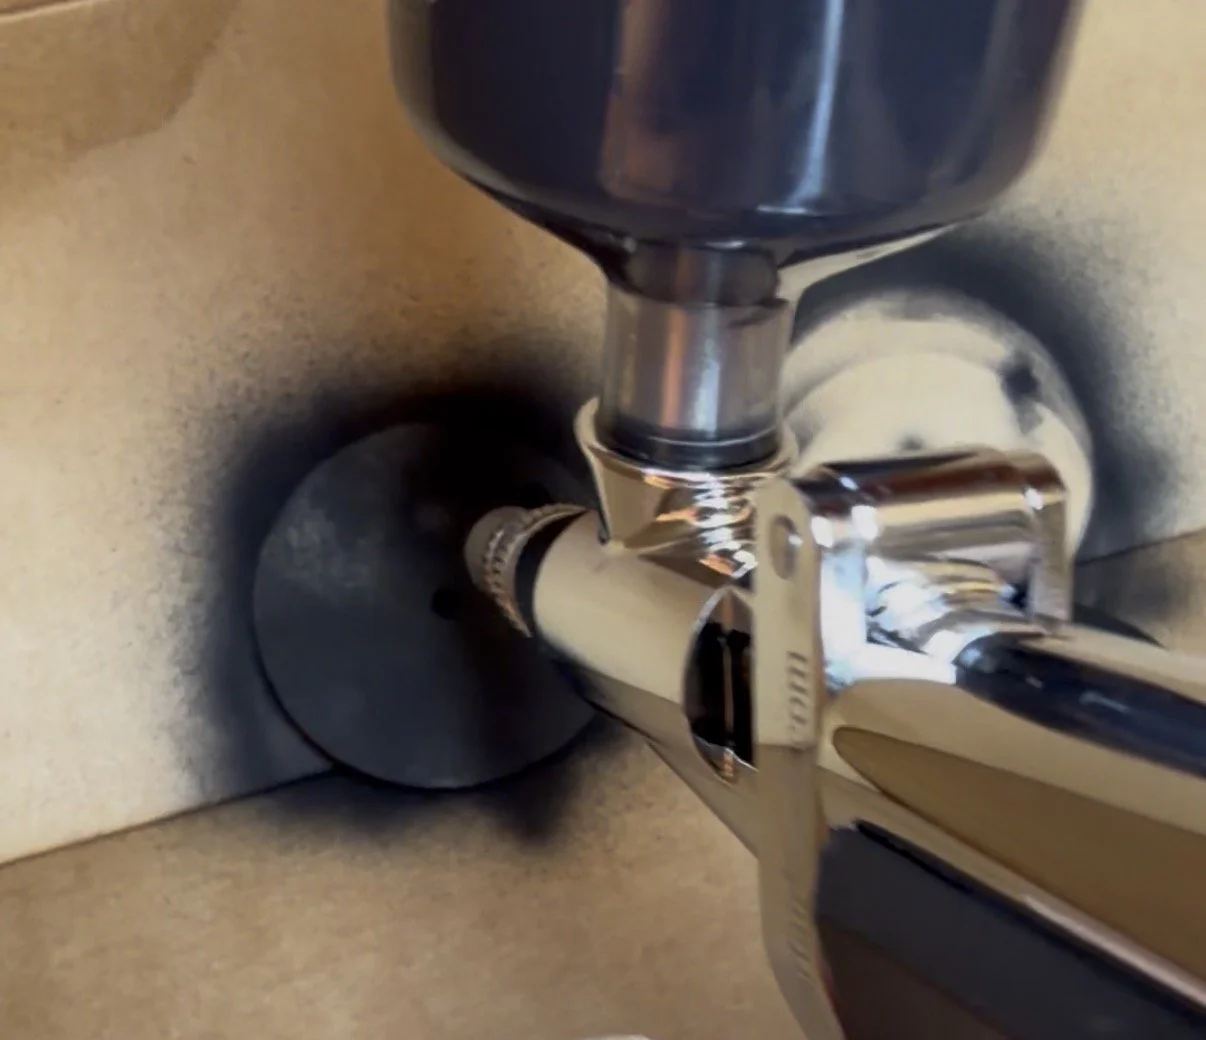
Today was a workflow day: cutting a 29mm dial with a date window, bringing it closer to shape by hand, then washing, degreasing, and priming it for paint tomorrow.
The dial is curing overnight now, which feels like a useful pause. The biggest lessons were practical ones — gloves need to come on earlier, airbrush cleaning needs to become part of the rhythm rather than an interruption, and the paint-to-thinner ratio probably deserves more precision than an eyeballed mix.
A new friend
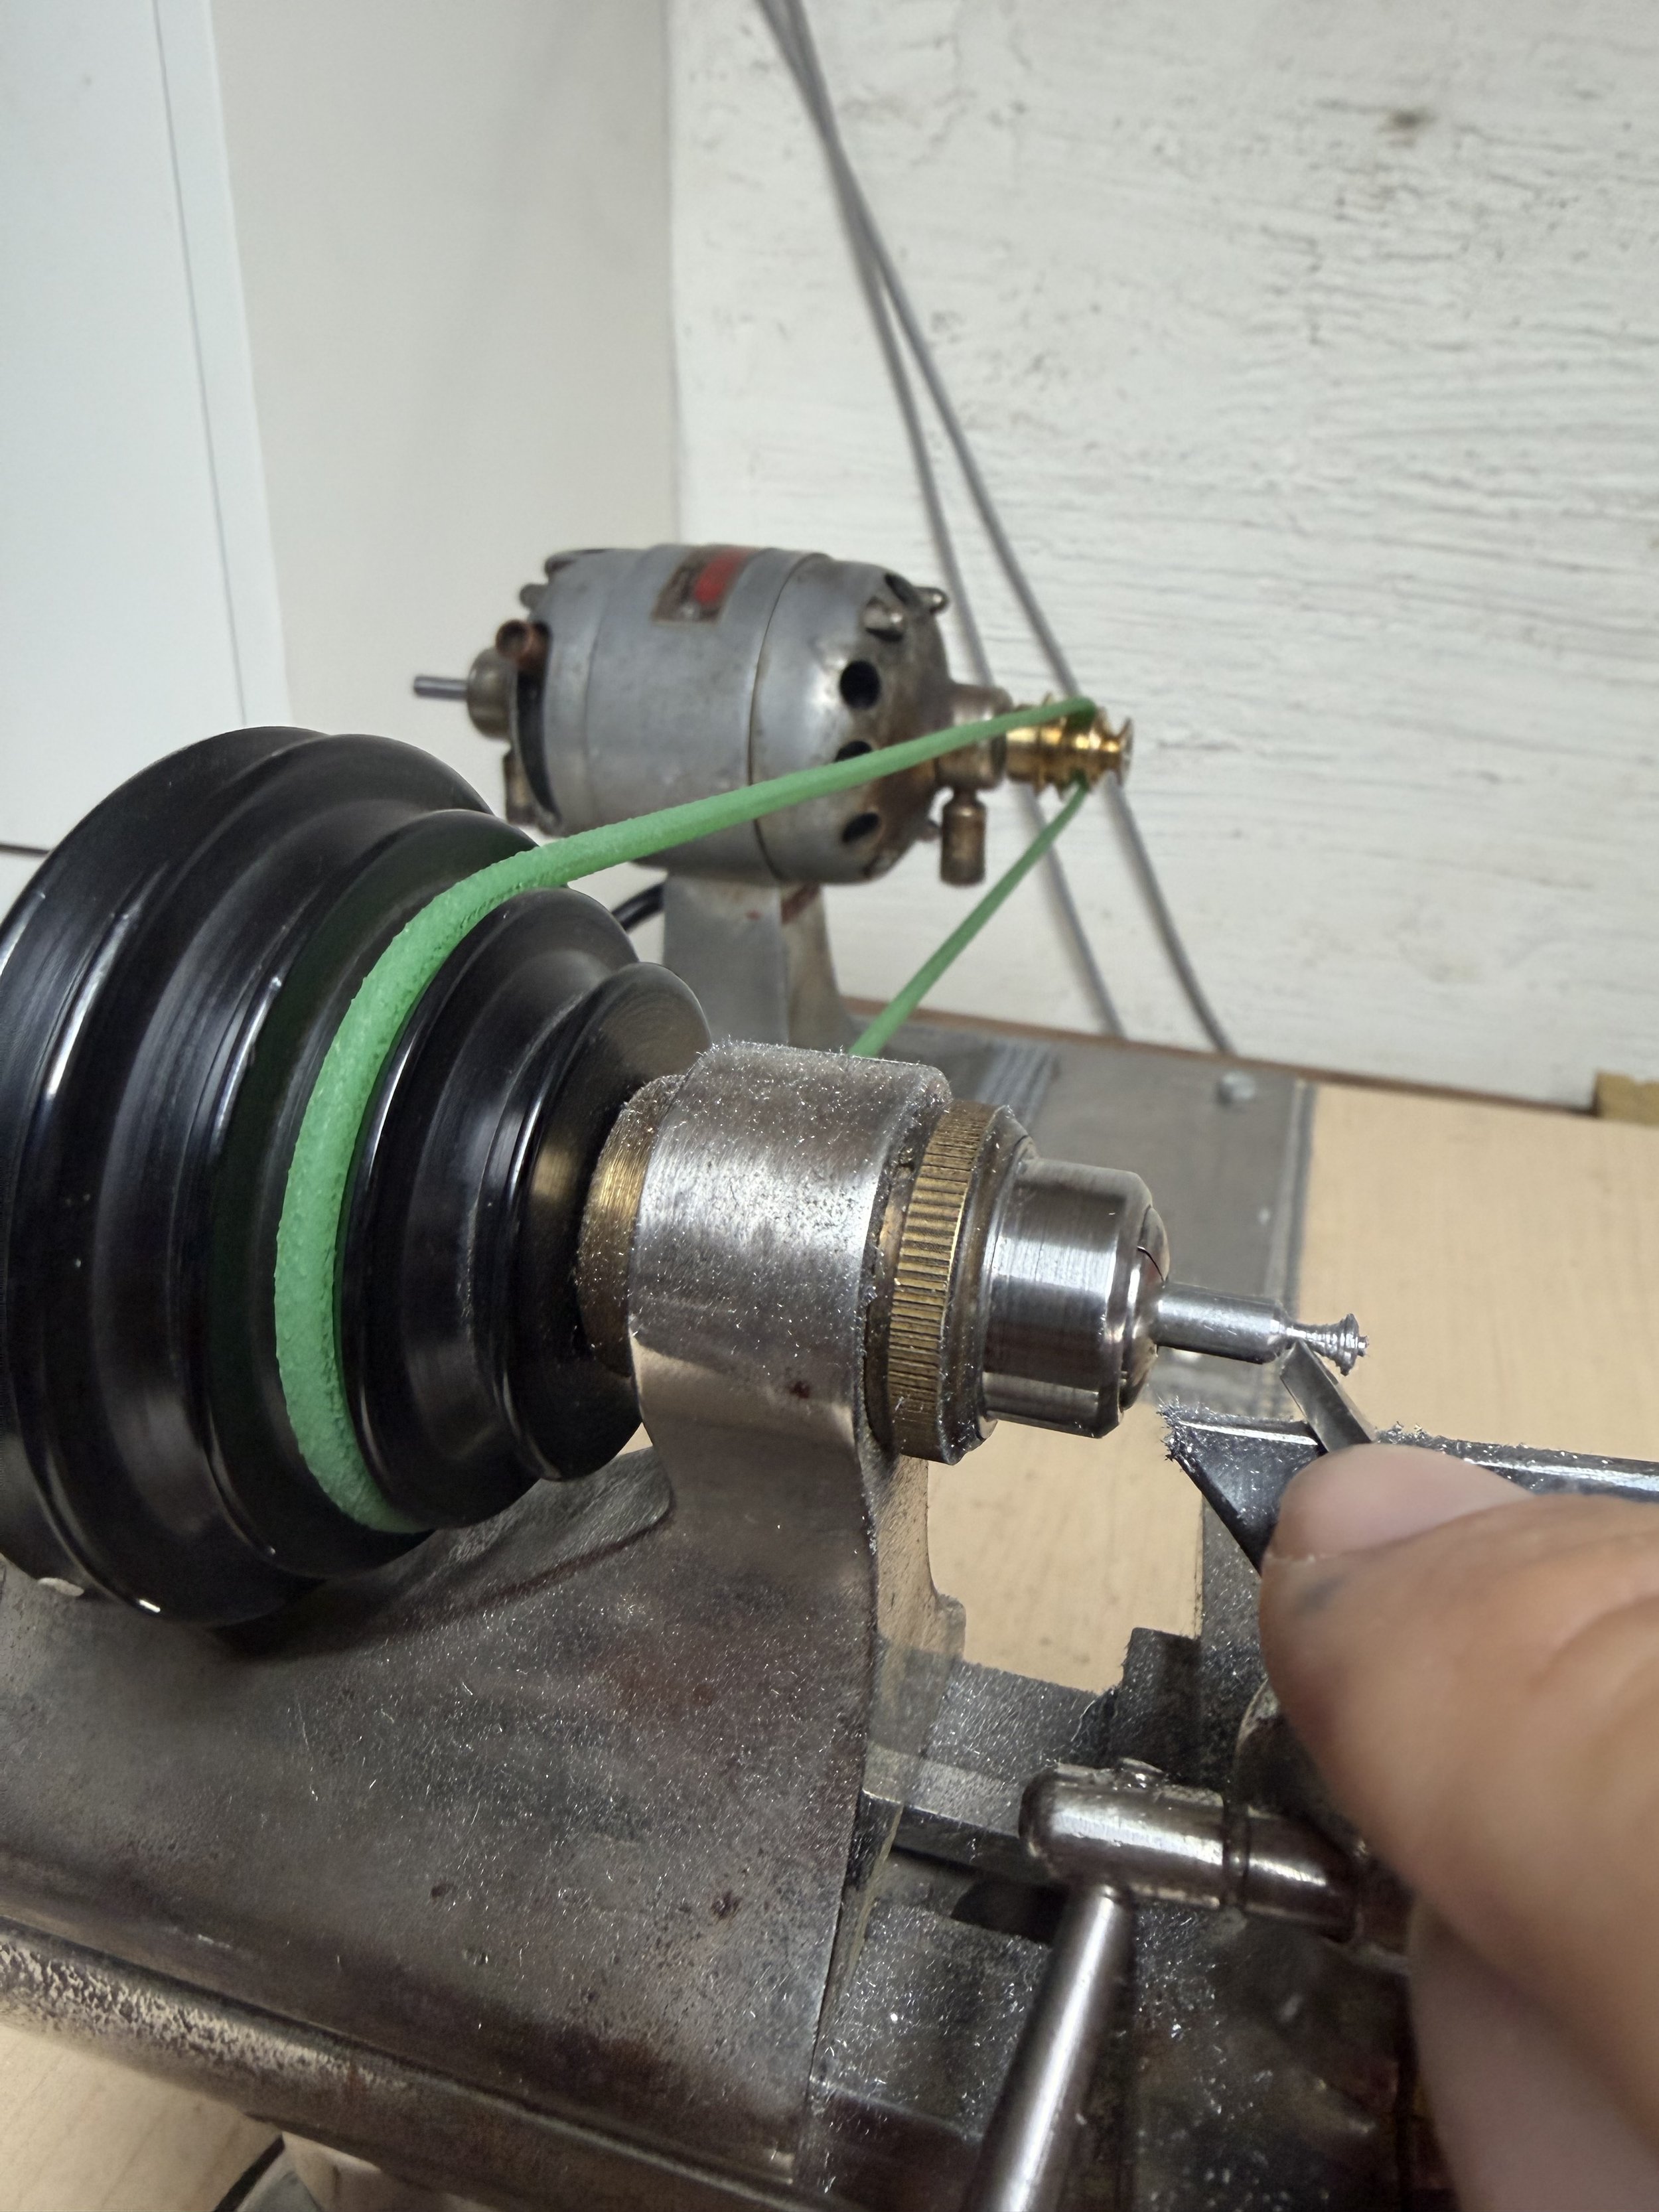
First turns on the “new”, passed-down lathe. These are not dial feet yet, but the basic idea is there: practice the geometry, get the shoulders clean, and keep refining the process until the dial feet become repeatable.
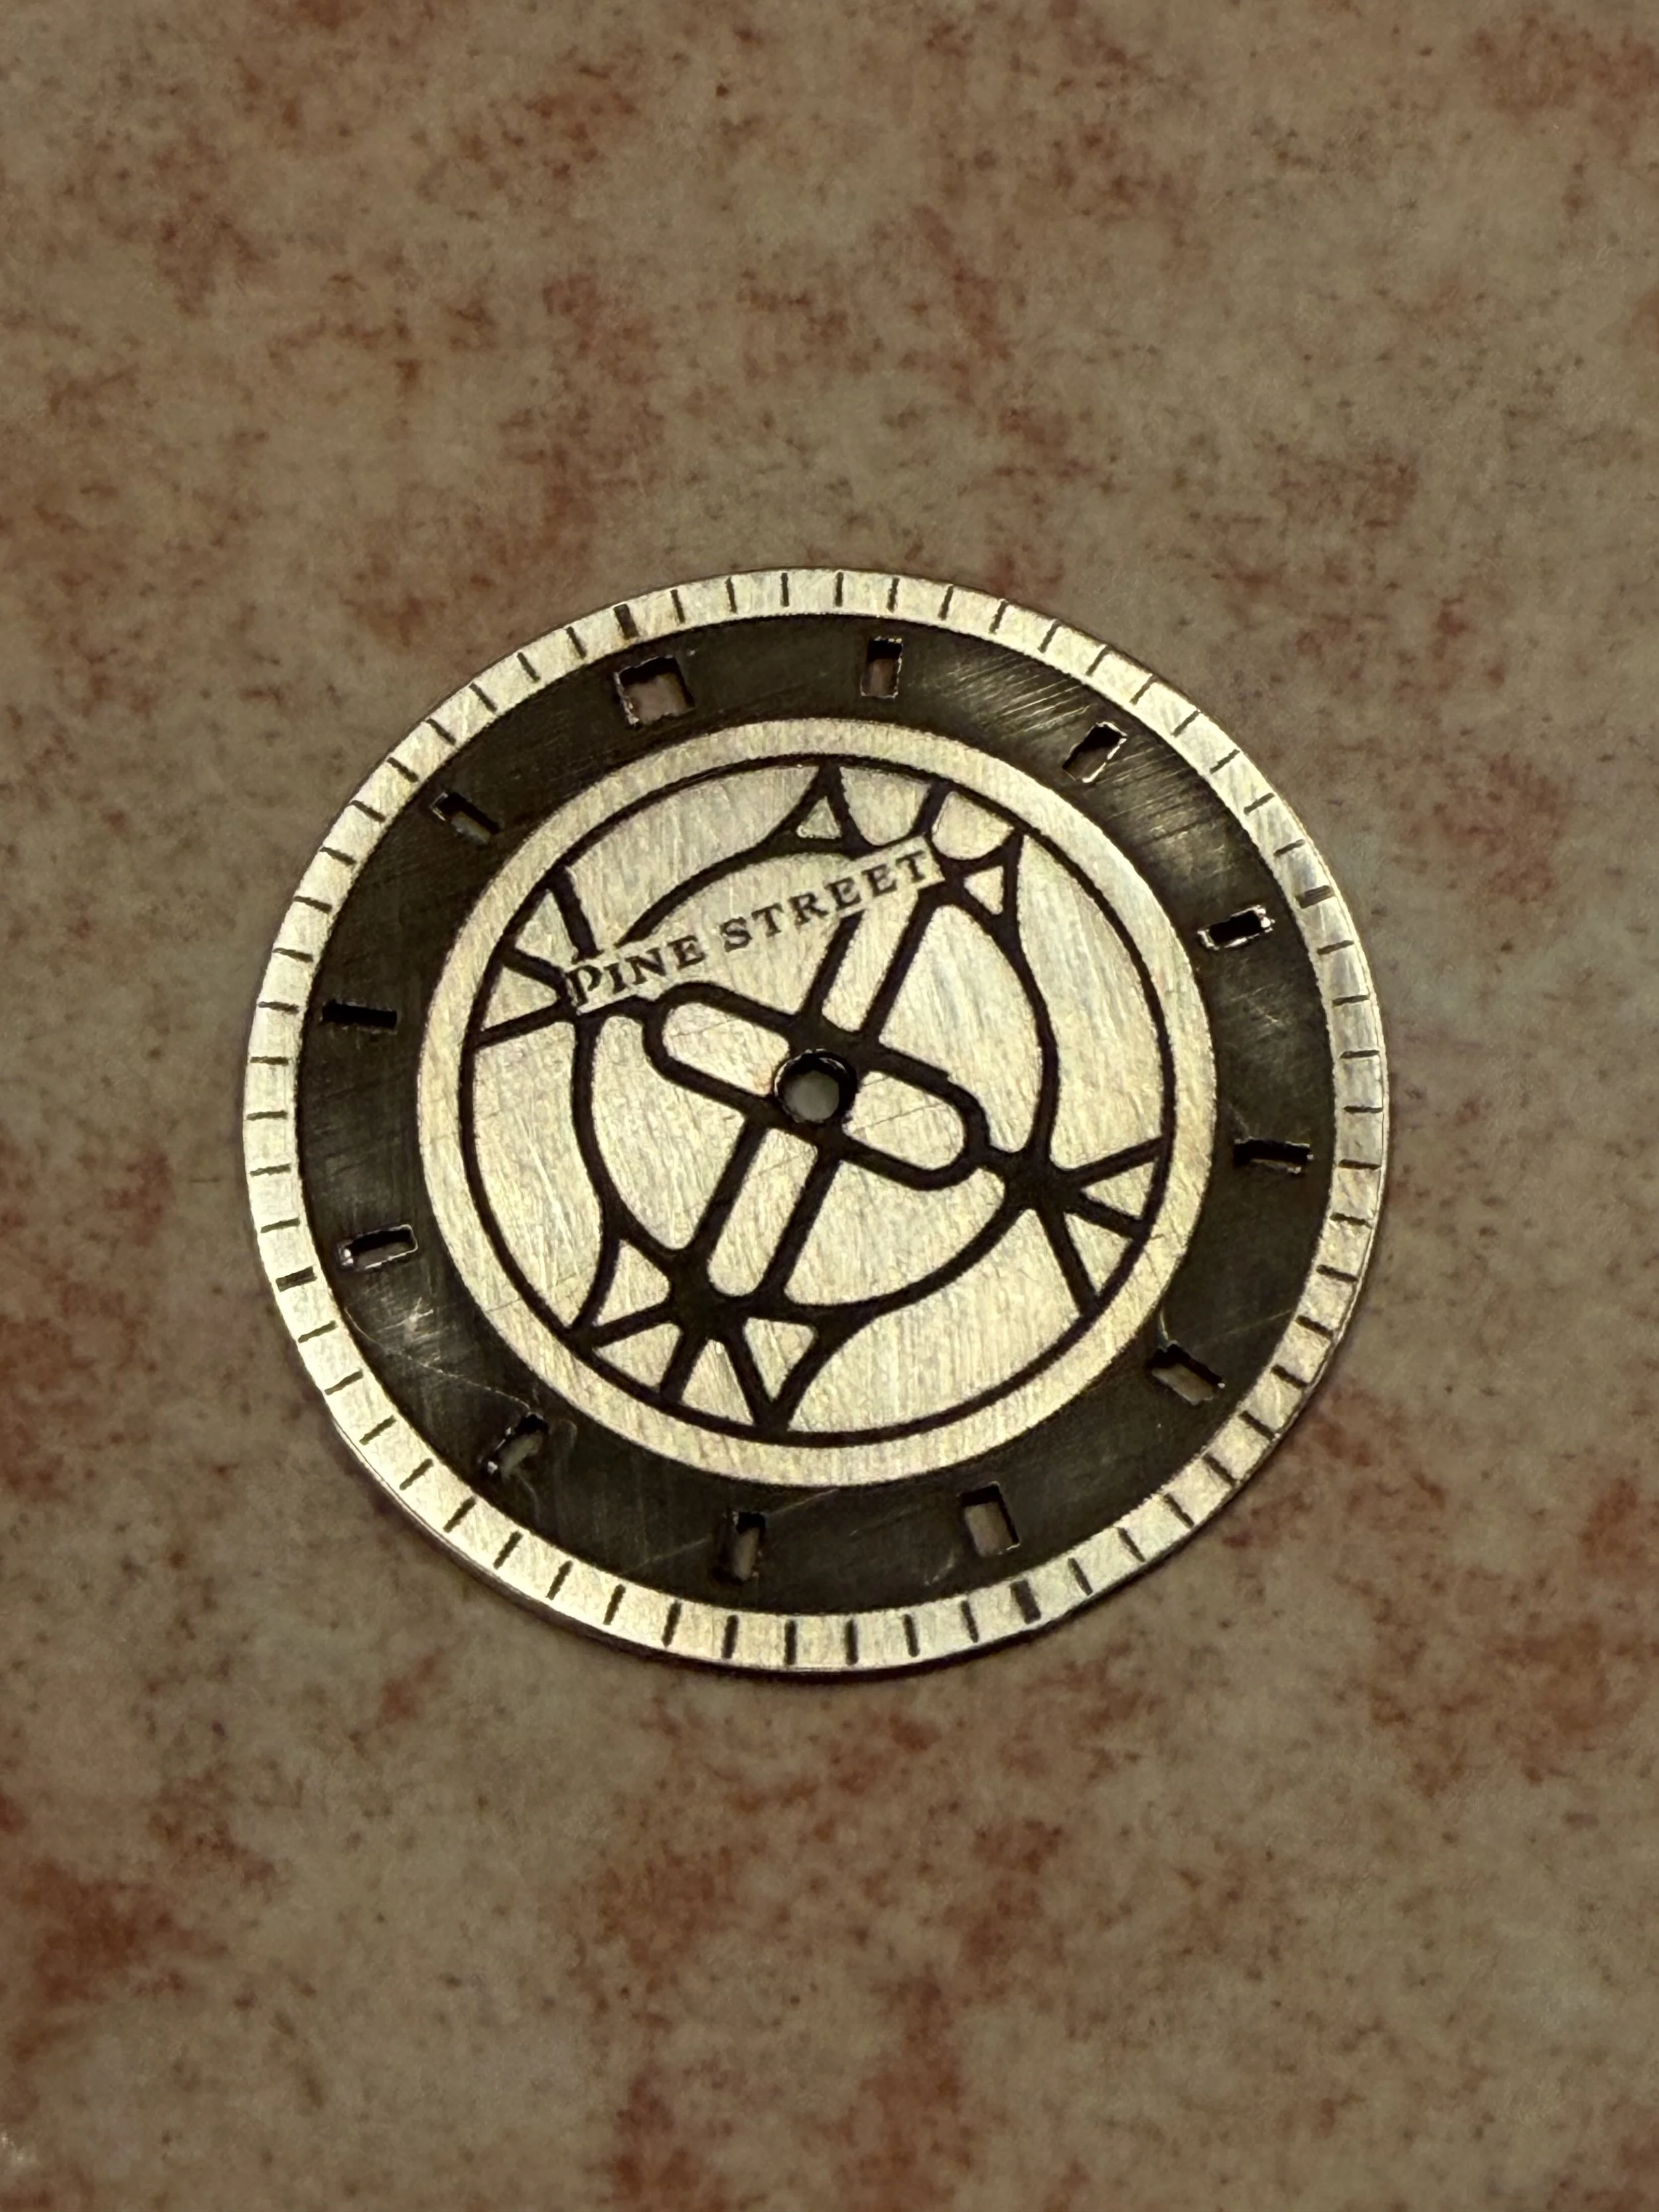
Going below the surface
Today’s Rittenhouse prototype was about finding the surface: testing LightBurn settings to create enough texture and relief to survive paint, without cutting too deeply into the brass.
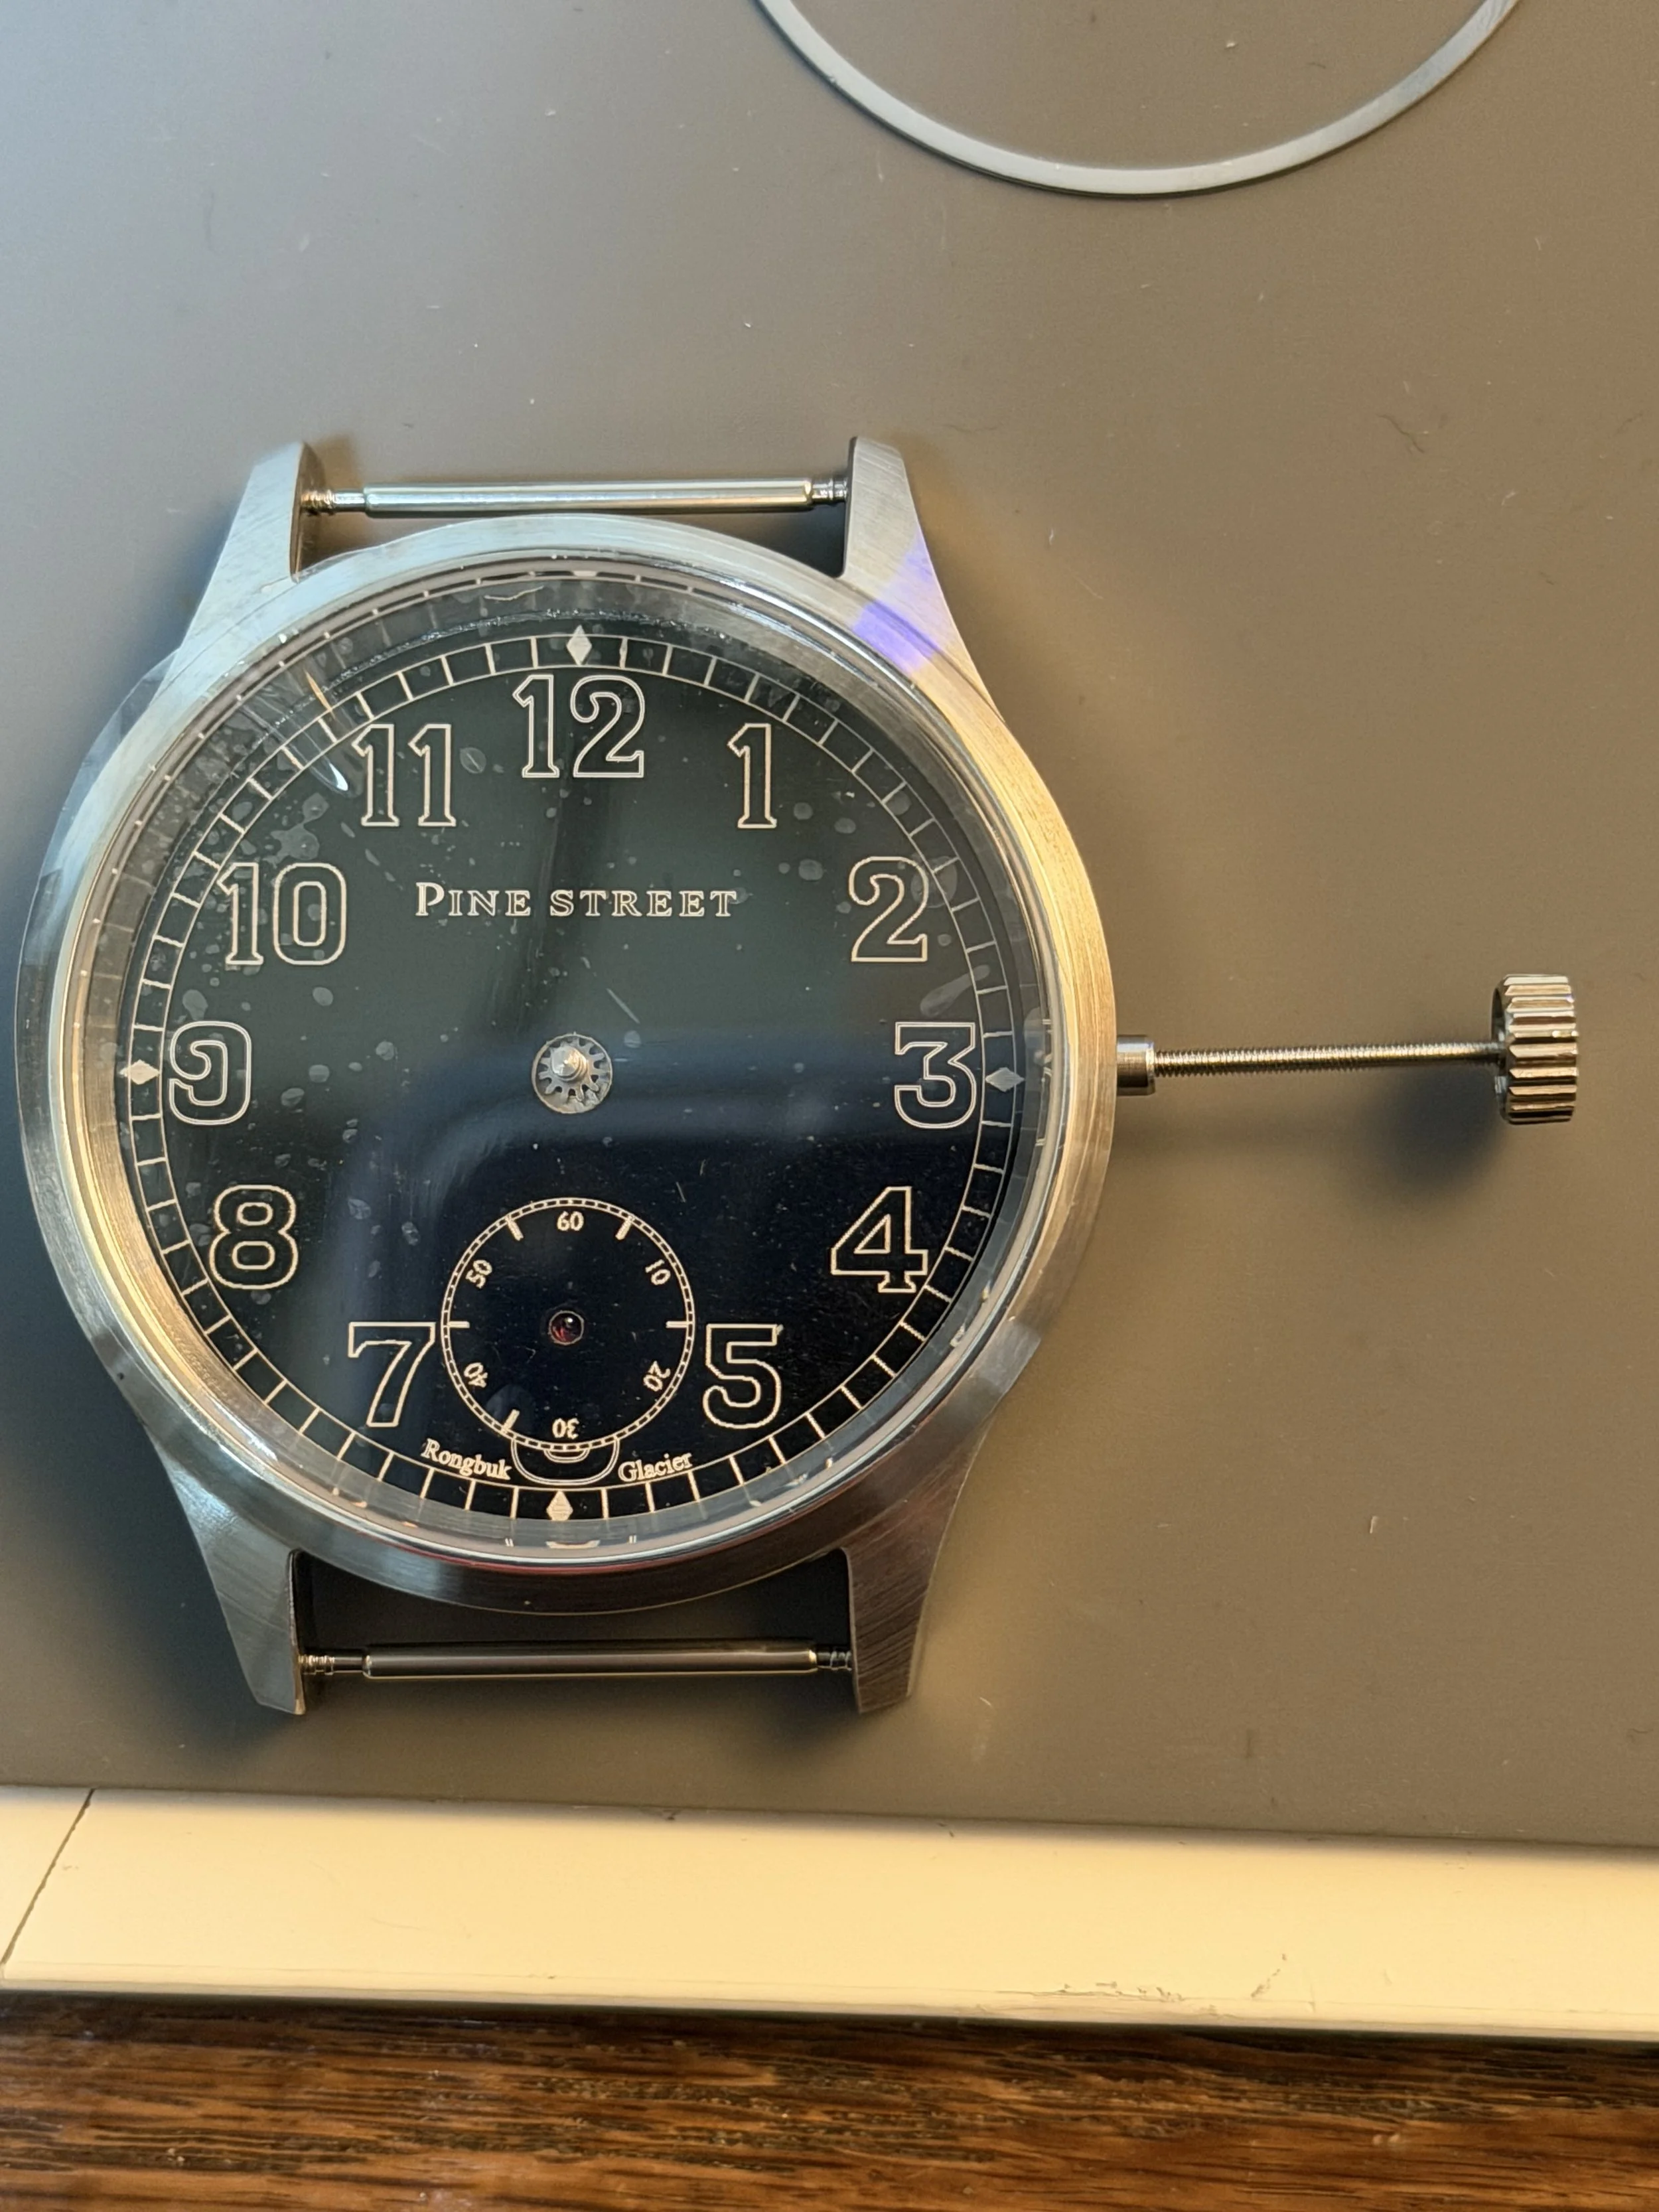
Running up Everest
A Rongbuk Glacier prototype, inspired by a lifelong fascination with mountain climbing and early expedition watches. This layout test brings the dial one step closer, with the center and small seconds holes aligned, a few lessons learned, and steel cliché engraving up next.
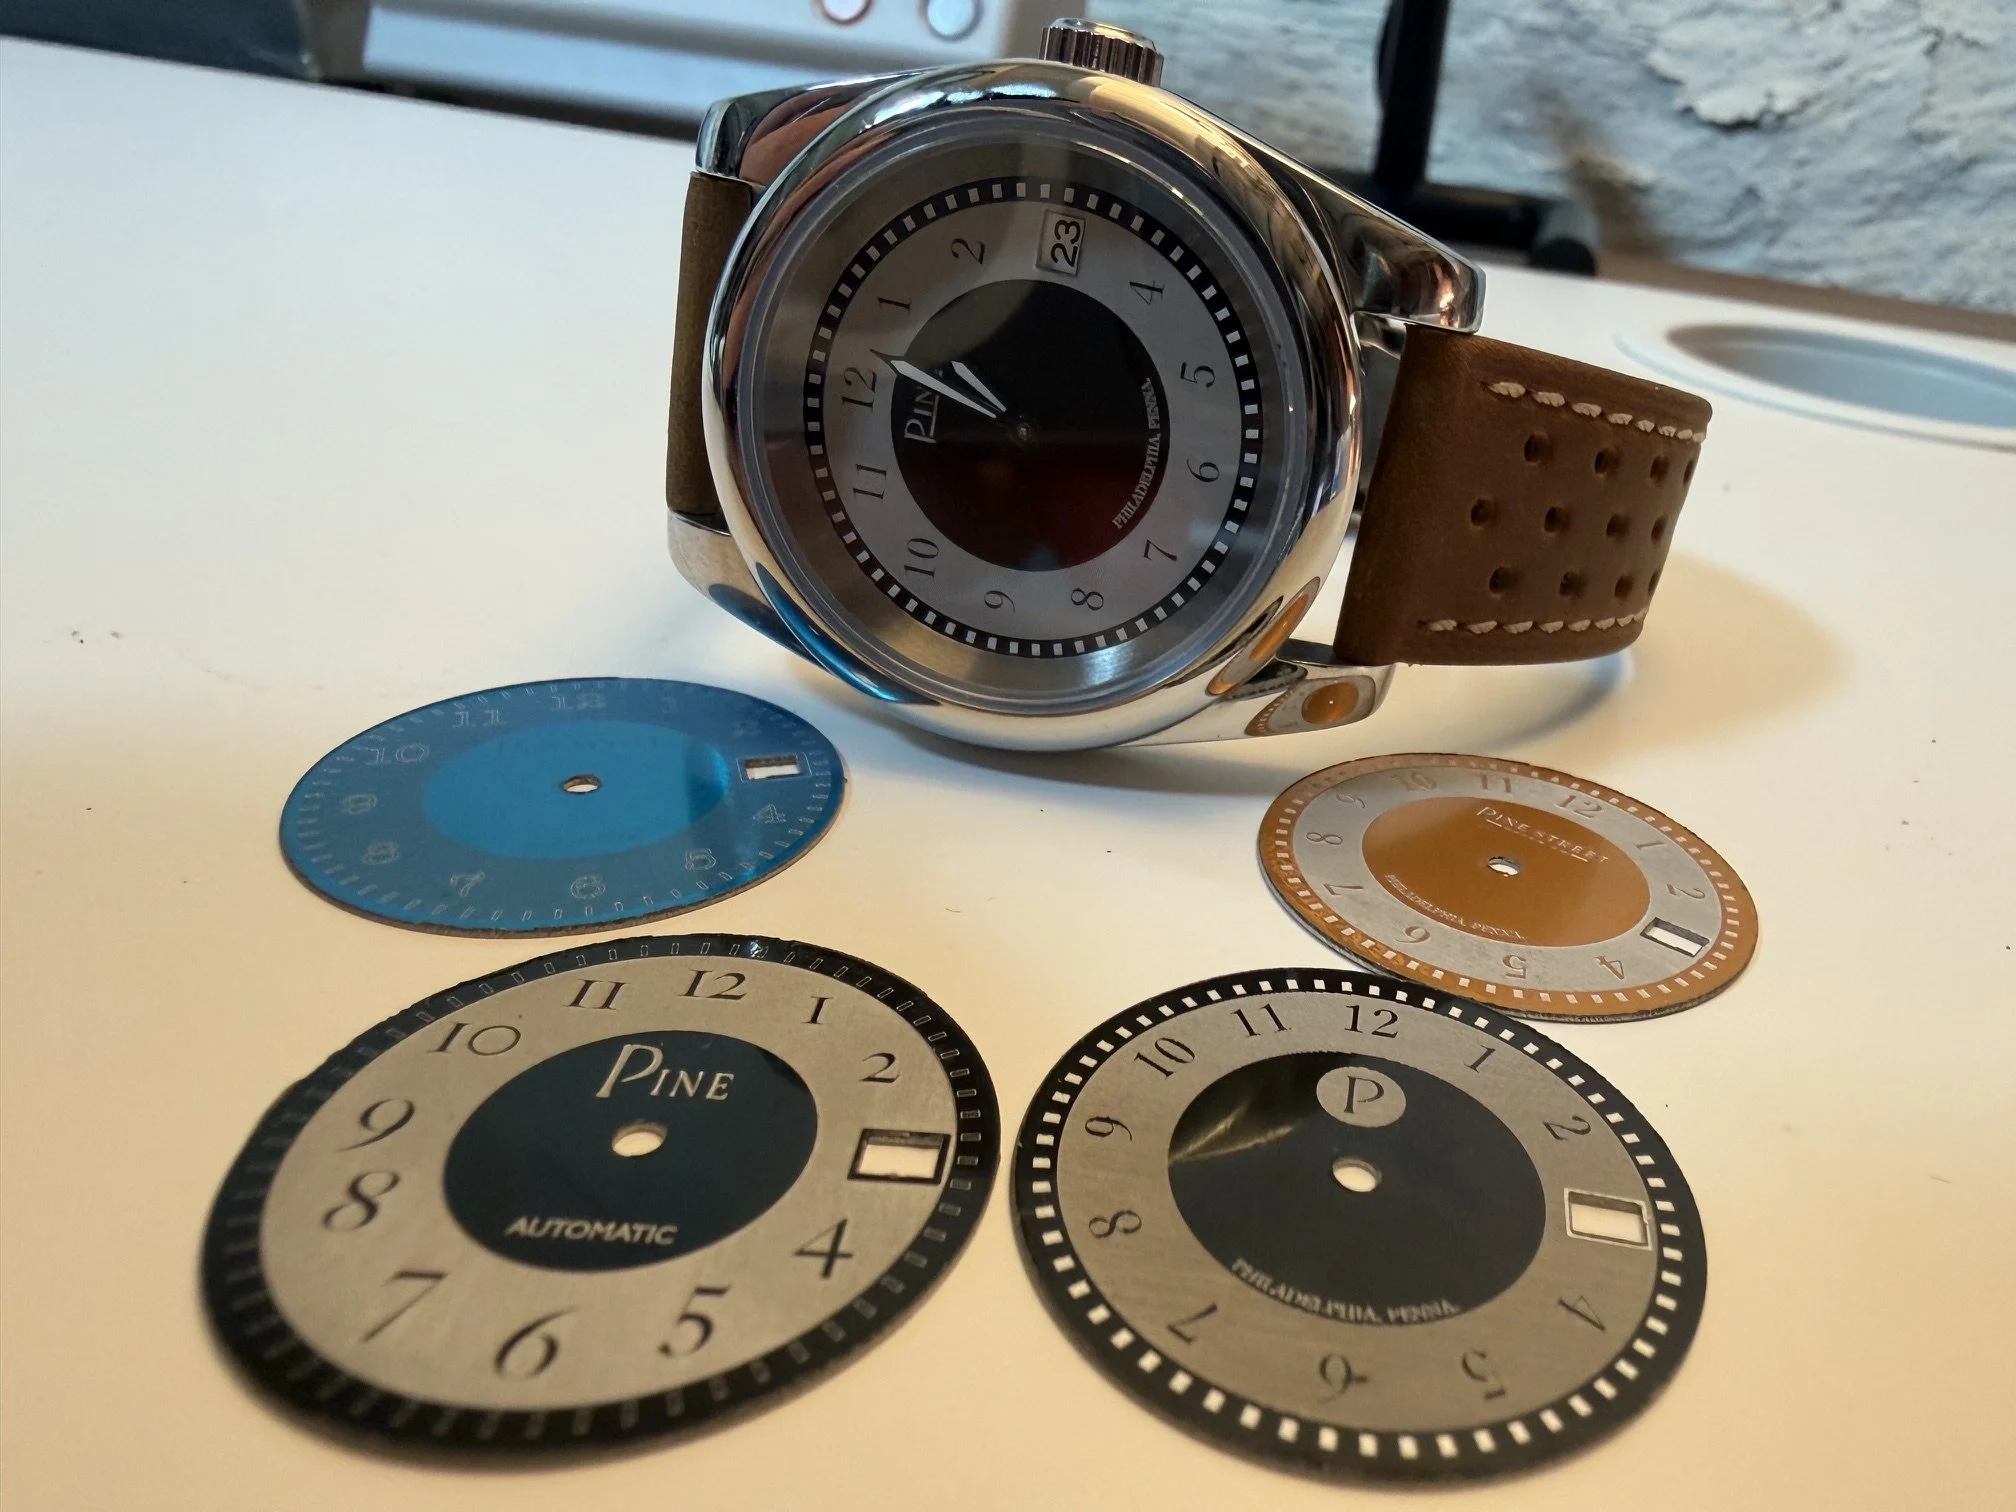
Fun w/ aluminium
Brass dial cutting is becoming repeatable, so this week’s Bench Notes shifts toward calibration and fast design testing. After dialing in LightBurn dimensions with help from Steve Makes Everything, I started experimenting with colored aluminum cards as quick NH35 dial prototypes — useful for testing layouts, logo placement, date windows, and proportions before moving into more permanent materials. Next up: dial feet experiments, epoxy vs. solder, and the first steps toward airbrushed finishes.