Building the First Rittenhouse
The Rittenhouse is beginning to take shape as more than a single watch. I see it as a continuing series inspired by David Rittenhouse and the different sides of his legacy: astronomy, surveying, mathematics, clockmaking and mechanical invention.
This first model establishes the foundation of the series and the visual language I hope to continue developing. Its dial relies on concentric geometry, dimensional brass construction and the interaction between a dark painted surface and exposed metal.
Future models will explore Rittenhouse’s scientific work more directly. I am particularly interested in developing versions around the Sellita SW288-1. or something similar. Its moonphase complication could provide an opportunity to create a dial inspired by Rittenhouse’s orreries and his mechanical representations of planetary motion.
For now, the goal has been to see if I I can produce a dial I’d be happy to wear and to work through the complete process in my own shop.
From Brass Sheet to Finished Dial
The process begins with a larger sheet of 260 brass. I cut the sheet down on the shear into manageable 4 × 4-inch blanks, which give me enough room to produce and test multiple dial layouts.
The dial artwork is developed in LightBurn, with separate layers controlling the geometry, engraving depths and cutting operations. The brass is then engraved using my 60-watt JPT MOPA fiber laser.
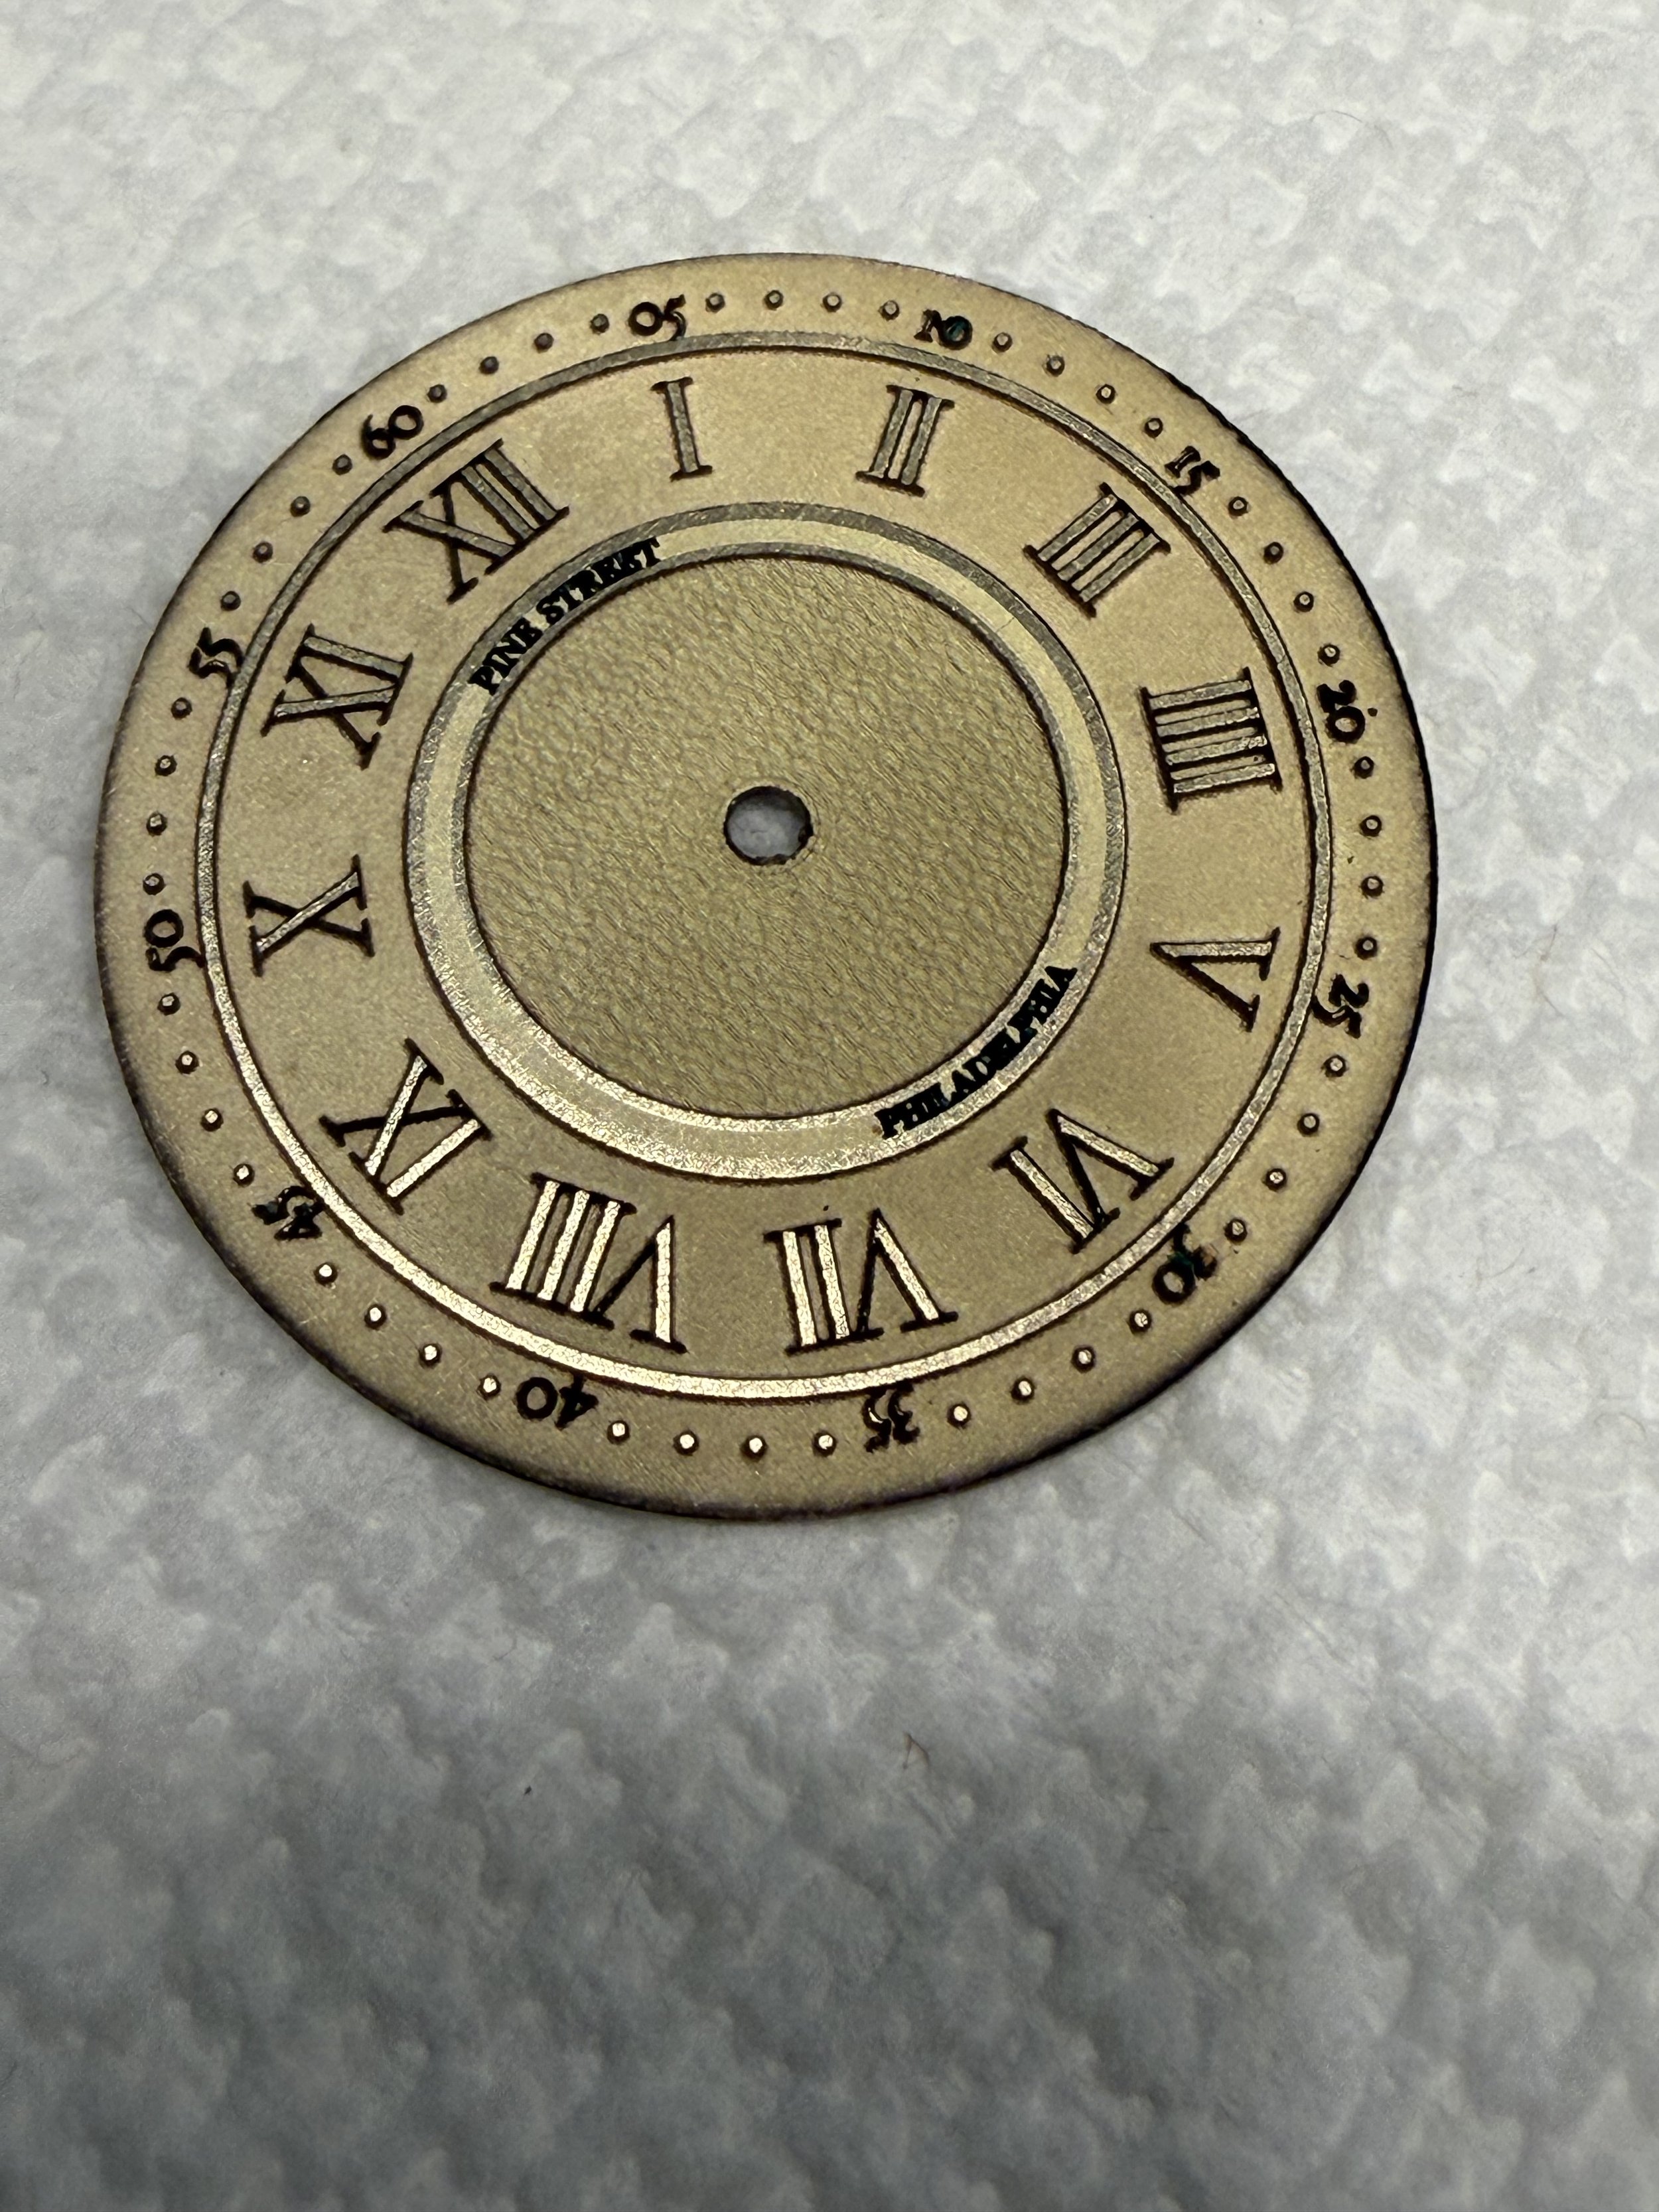
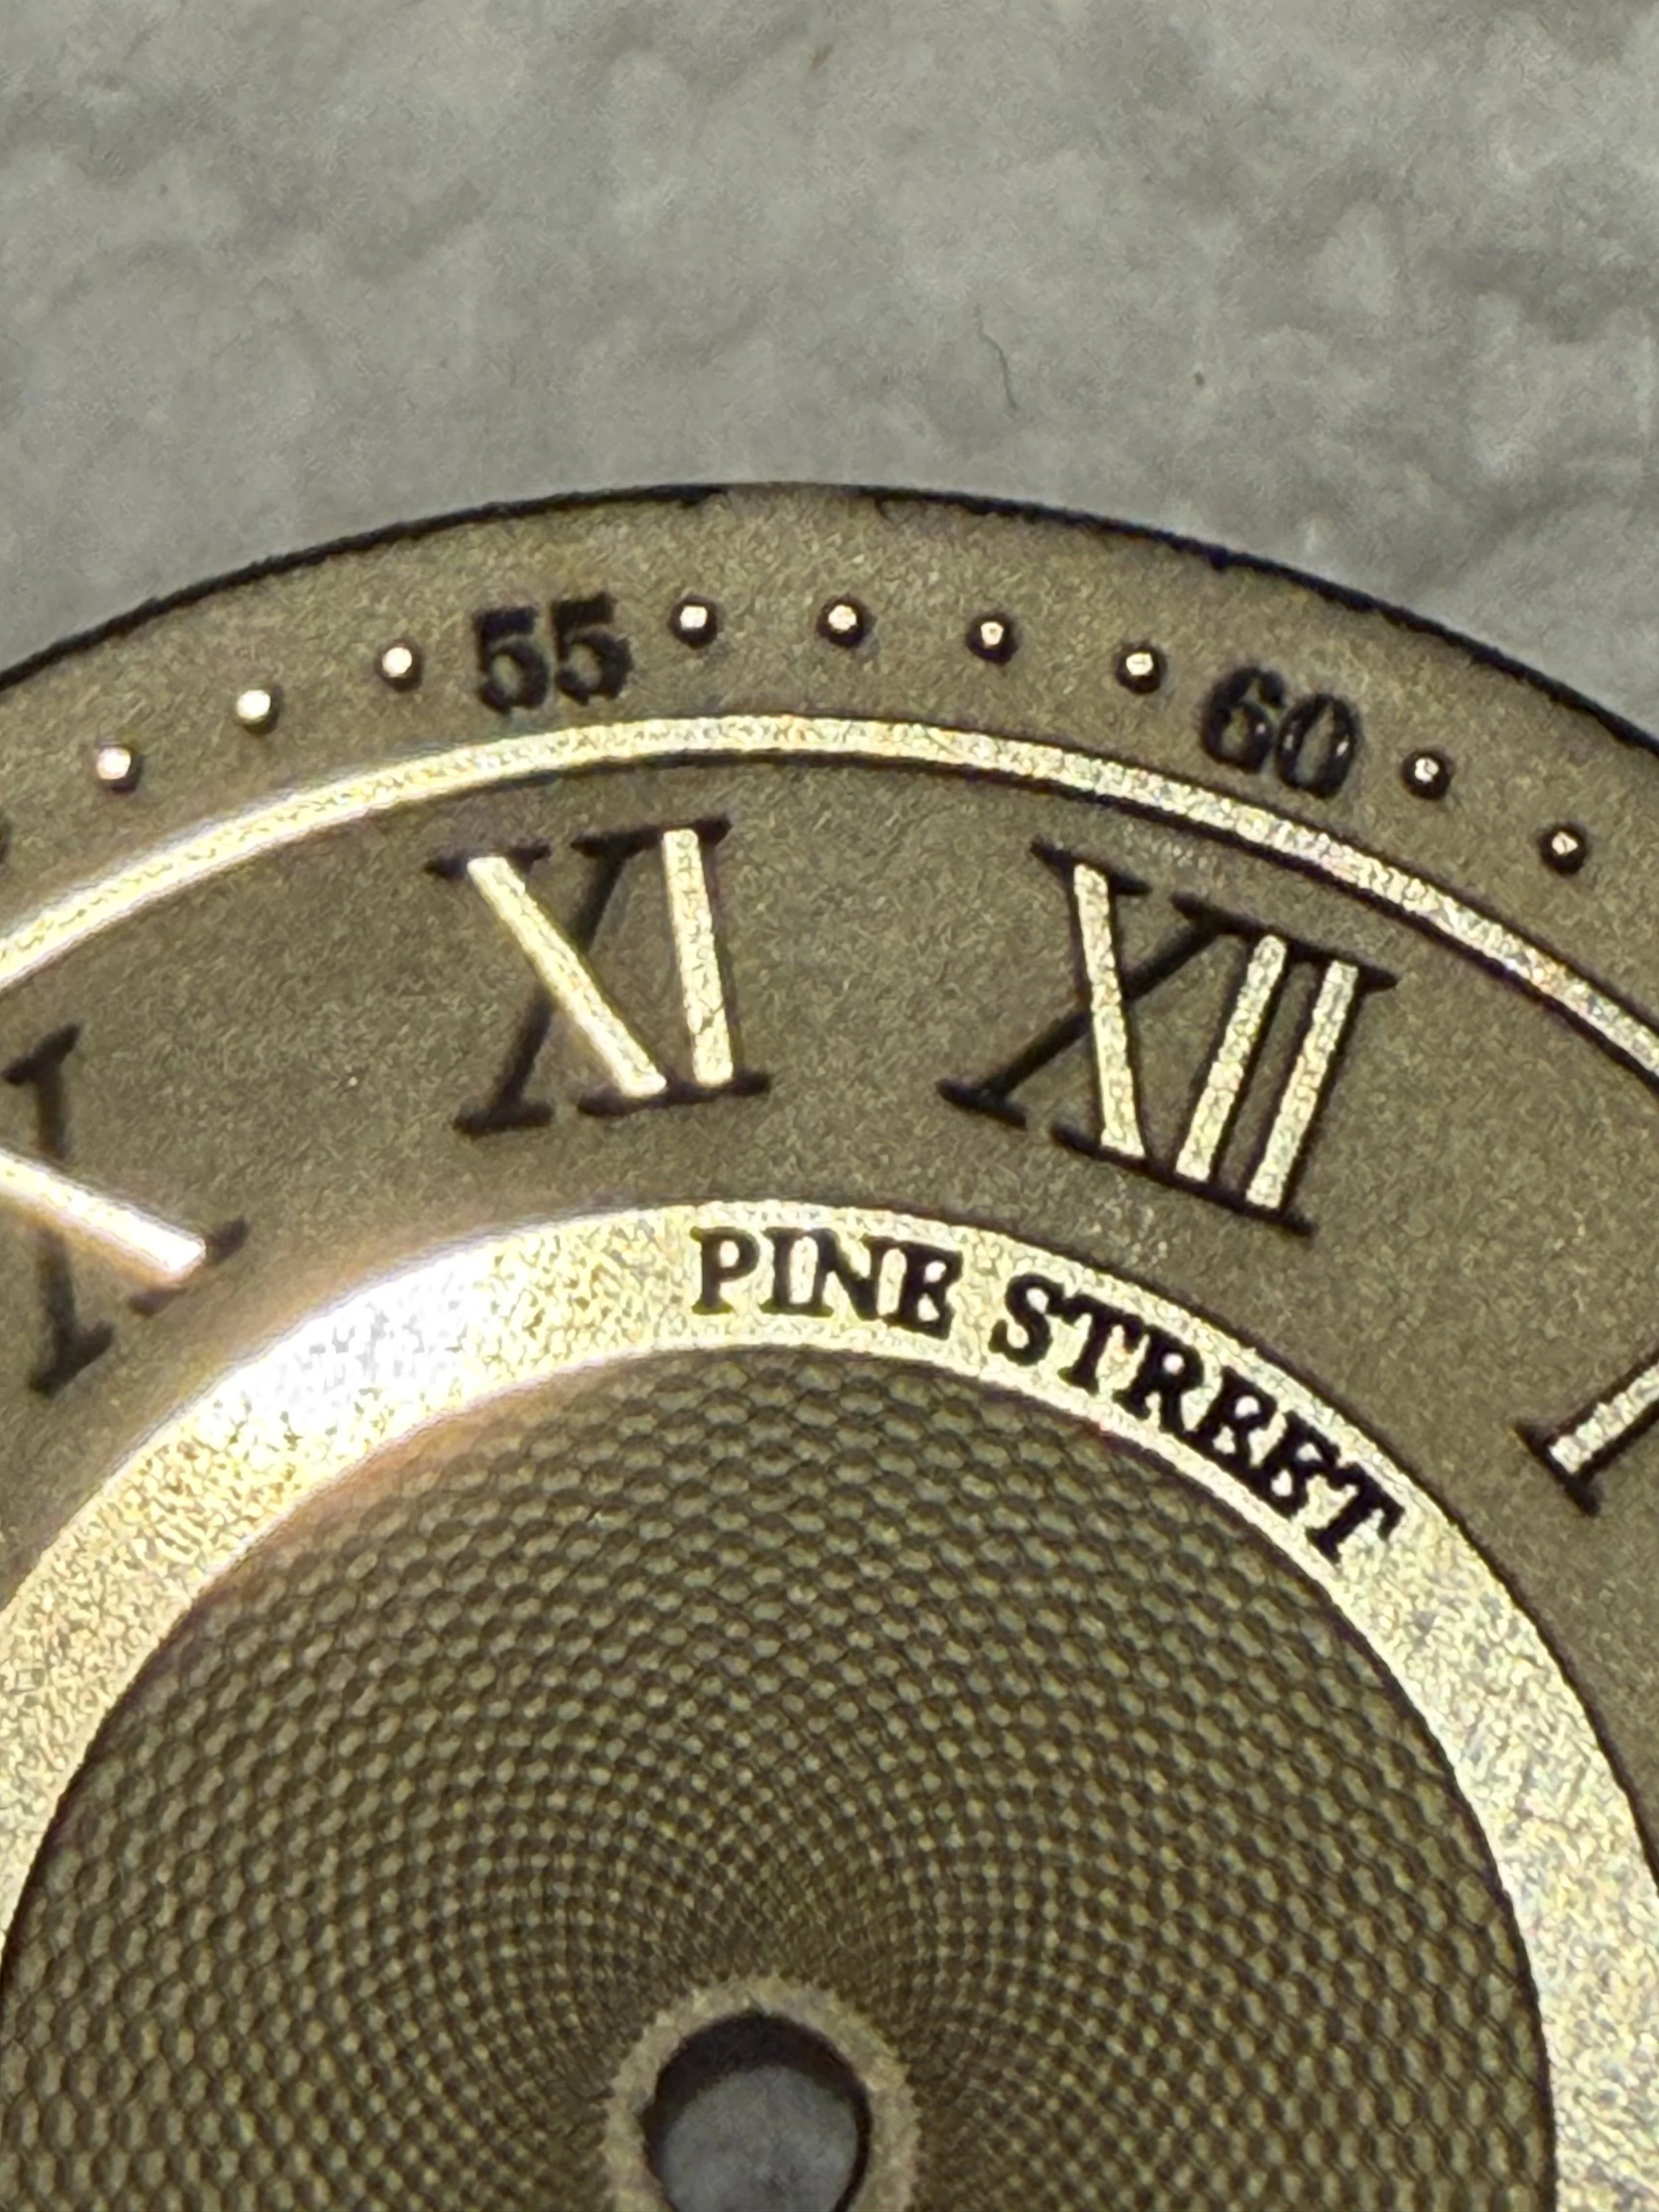
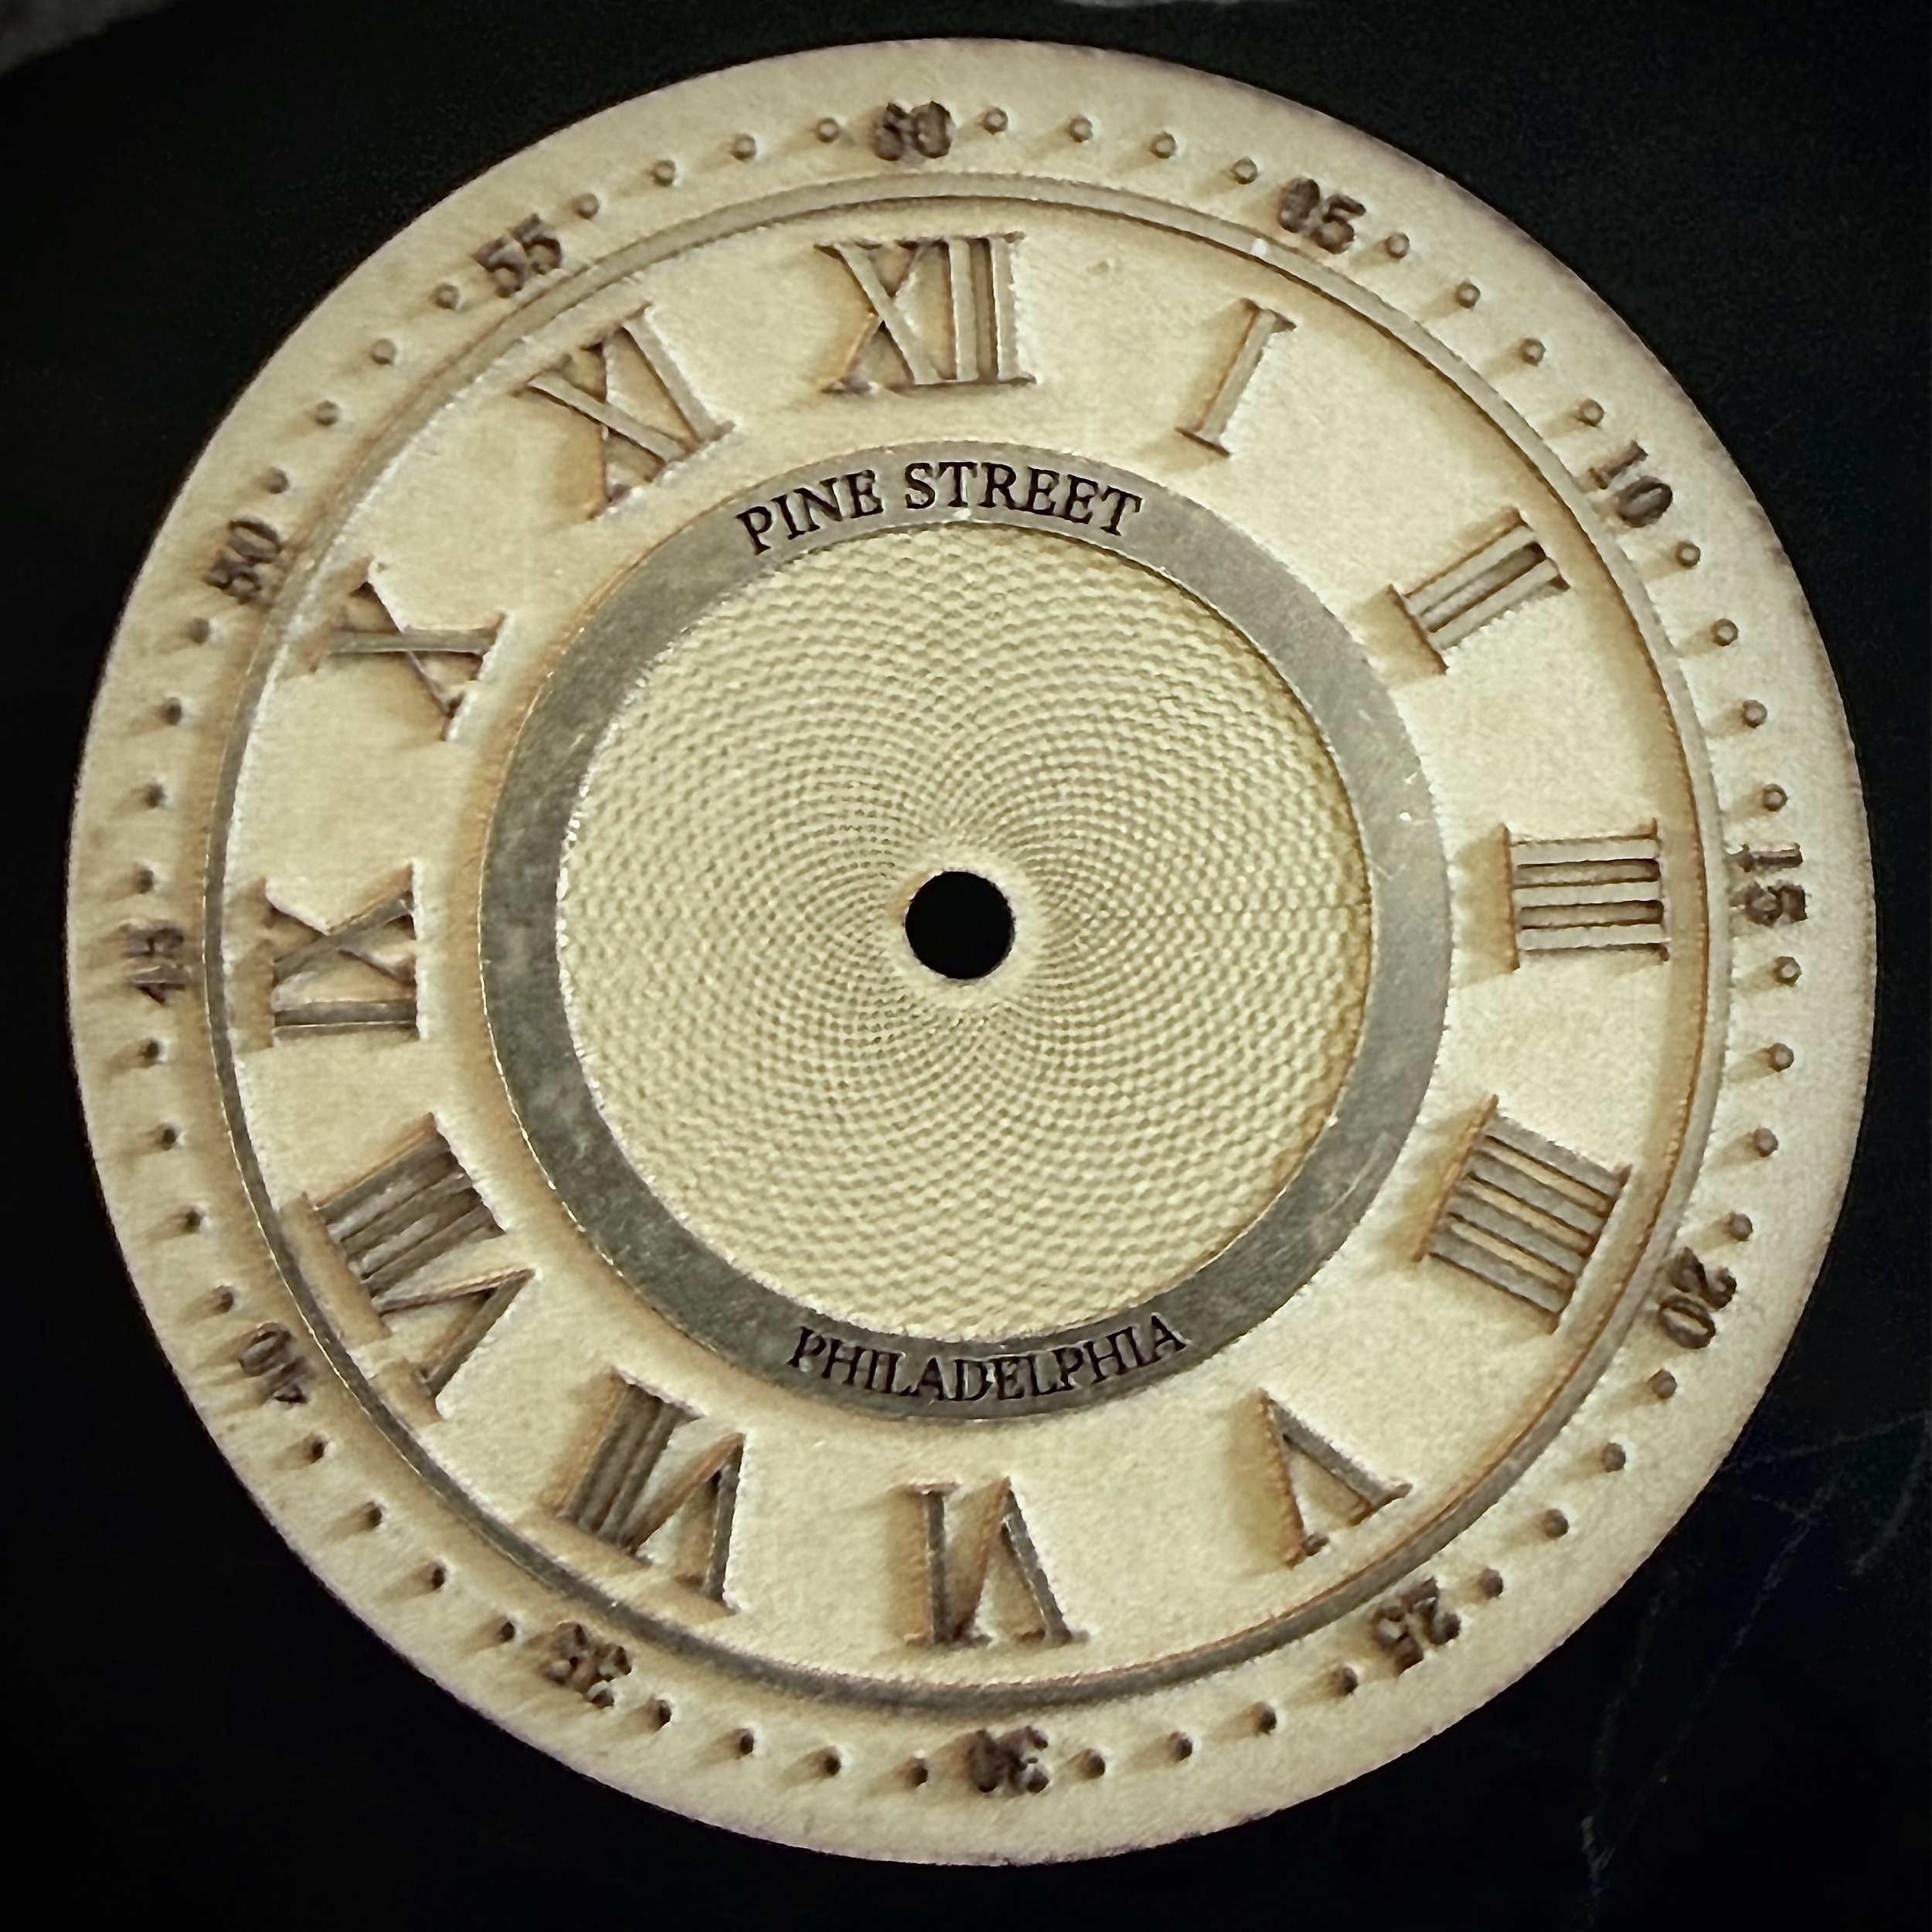
Rather than simply marking the surface, the laser removes material from selected areas of the brass. This leaves the numerals, rings and other design elements standing in relief.
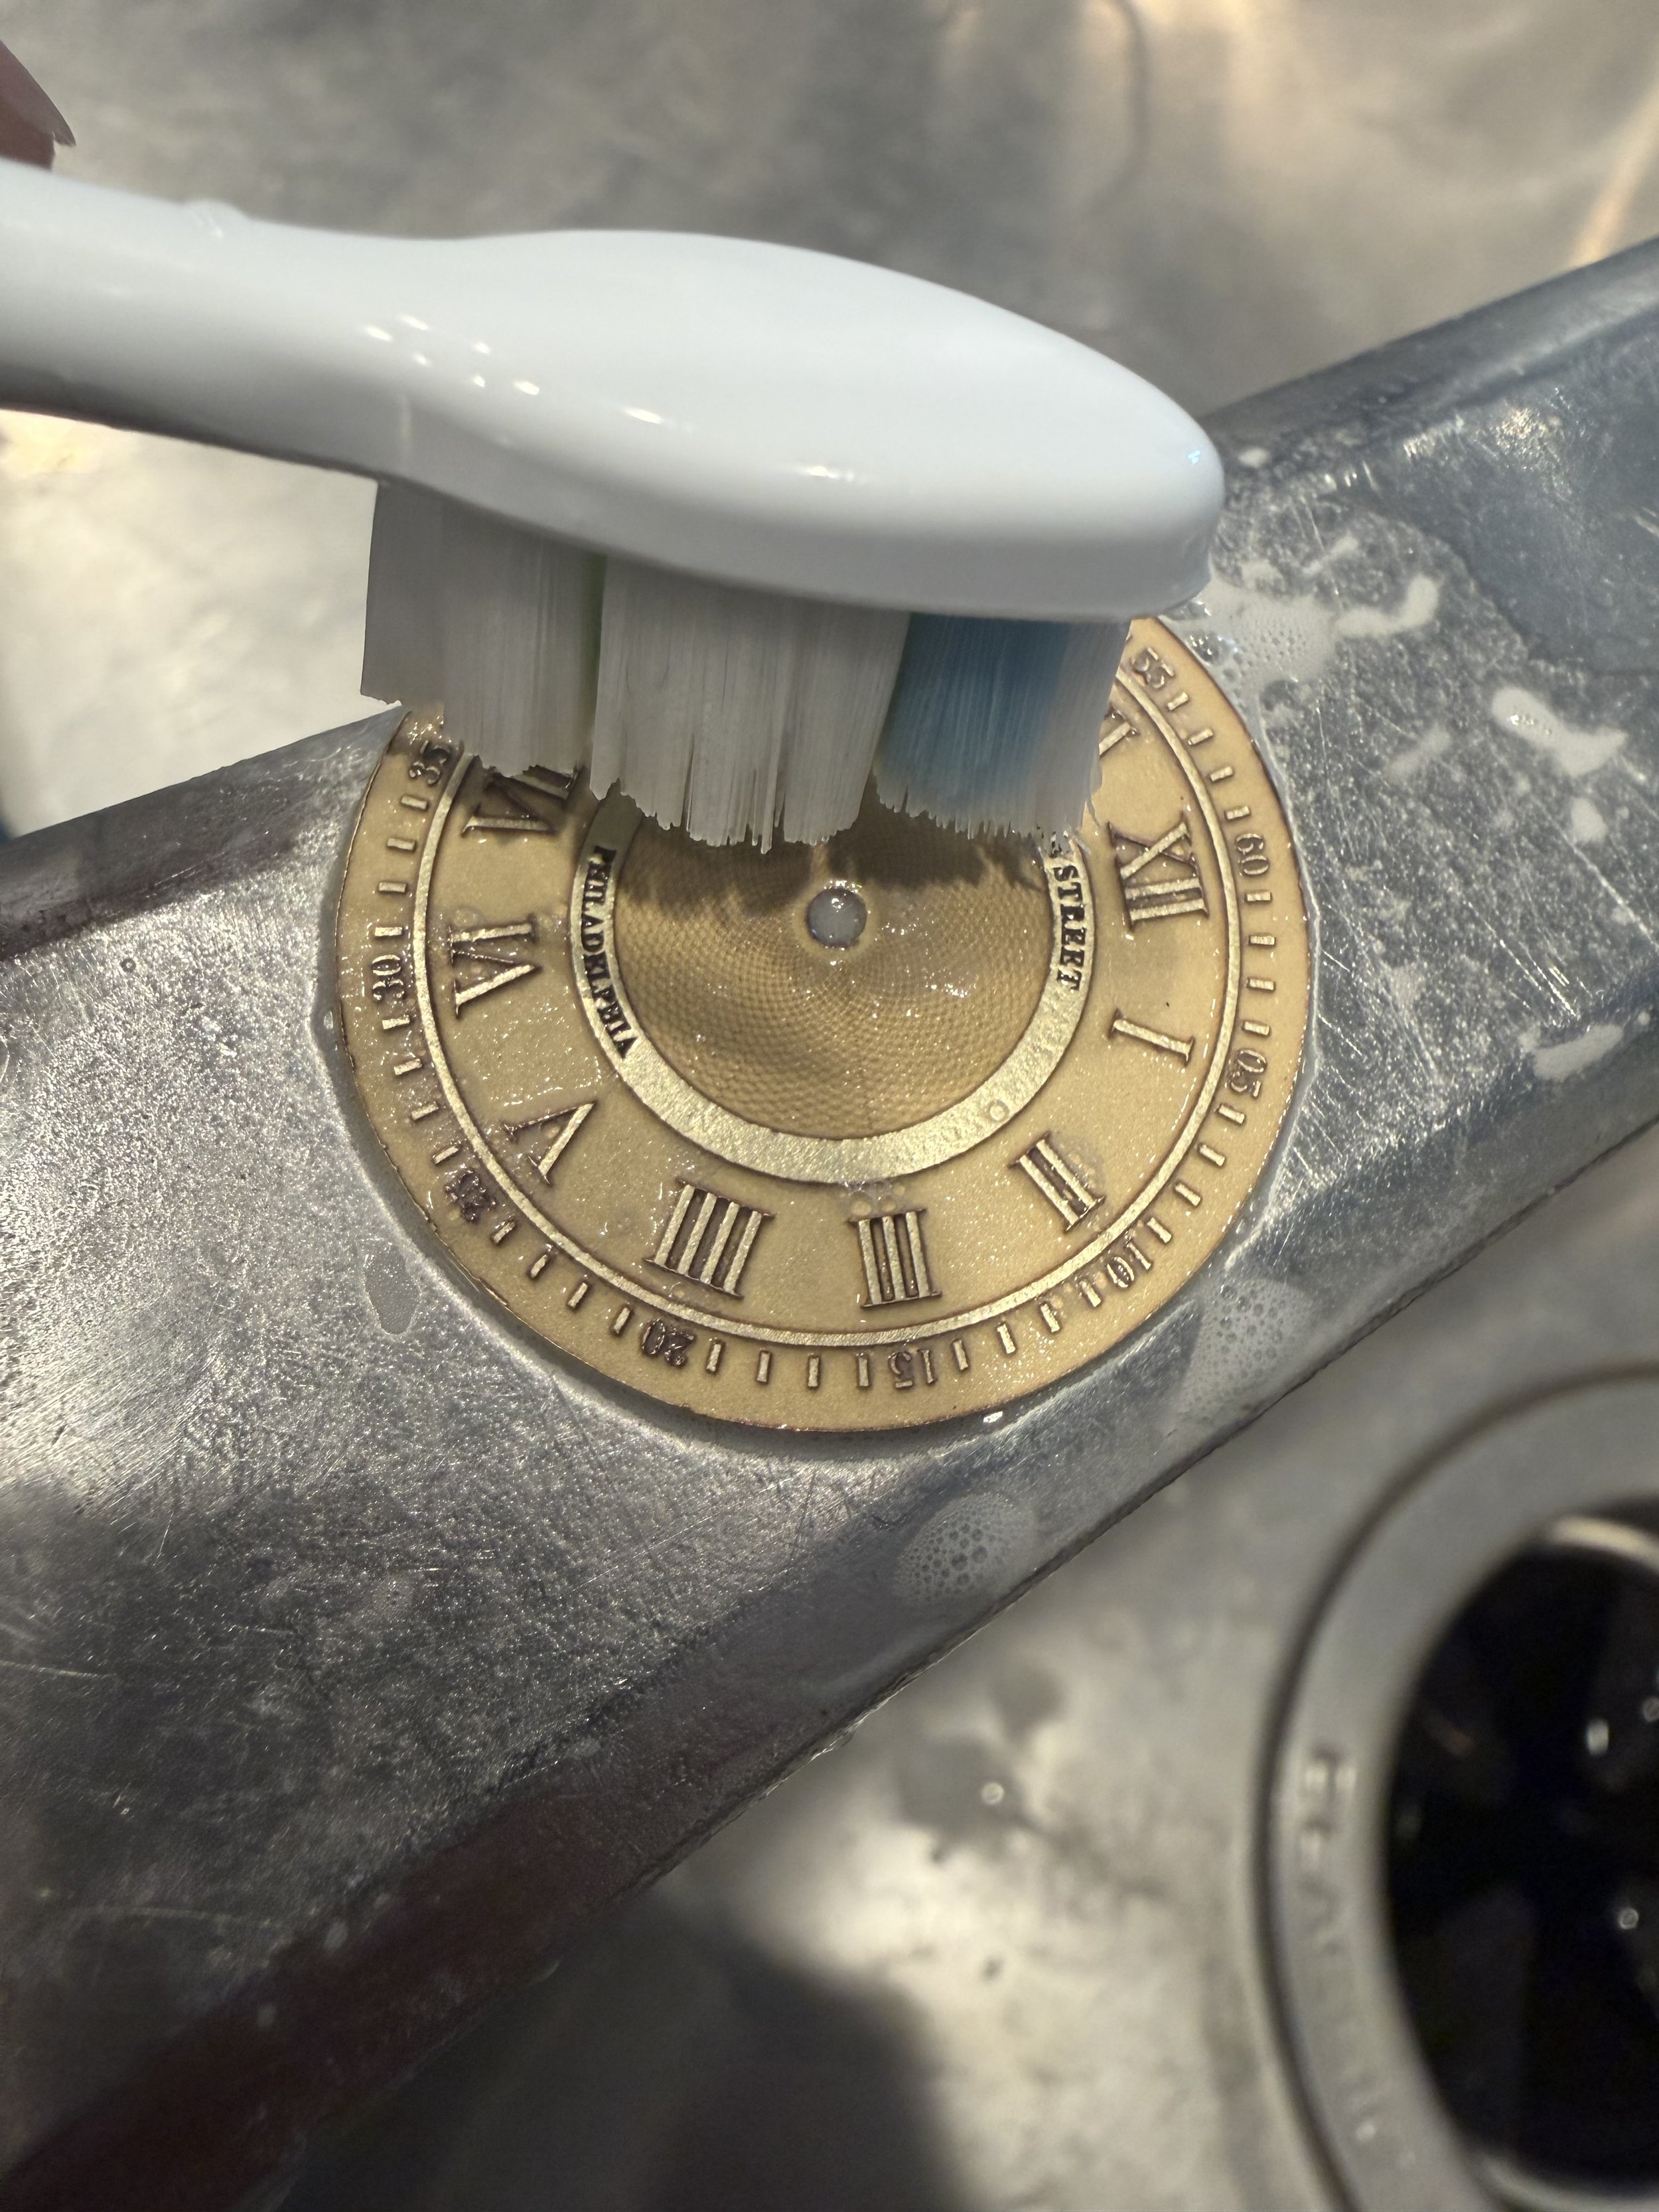
Once the laser work is complete, the dial is cut from the blank and carefully deburred by hand. The surface is then thoroughly cleaned, degreased and prepared for finishing.
I primed the brass with Gaia Notes GS-02 Surfacer Evo White. The color coat is a custom blend of Gaia Notes Basic Color 012 Flat Black and Primary Color 039 Primary Metallic Blue. The metallic blue adds depth and movement in the light, while the flat black darkens the mixture and keeps the color restrained.
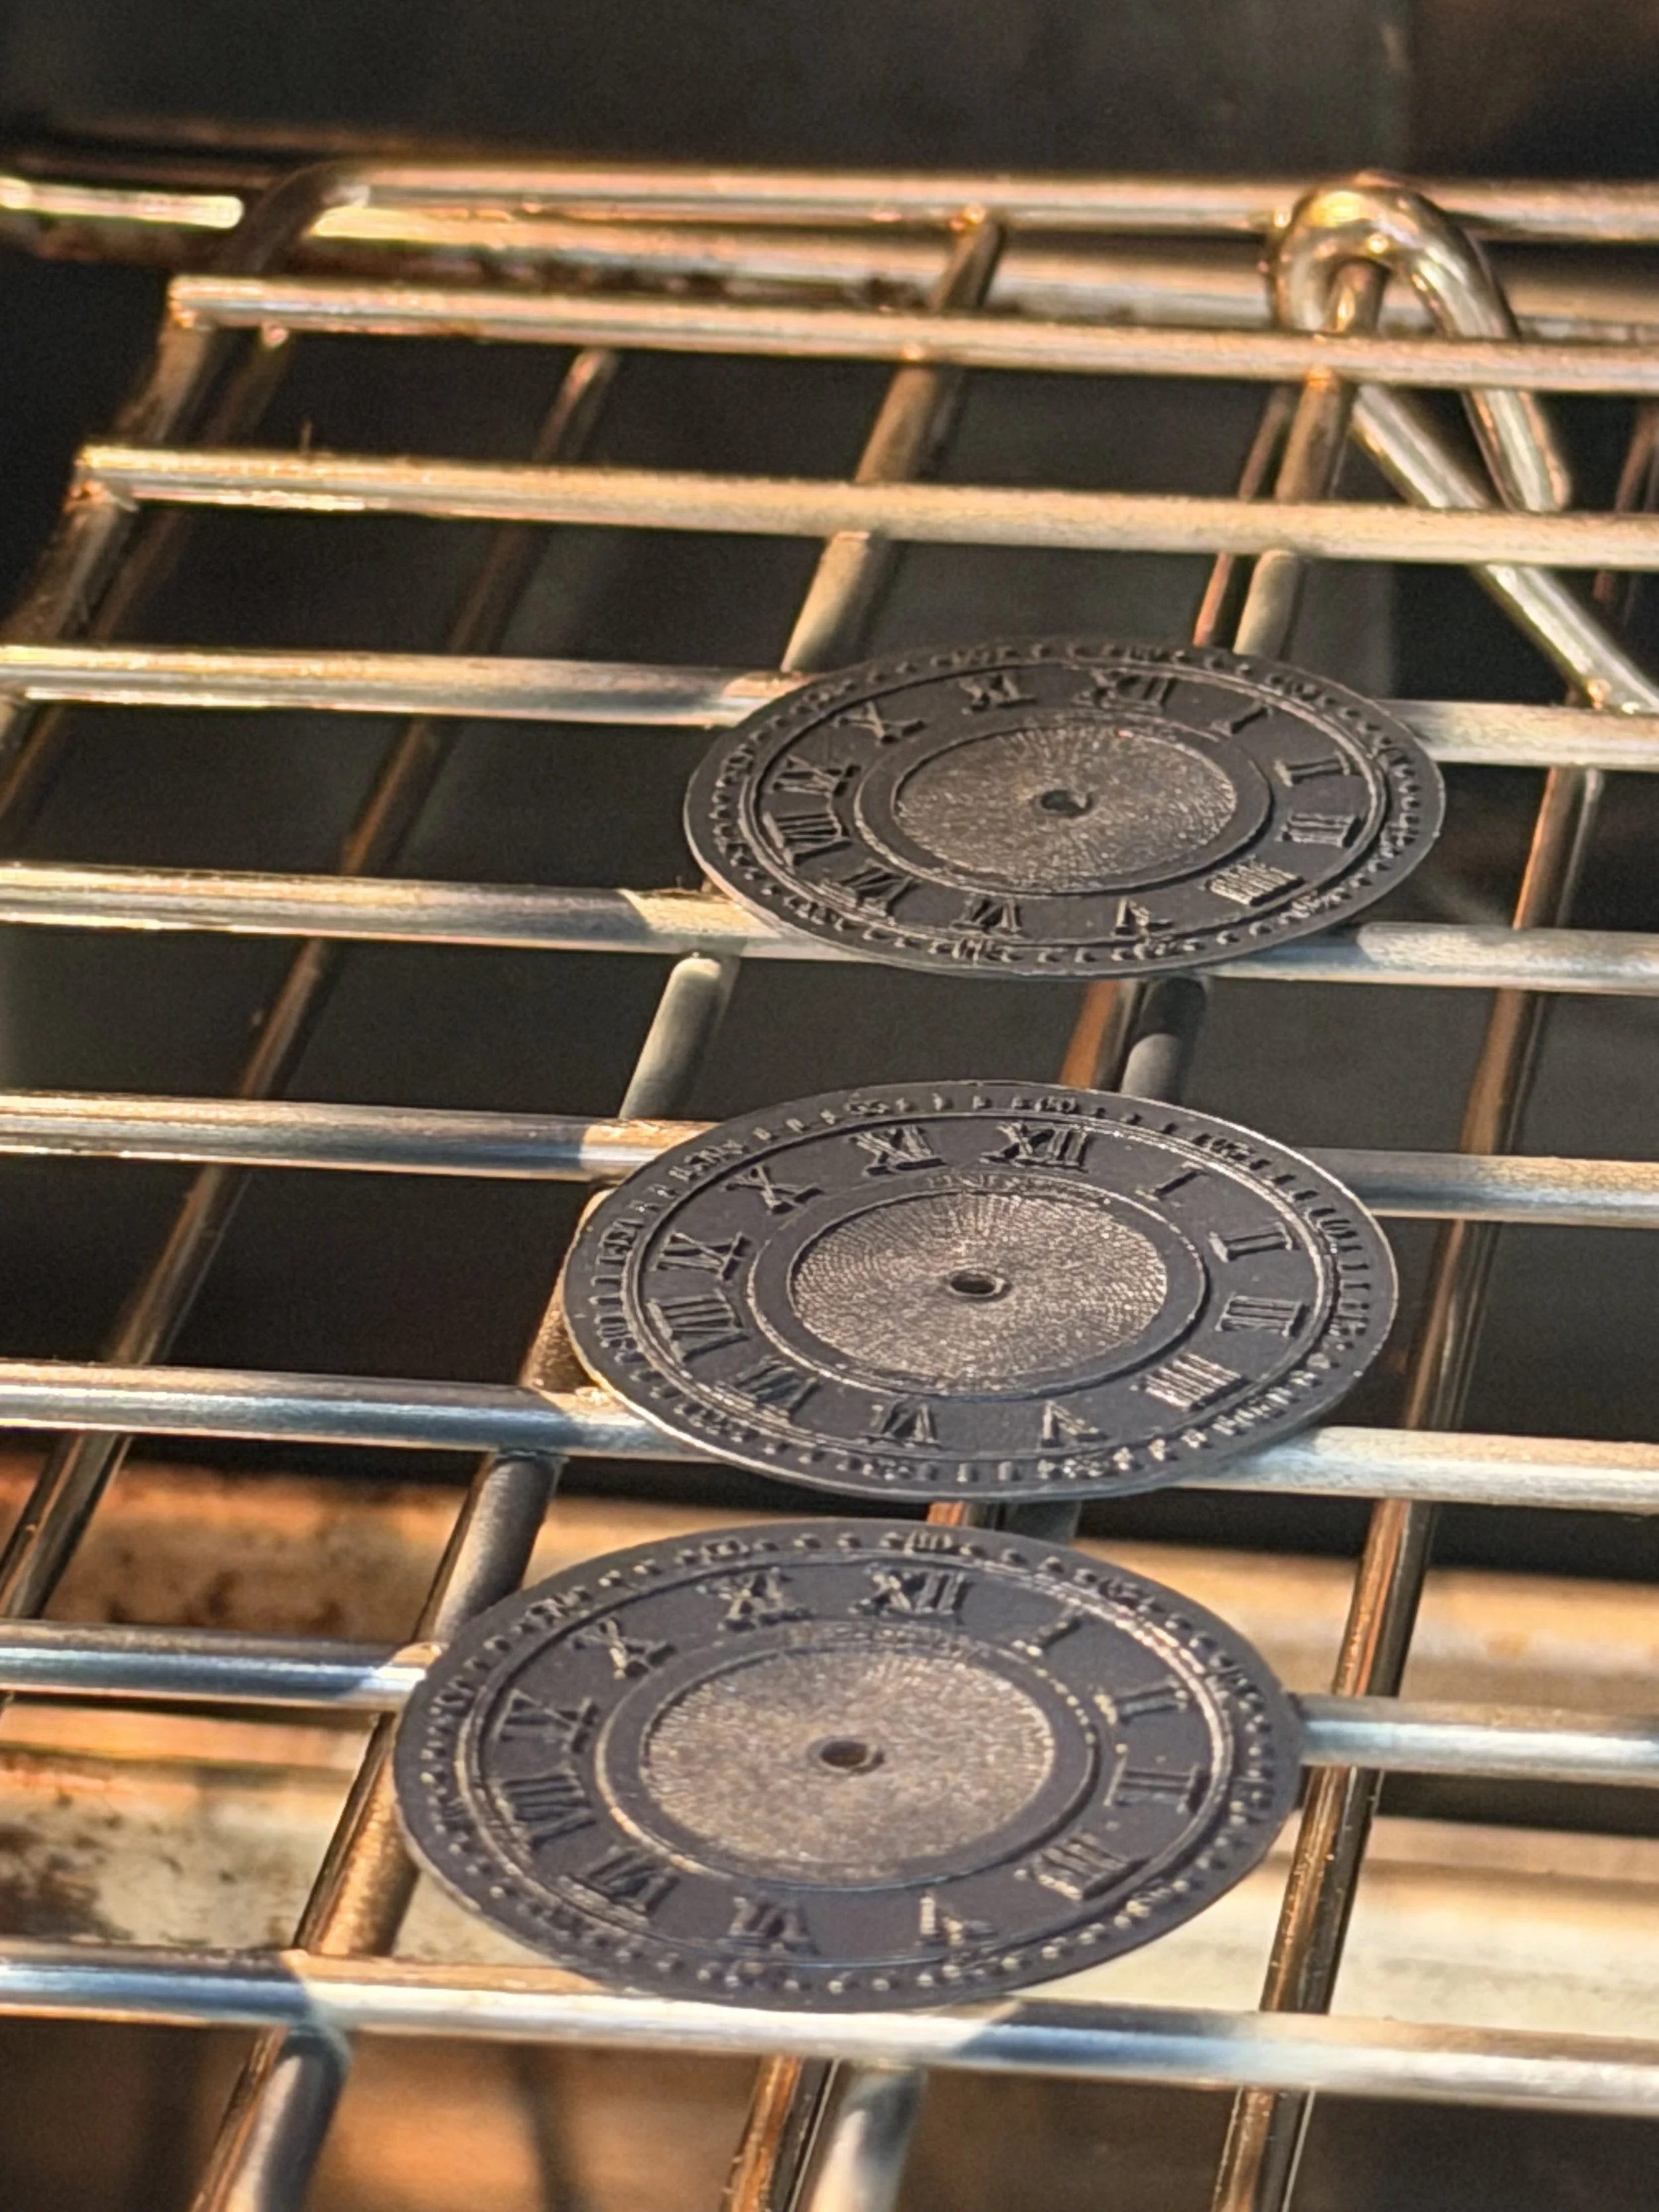
After painting, I cured the dial for two hours using the dehydration setting of the kitchen oven. Once the paint had hardened, I carefully sanded the raised areas to remove the finish and expose the brass relief beneath it.
The dial was then sealed with Gaia Notes EX-09 Ex-SemiGloss Clear Premium, followed by another two-hour curing cycle in the dehydrating oven.
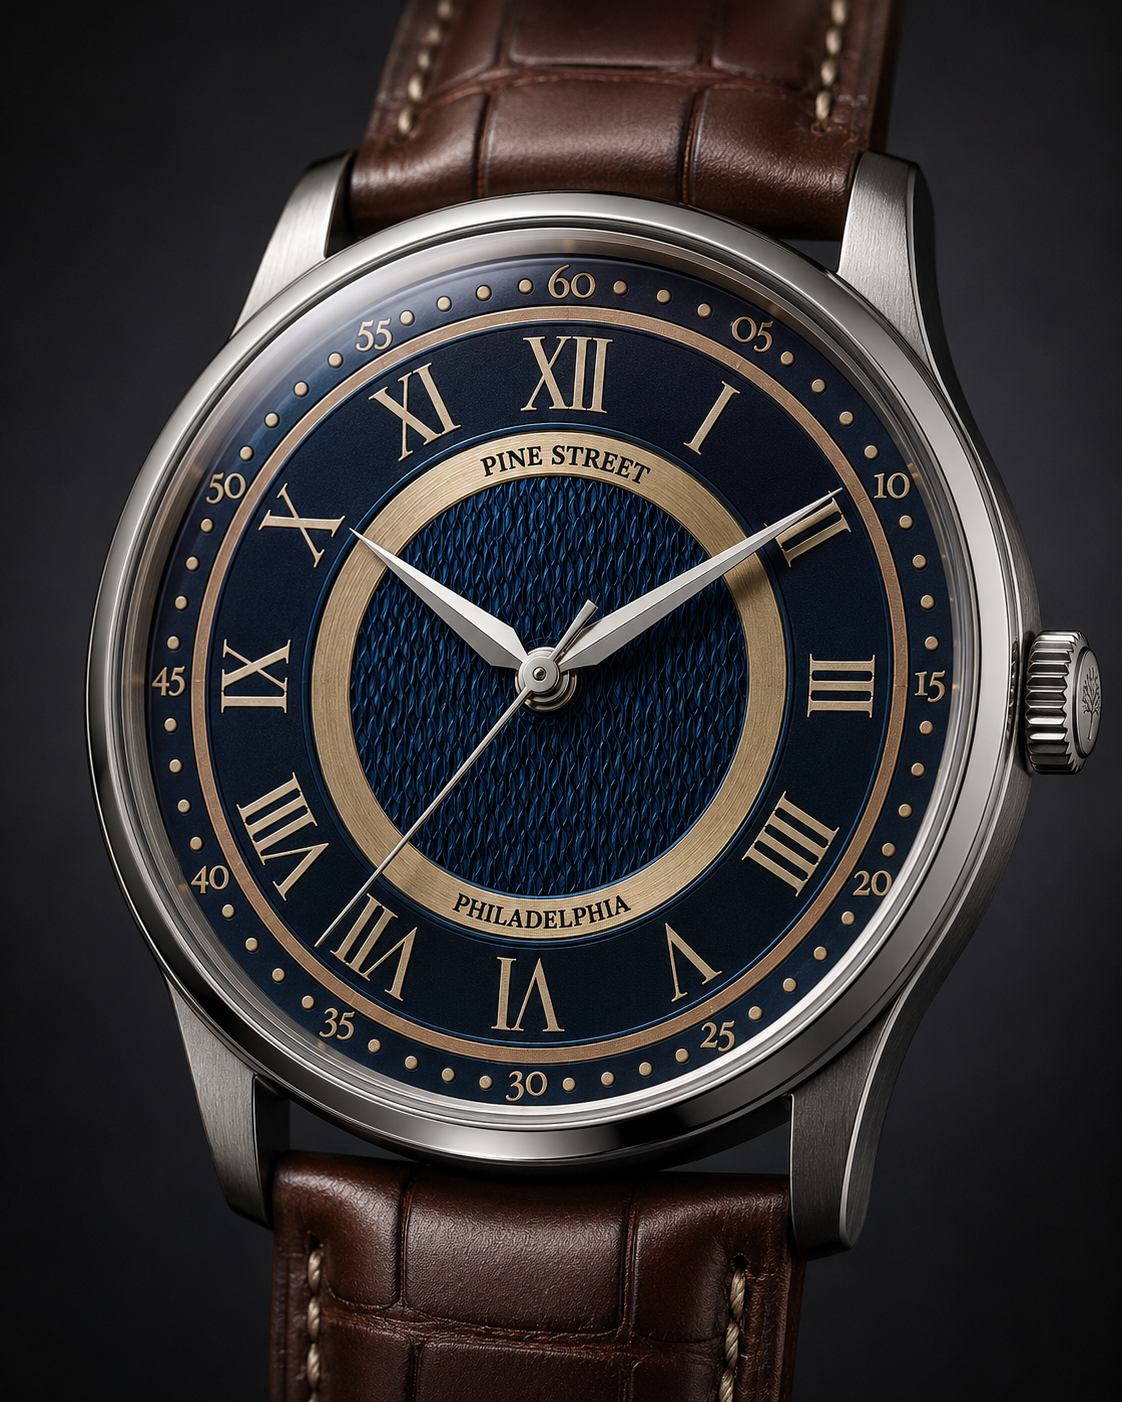
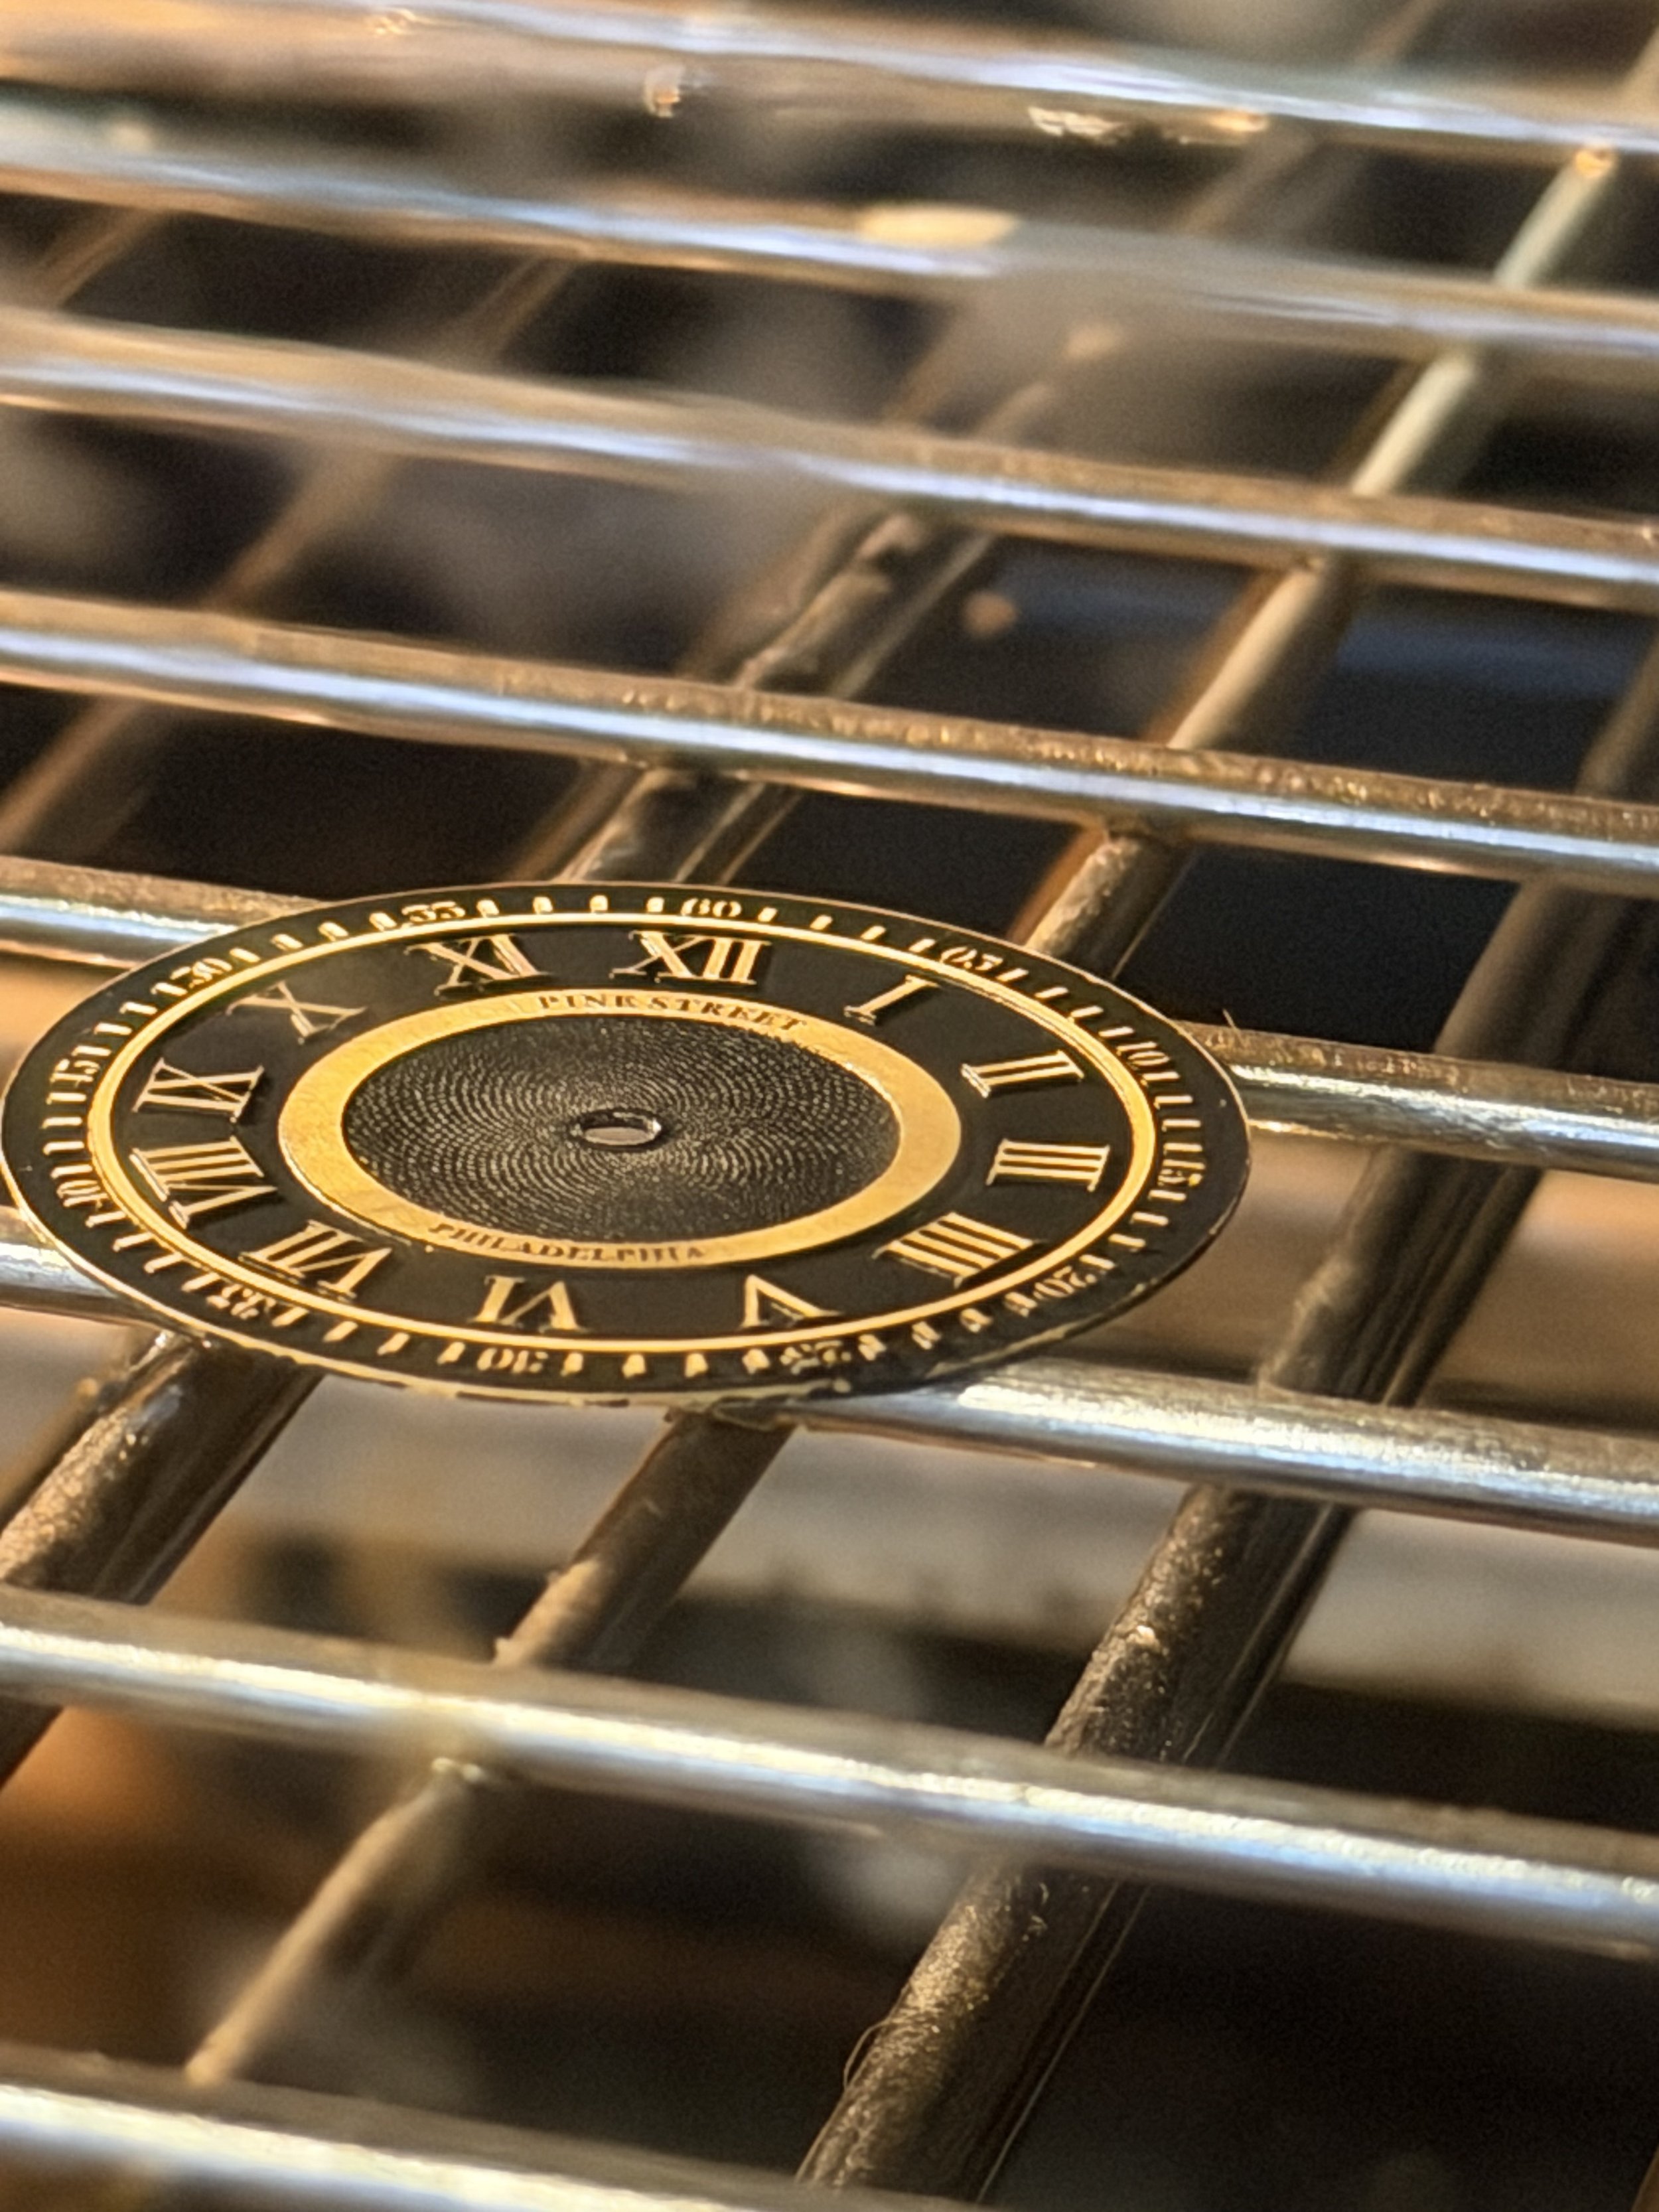
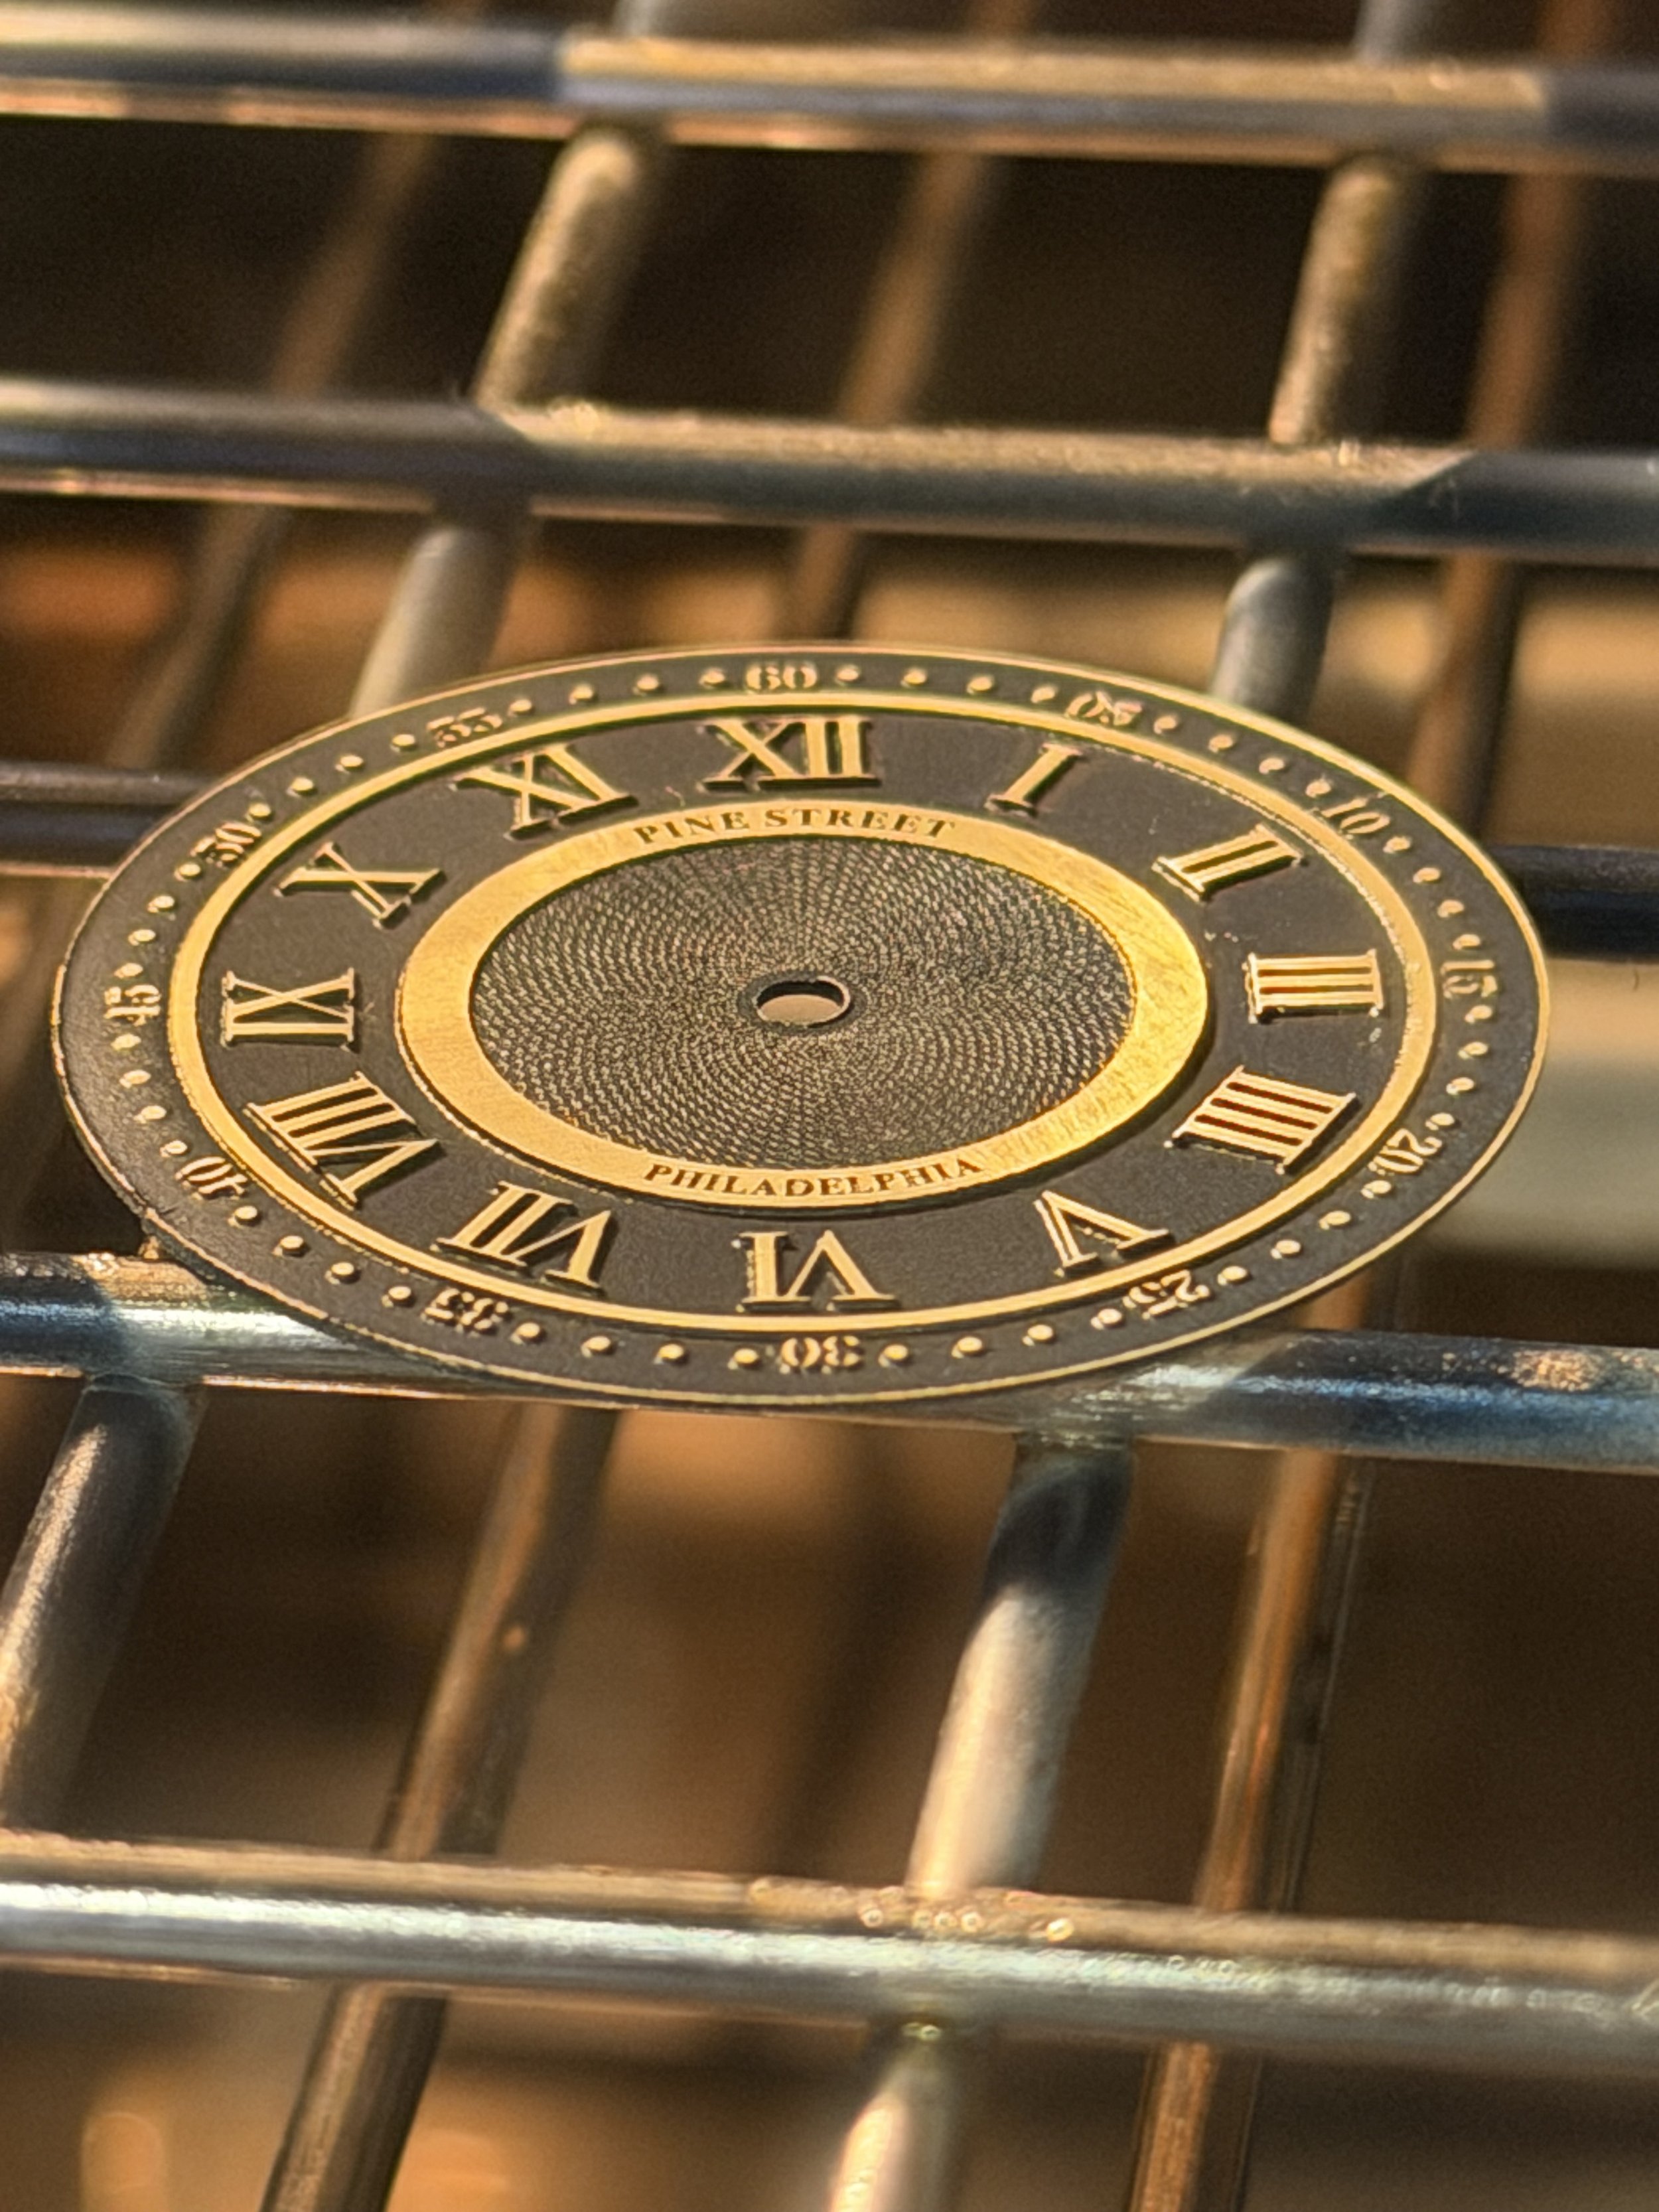
The finished surface changes considerably depending on the light. The custom dark metallic blue provides the background, while the exposed numerals and geometric details remain part of the brass dial itself rather than being printed or applied afterward.
Refining the Minute Track
I produced two versions of the dial: one using dots as minute markers and another using short lines.
I also considered a traditional railroad minute track, but it made the dial feel too busy. There is already a considerable amount happening through the relief numerals, concentric rings and center geometry. The simpler minute markers allow those elements to breathe.
The dot and line versions have both been useful tests. Seeing them as physical objects rather than drawings has helped clarify how much visual information the dial can support and how small changes affect its overall character. I still need to make a final call on which one to go with.
Technical Summary
Dial material: 0.020-inch 260 brass sheet
Initial blank size: 4 × 4 inches
Design software: LightBurn
Laser: 60-watt JPT MOPA fiber laser
Dial construction: Laser-engraved brass with raised relief features
Preparation: Cutting, deburring and degreasing
Primer: Gaia Notes GS-02 Surfacer Evo White
Color coat: Custom blend of Basic Color 012 Flat Black and Primary Color 039 Primary Metallic Blue
First curing cycle: Two hours using the oven’s dehydration setting
Relief finishing: Raised areas sanded back to expose the underlying brass
Clear coat: Gaia Notes EX-09 Ex-SemiGloss Clear Premium
Final curing cycle: Two additional hours using the dehydration setting
Prototype movement: Recently serviced PT5000
Up Next
The next step is to mount the dial to the recently serviced PT5000, install the hands and case the watch.
That will complete the first Rittenhouse and the first full Pine Street Dial Works watch prototype: a design developed in Philadelphia, translated into brass and produced through a process that I can continue refining.
This first prototype is the starting point—the initial model from which the design language, manufacturing process and larger exploration of David Rittenhouse’s legacy can continue to develop.
Photos below document the process and include the AI rendering I’ve been evolving to help visualize the incremental changes along the way.