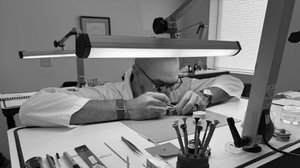
Casing Up, and Closing In
I brought the last Rittenhouse to the Fishtown Watch Supply meetup, and the feedback I got was exactly the kind I needed: the inner dial texture read as too subtle, and the whole thing had a bit of a bullseye feel to it. Some genuine encouragement too! That's the value of putting work in front of people who actually look closely — you can stare at a dial on your own bench for weeks and miss what's obvious to a fresh set of eyes in a few seconds.
So I went back into LightBurn and finally cracked something that had been eluding me: how to build geometric shapes without them cutting straight through the relief lettering. That sounds like a small technical detail, but it opened up a lot of room. I could finally move away from the concentric, target-like layout and go with more traditional linear wording across the dial instead. No more bullseye. It's a cleaner, more legible read, and it feels a lot more like the kind of dial I actually set out to make.
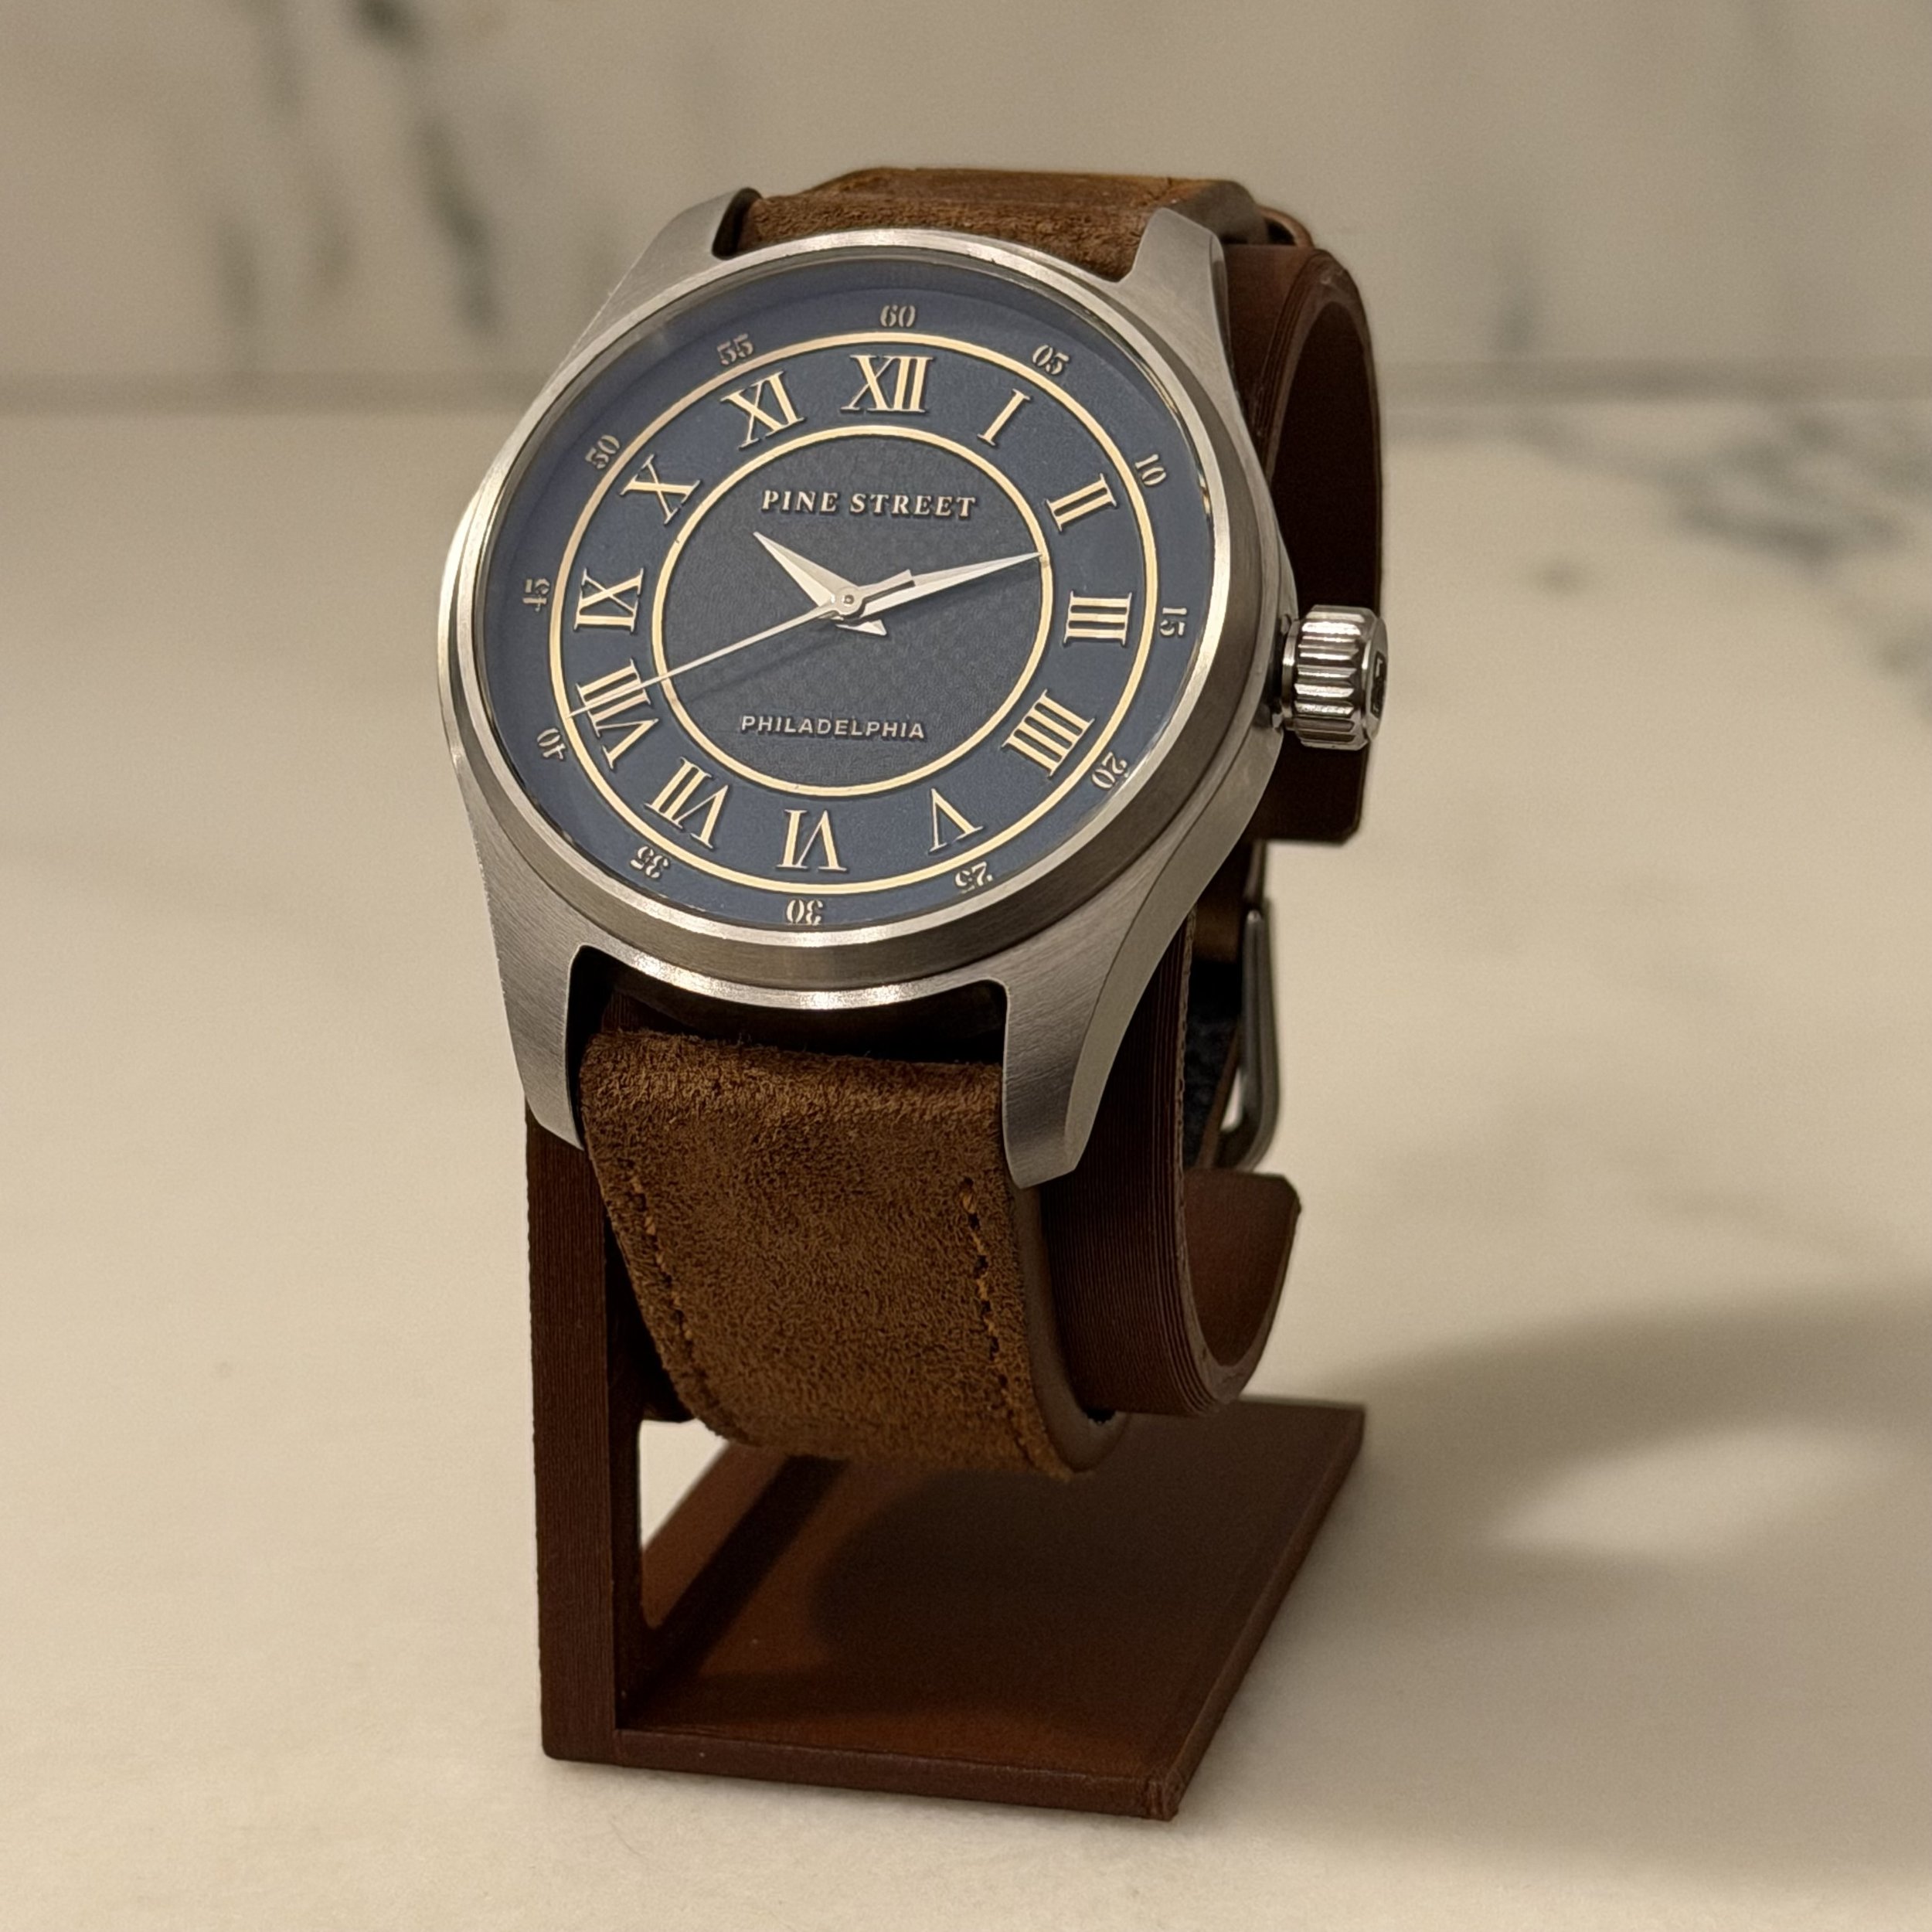
I'm getting close on the color
A dark blue that pulls in royal blue metallic hints when it catches the light. It's the closest I've come to what I've had in my head.
Getting the color right
The clear coat still needs work, though. This one was semi-gloss, and I don't think that was the right call — next time I'm going full gloss, so the metallic flake actually gets to flicker instead of being muted under a semi-gloss finish. I also had some clear coat scratch off over a few areas of exposed brass, which tells me I haven't landed on a clear coat that reliably bonds to both painted surfaces and bare brass. That's a problem I need to solve properly. The top coat has to protect the brass from oxidation and uneven darkening over time while still doing right by the color underneath it.
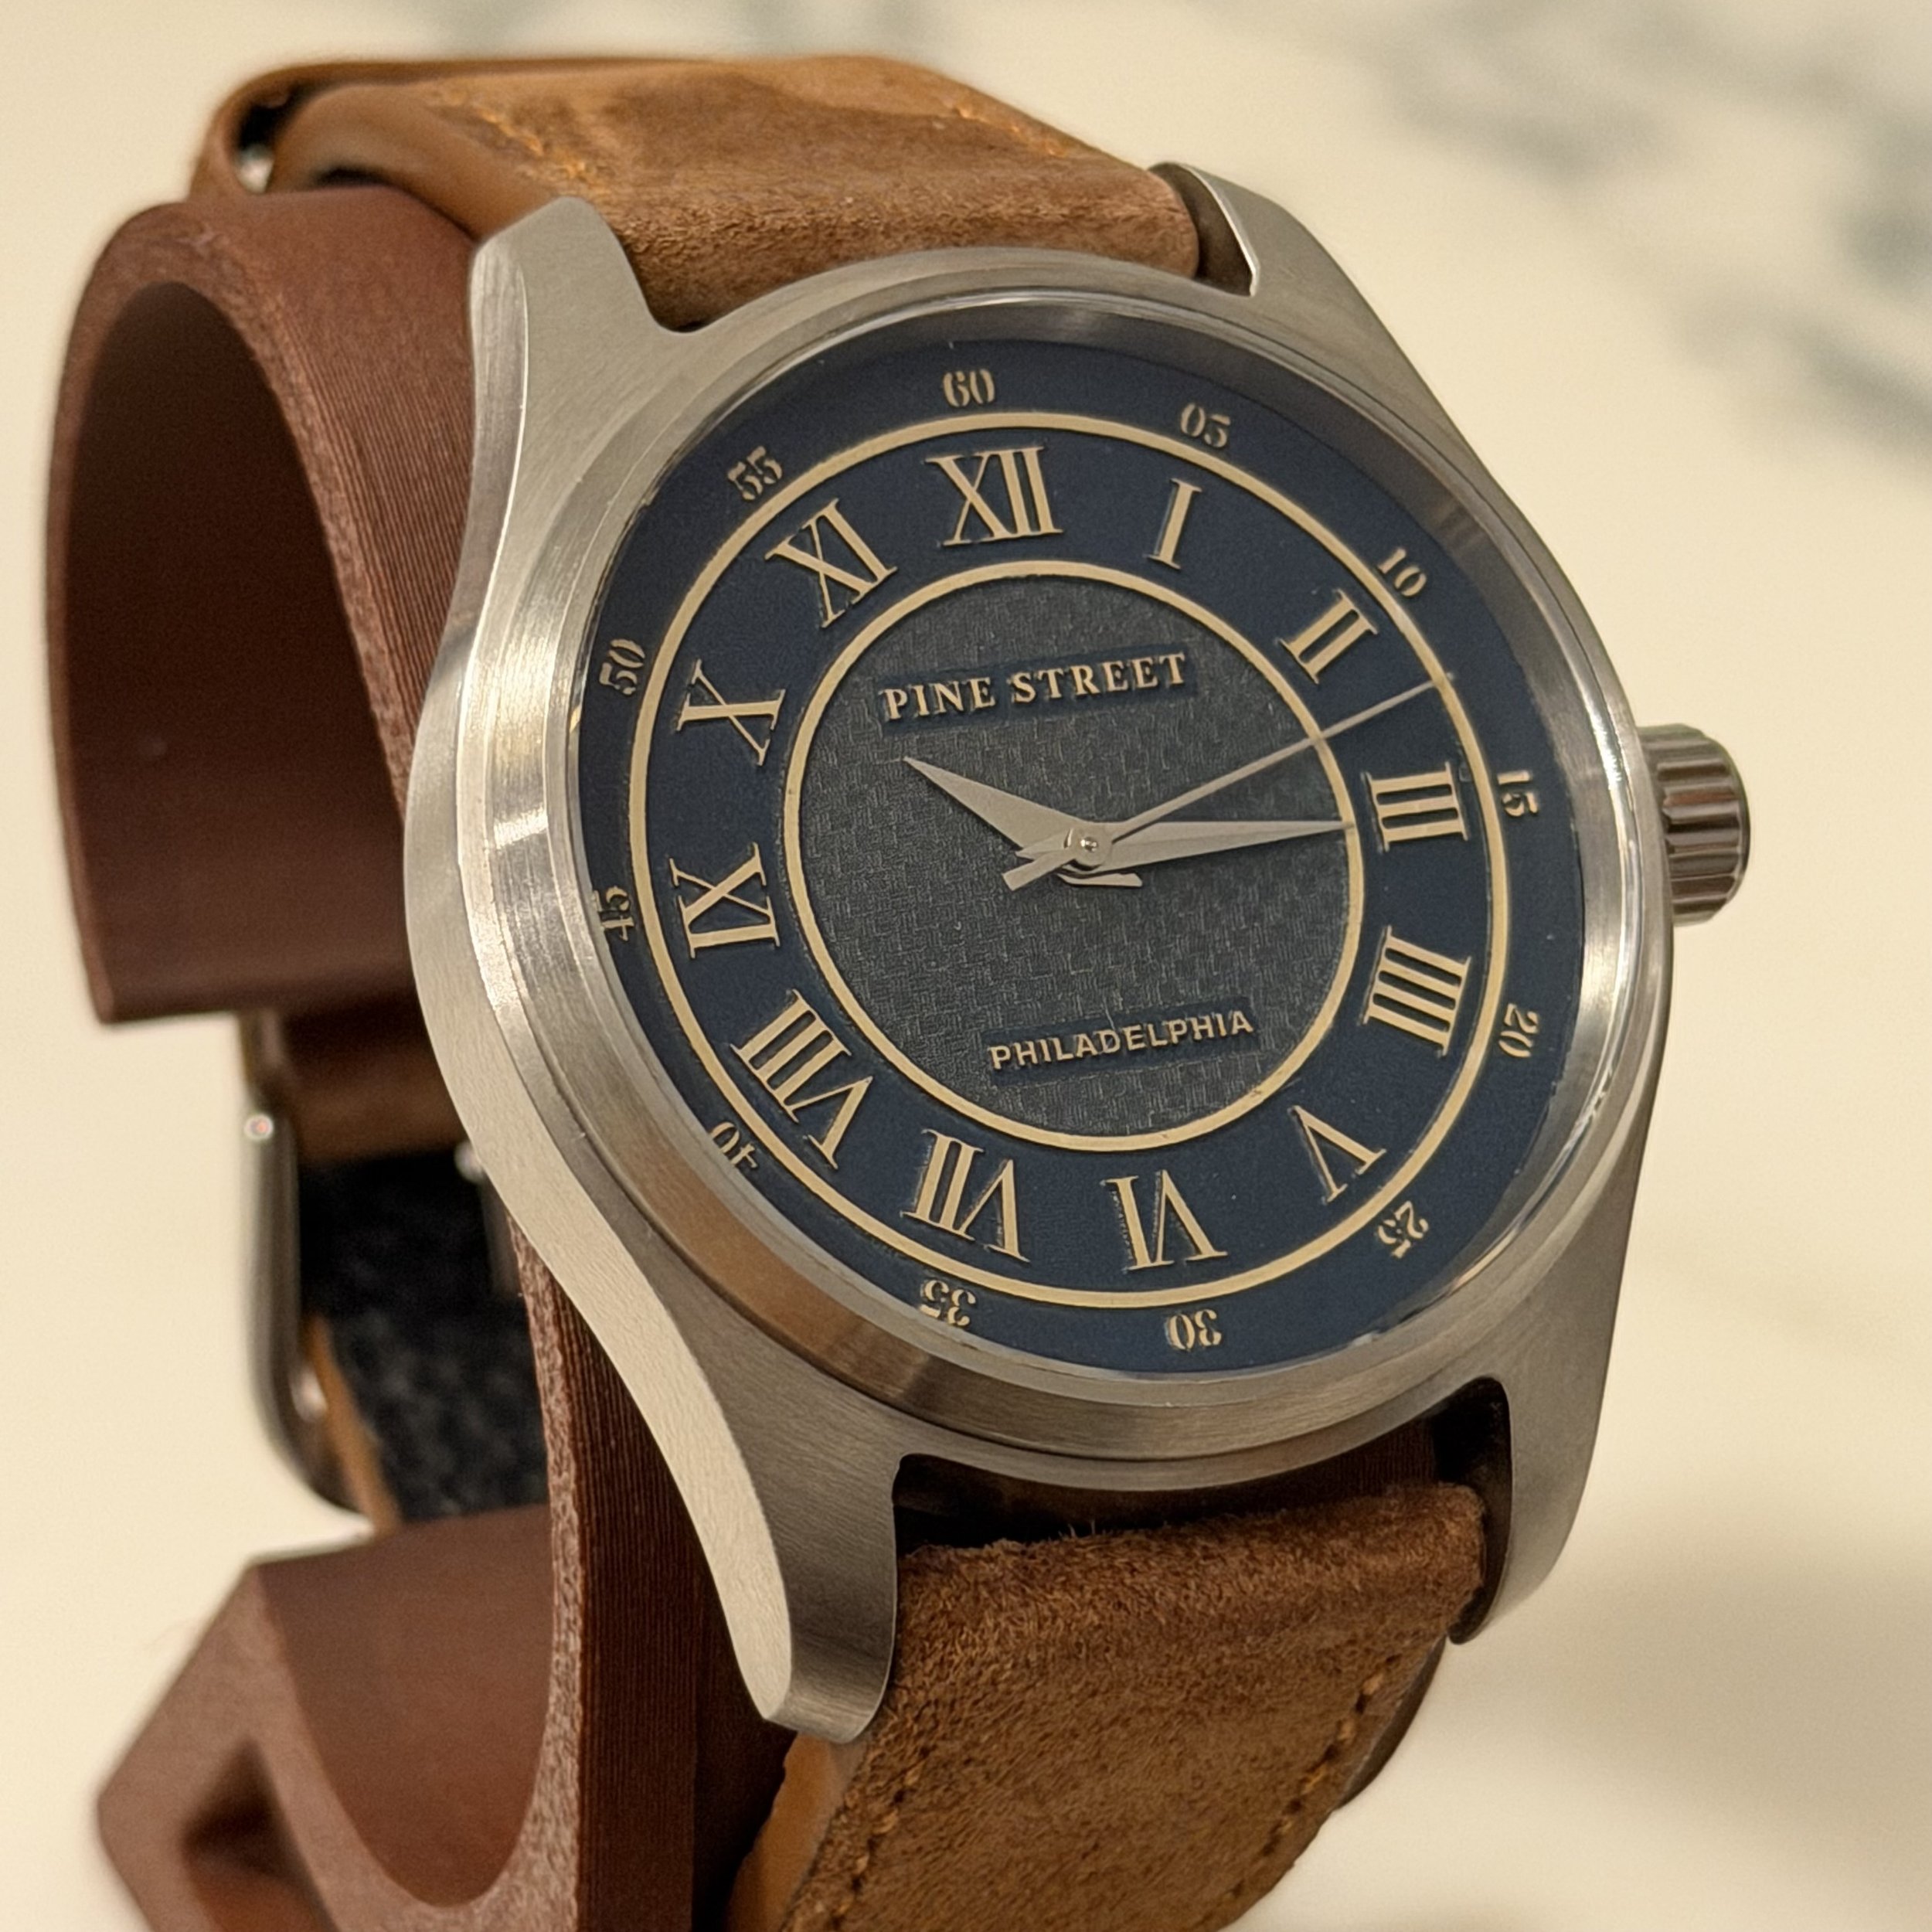
Updated texture.
The basket weave is adding a nice dimension and contrast to the center of the dial
The case
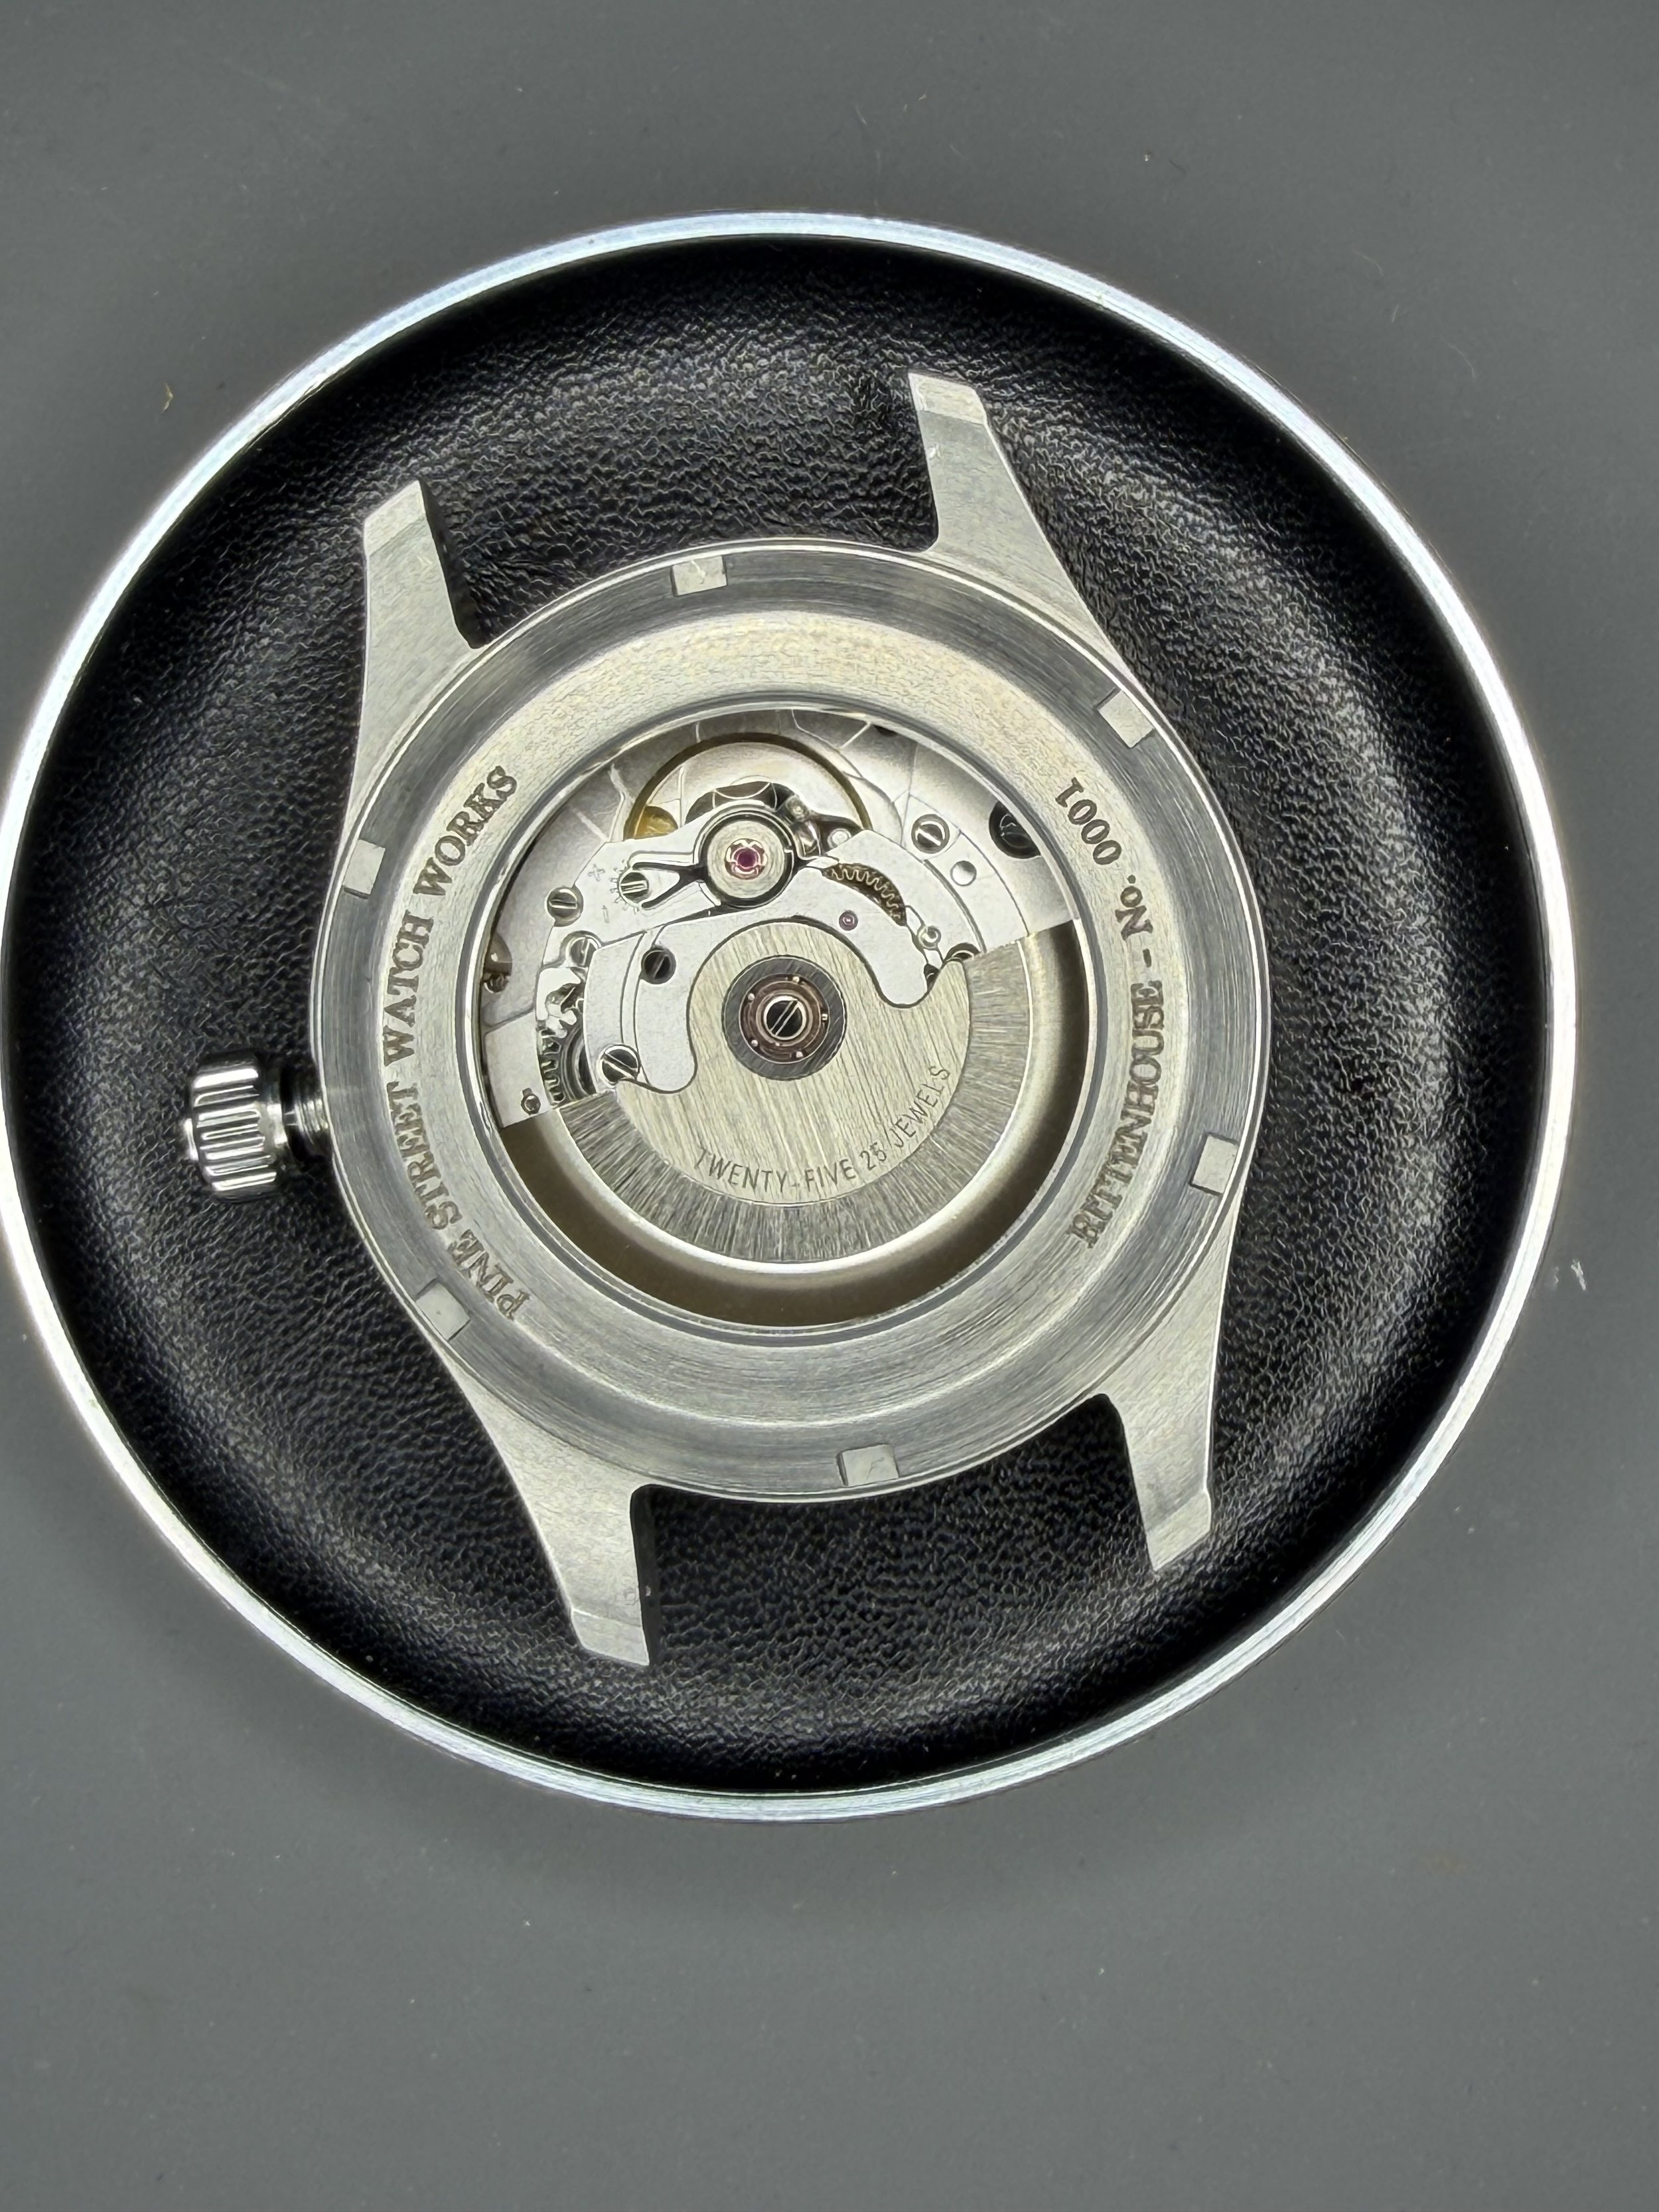
This one's going into the previous Rittenhouse N°0001 case — the one with the slightly misaligned engraving. Fitting, in a way, to pair an early case with an evolving dial. Nothing about this build is pretending to be perfect.
Casing it up
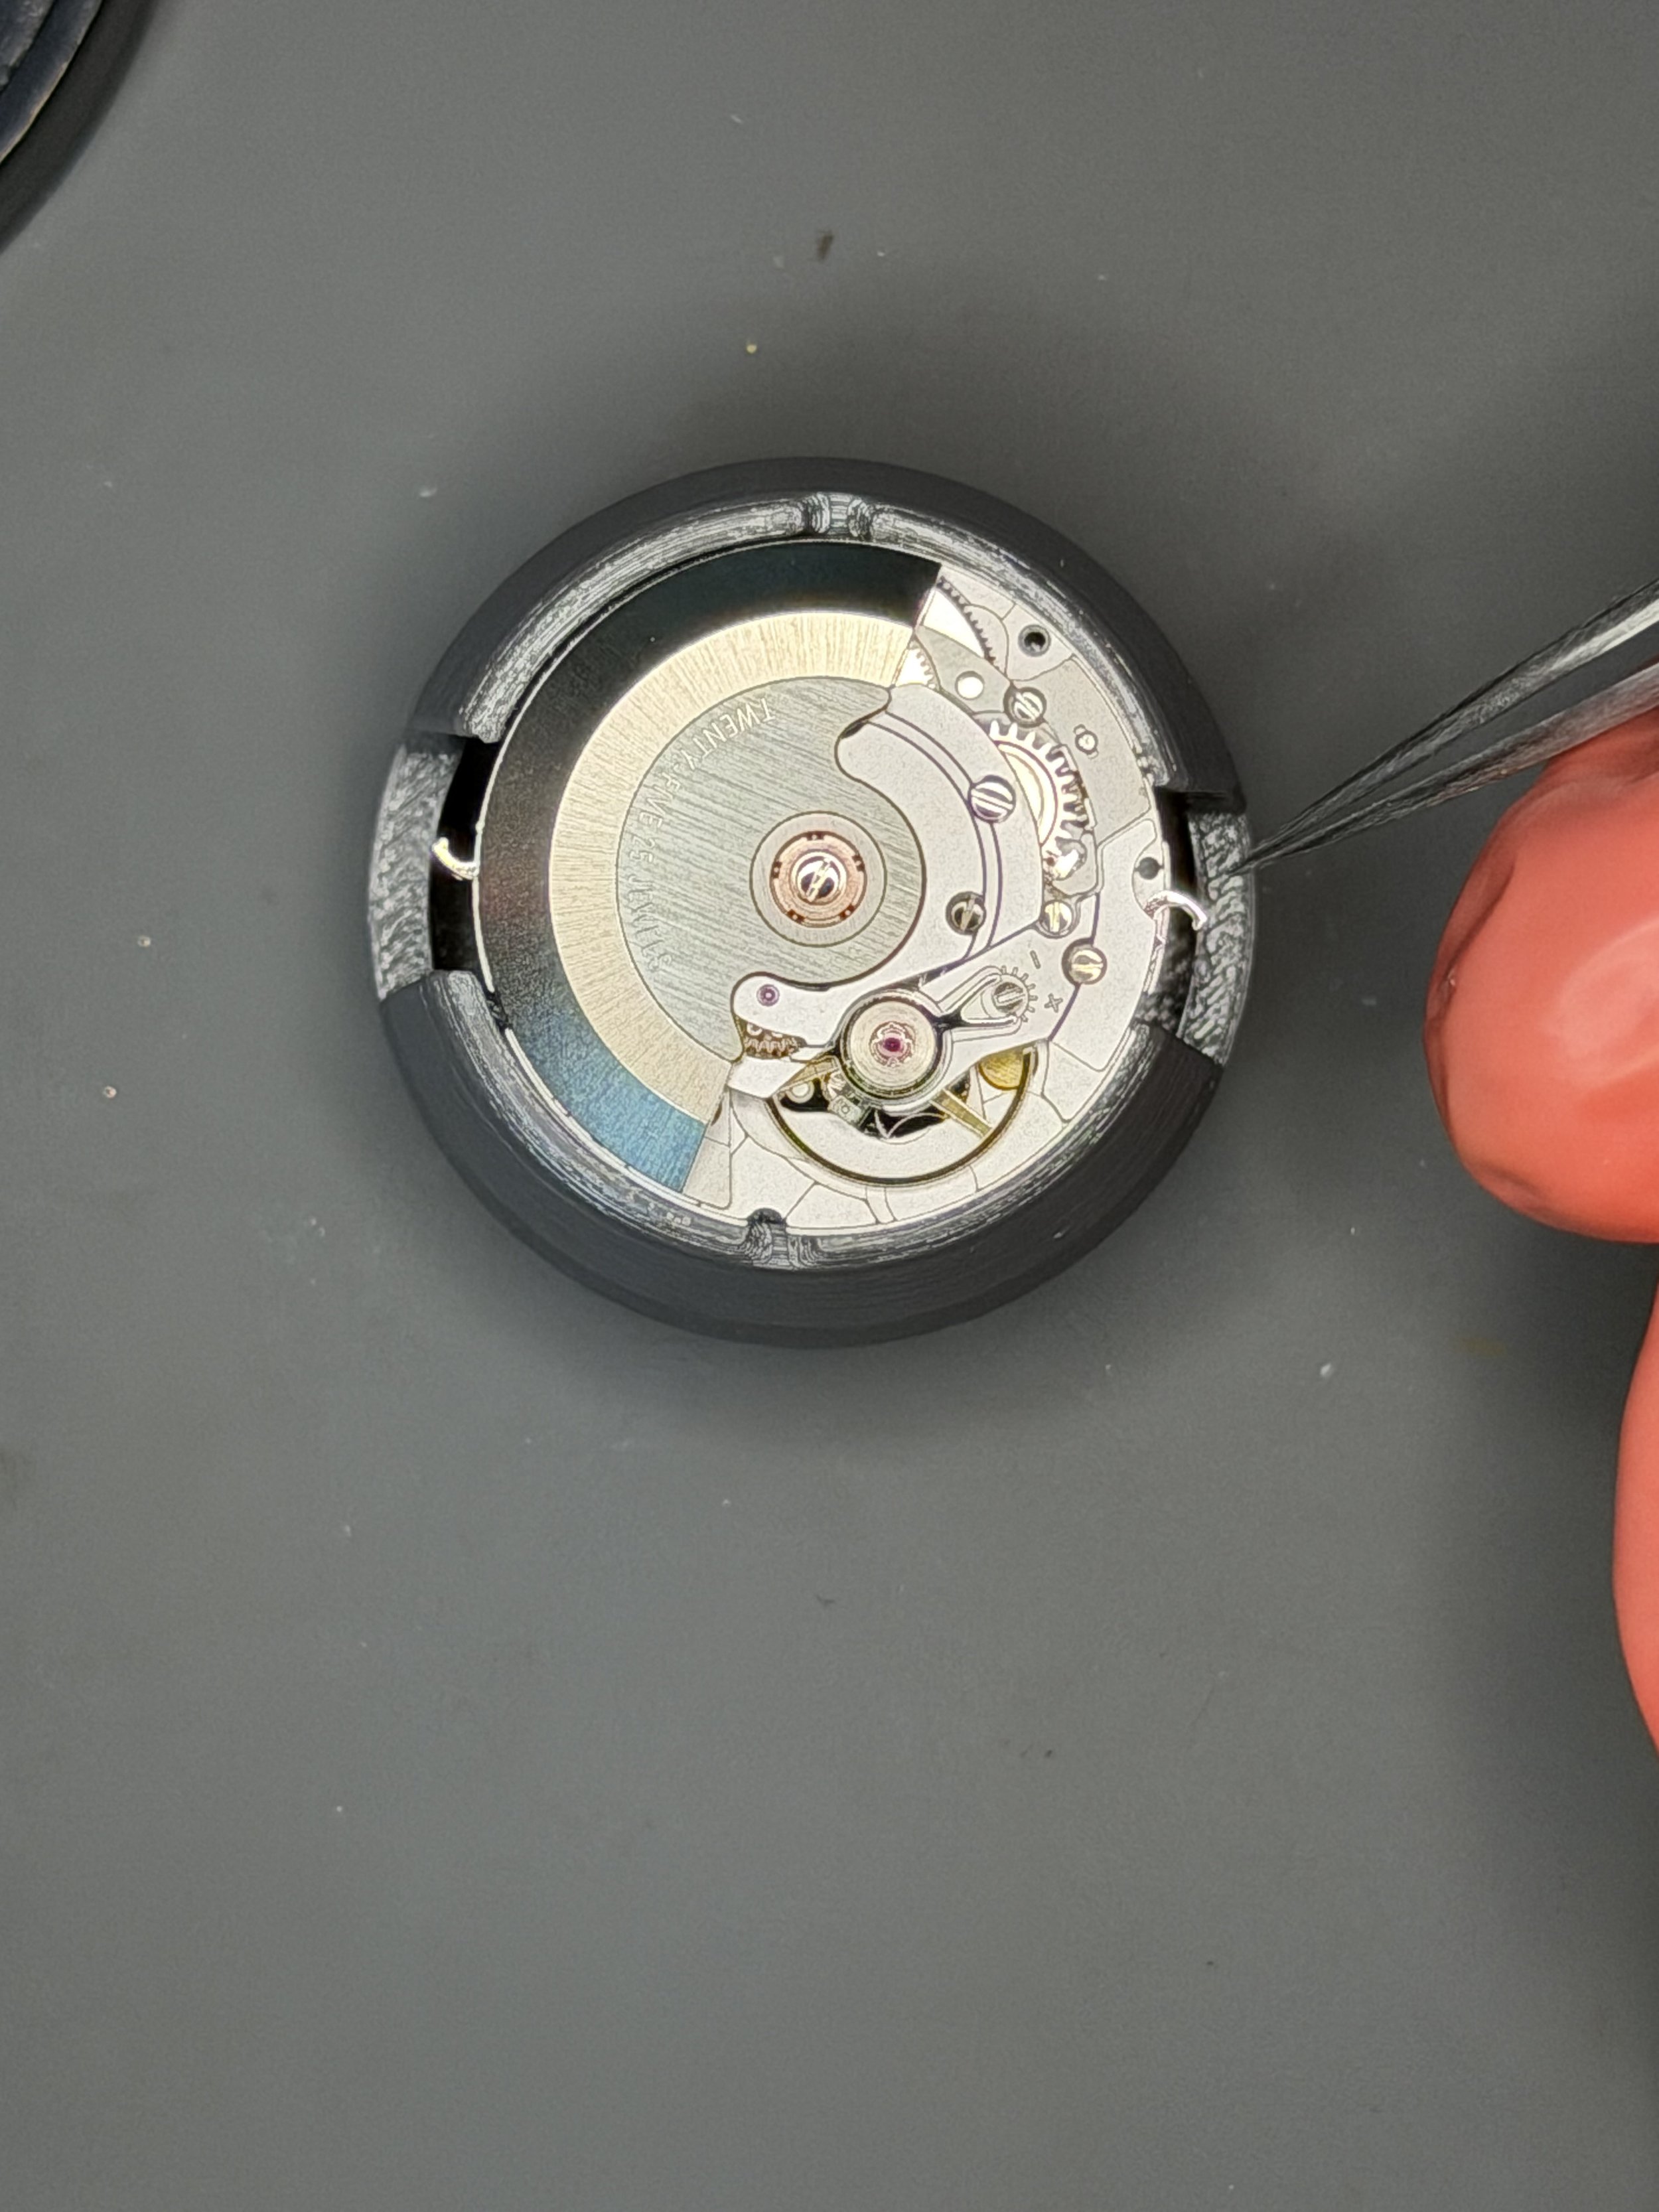
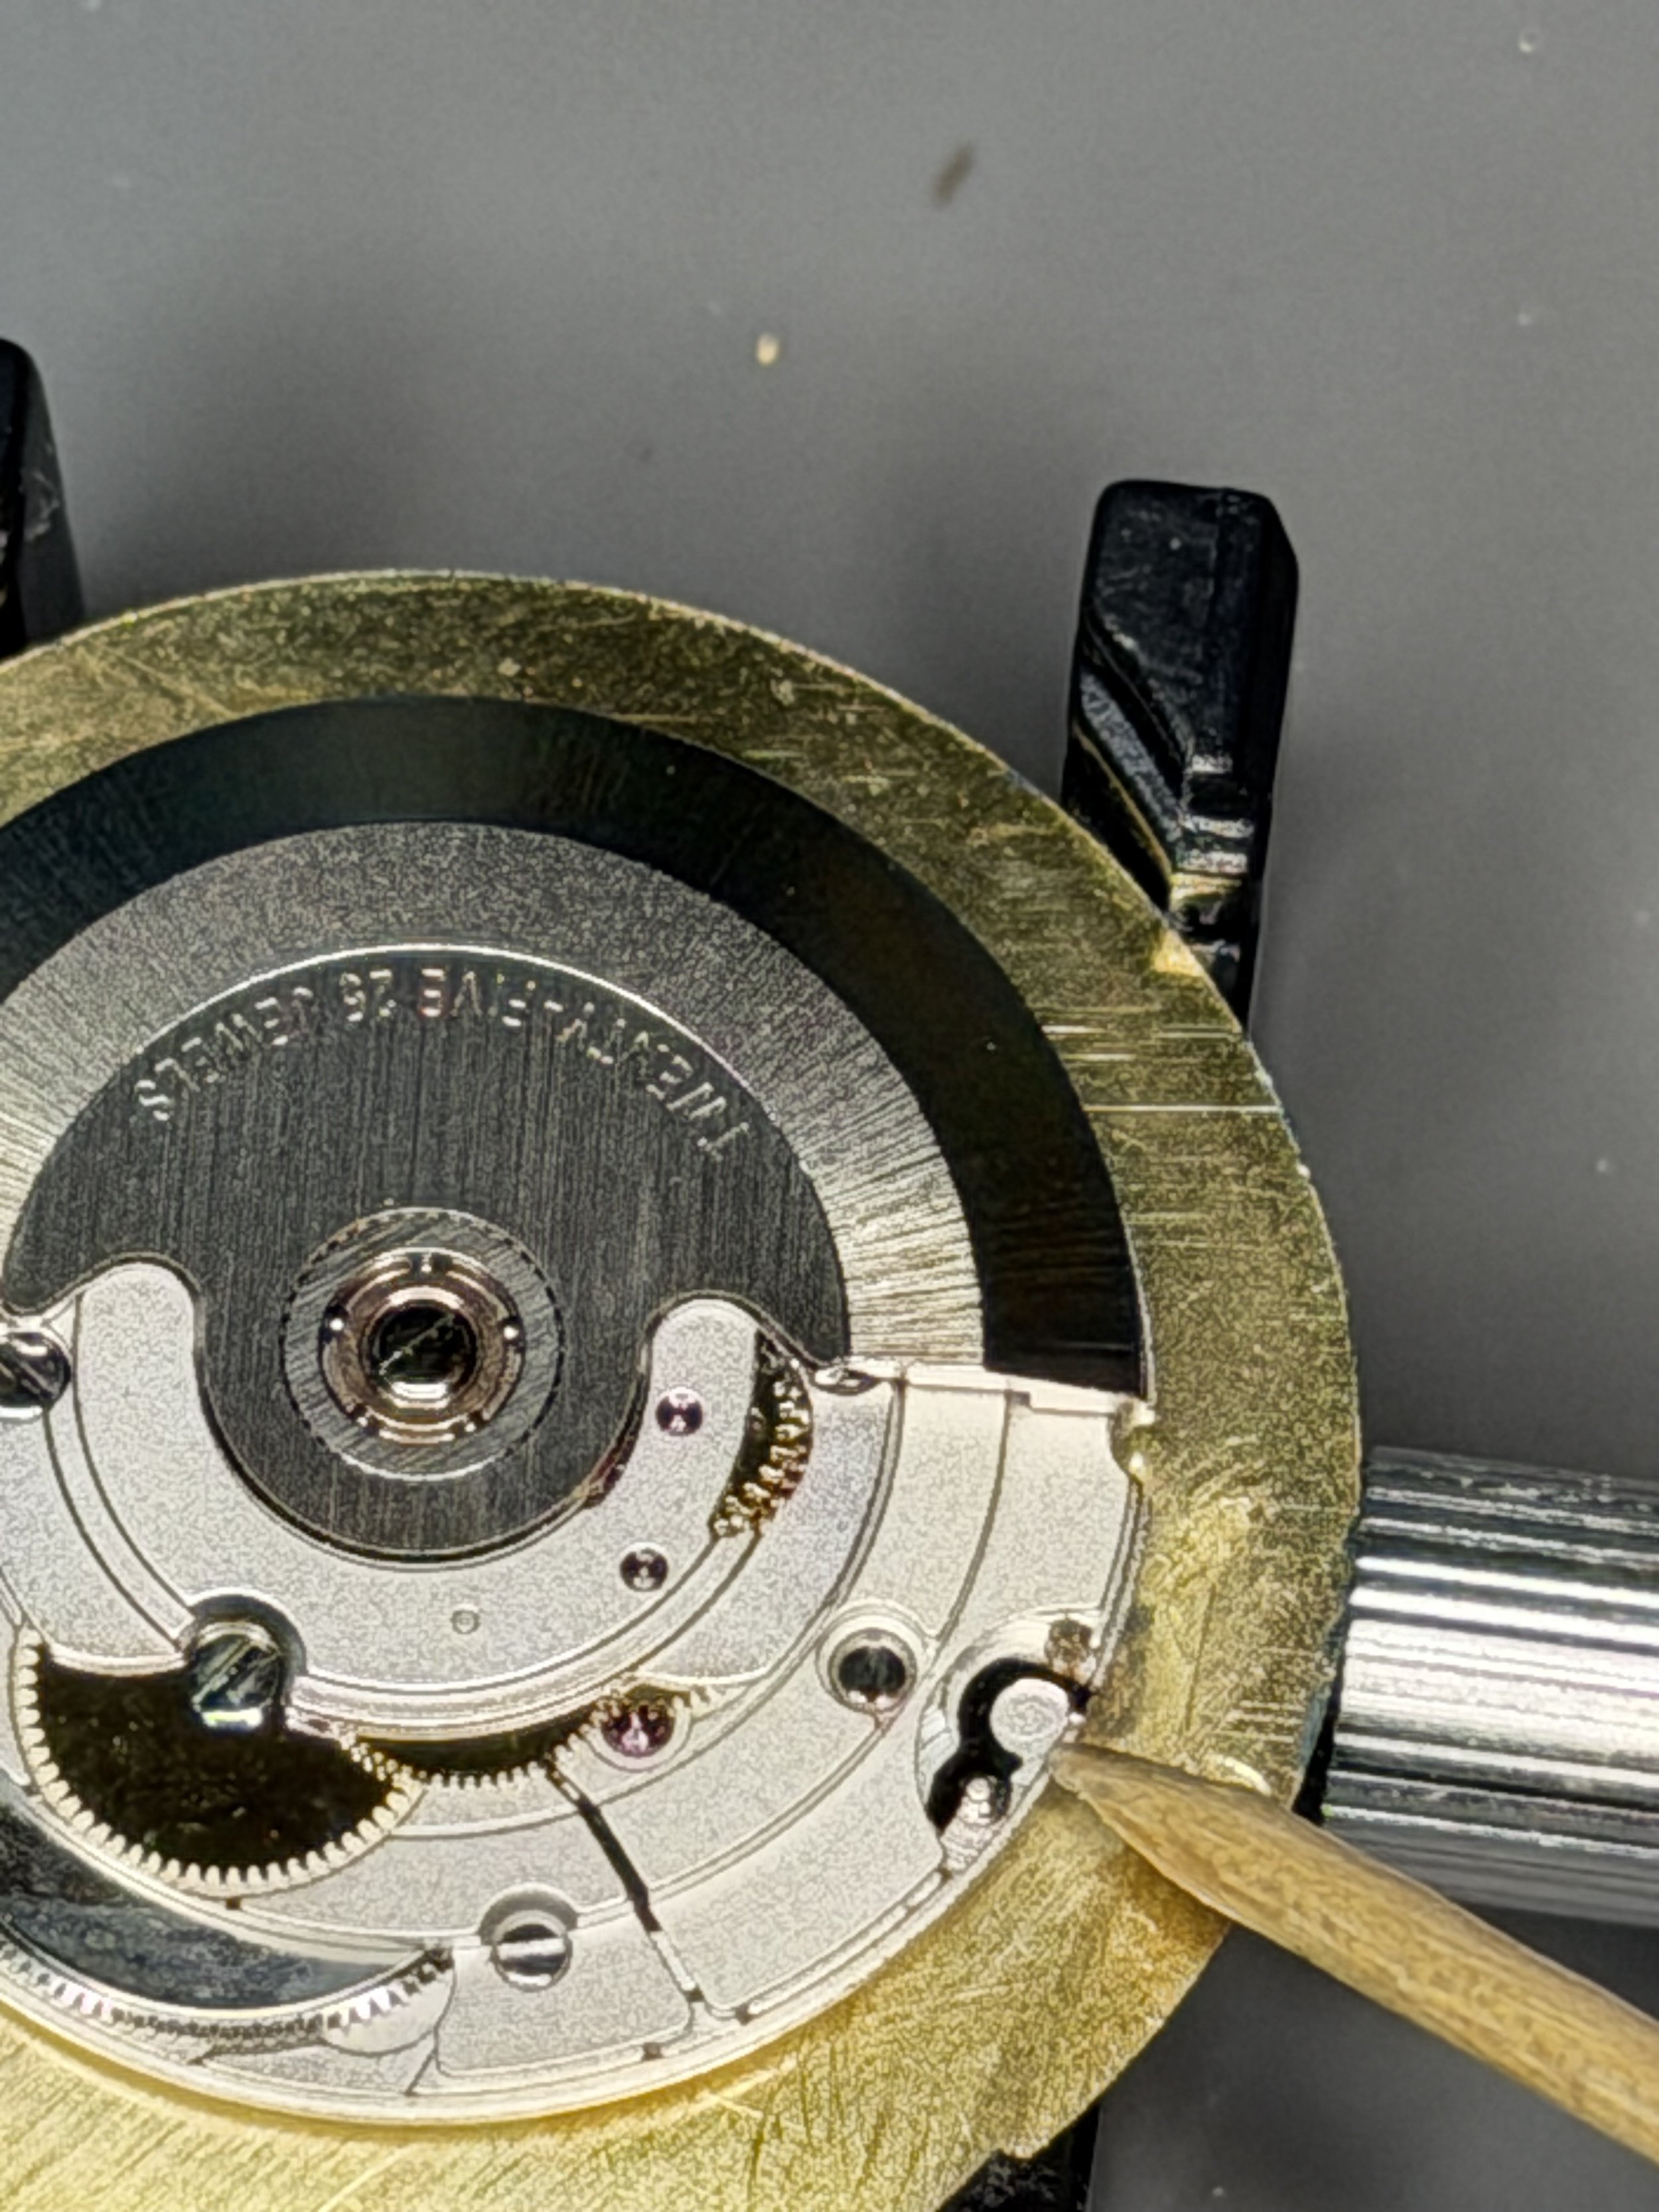
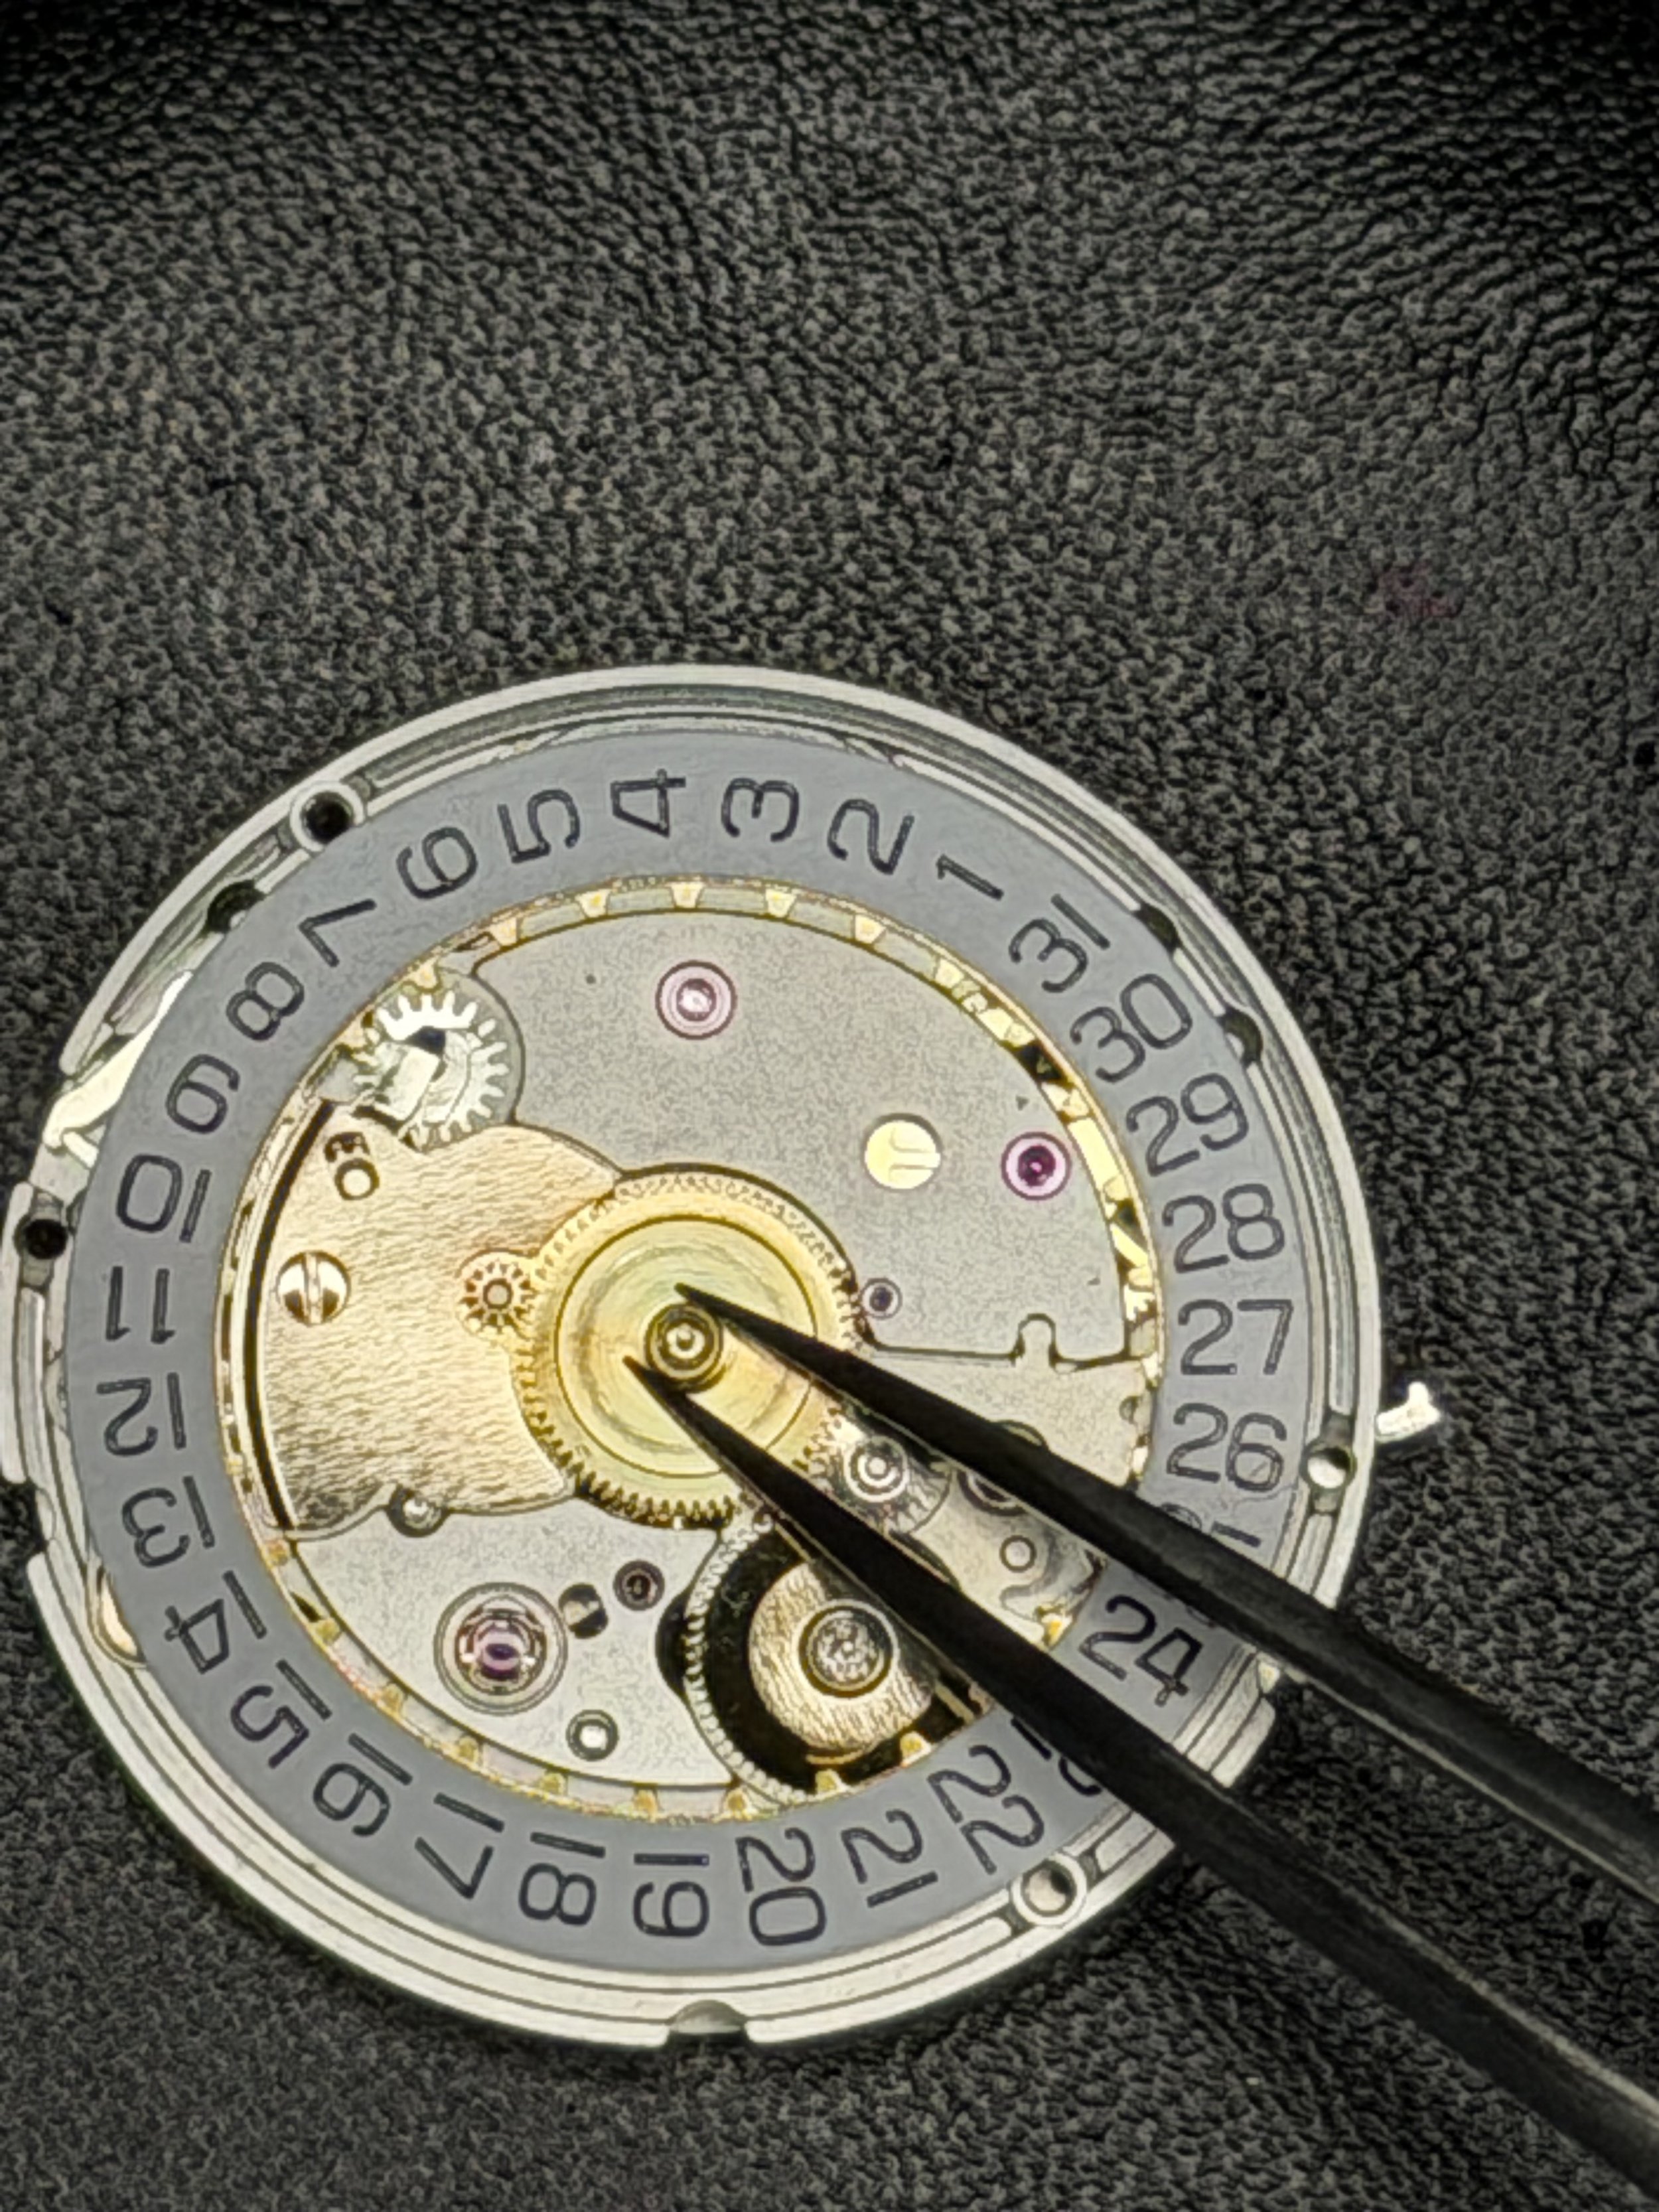
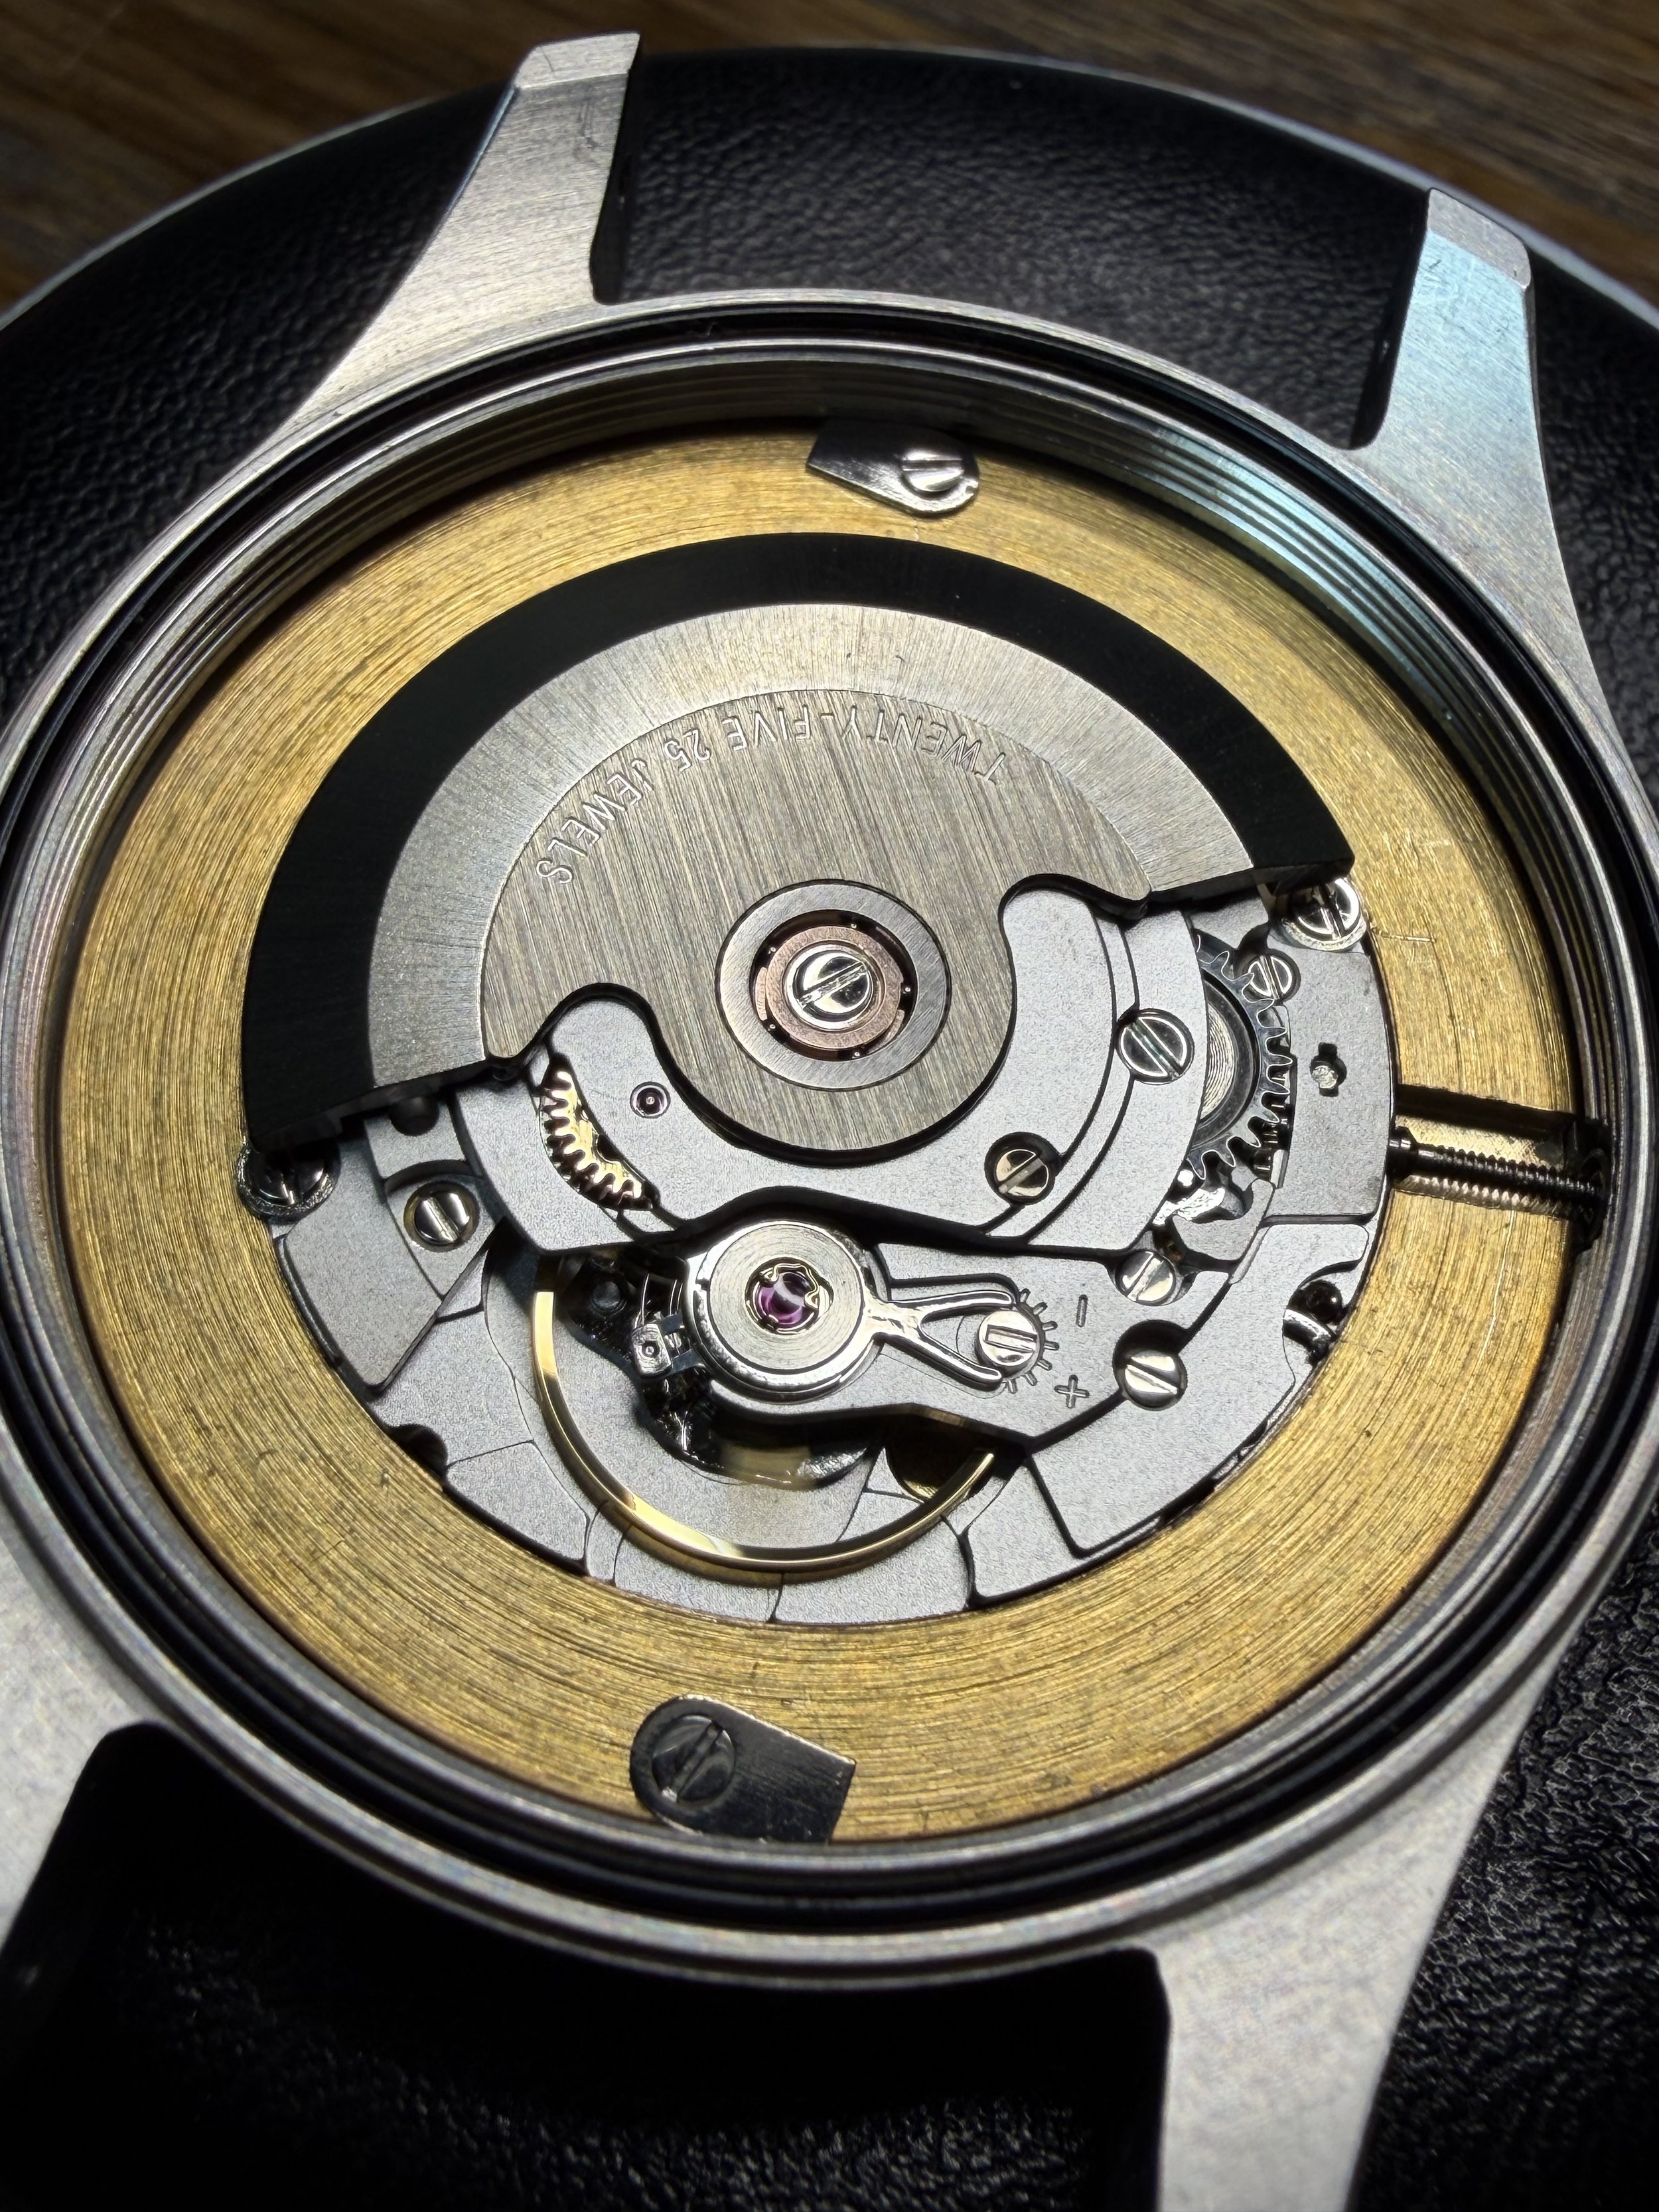
A few photos from the process, for anyone who wants to see what casing up actually looks like on the bench:
Opening the clips for the dial feet — a small, satisfying win as this is the first dial that I’ve made with feet. They actually aligned to the movement holes and securely attached the dial to the movement - woohoo!
Trimming the dial feet, which were running too long and were impeding the free movement of the rotor
Installing the hour wheel and dial washer
The movement holder and case clips going in. Not 100% sure I am doing this properly - any advice or confirmation warmly welcomed!
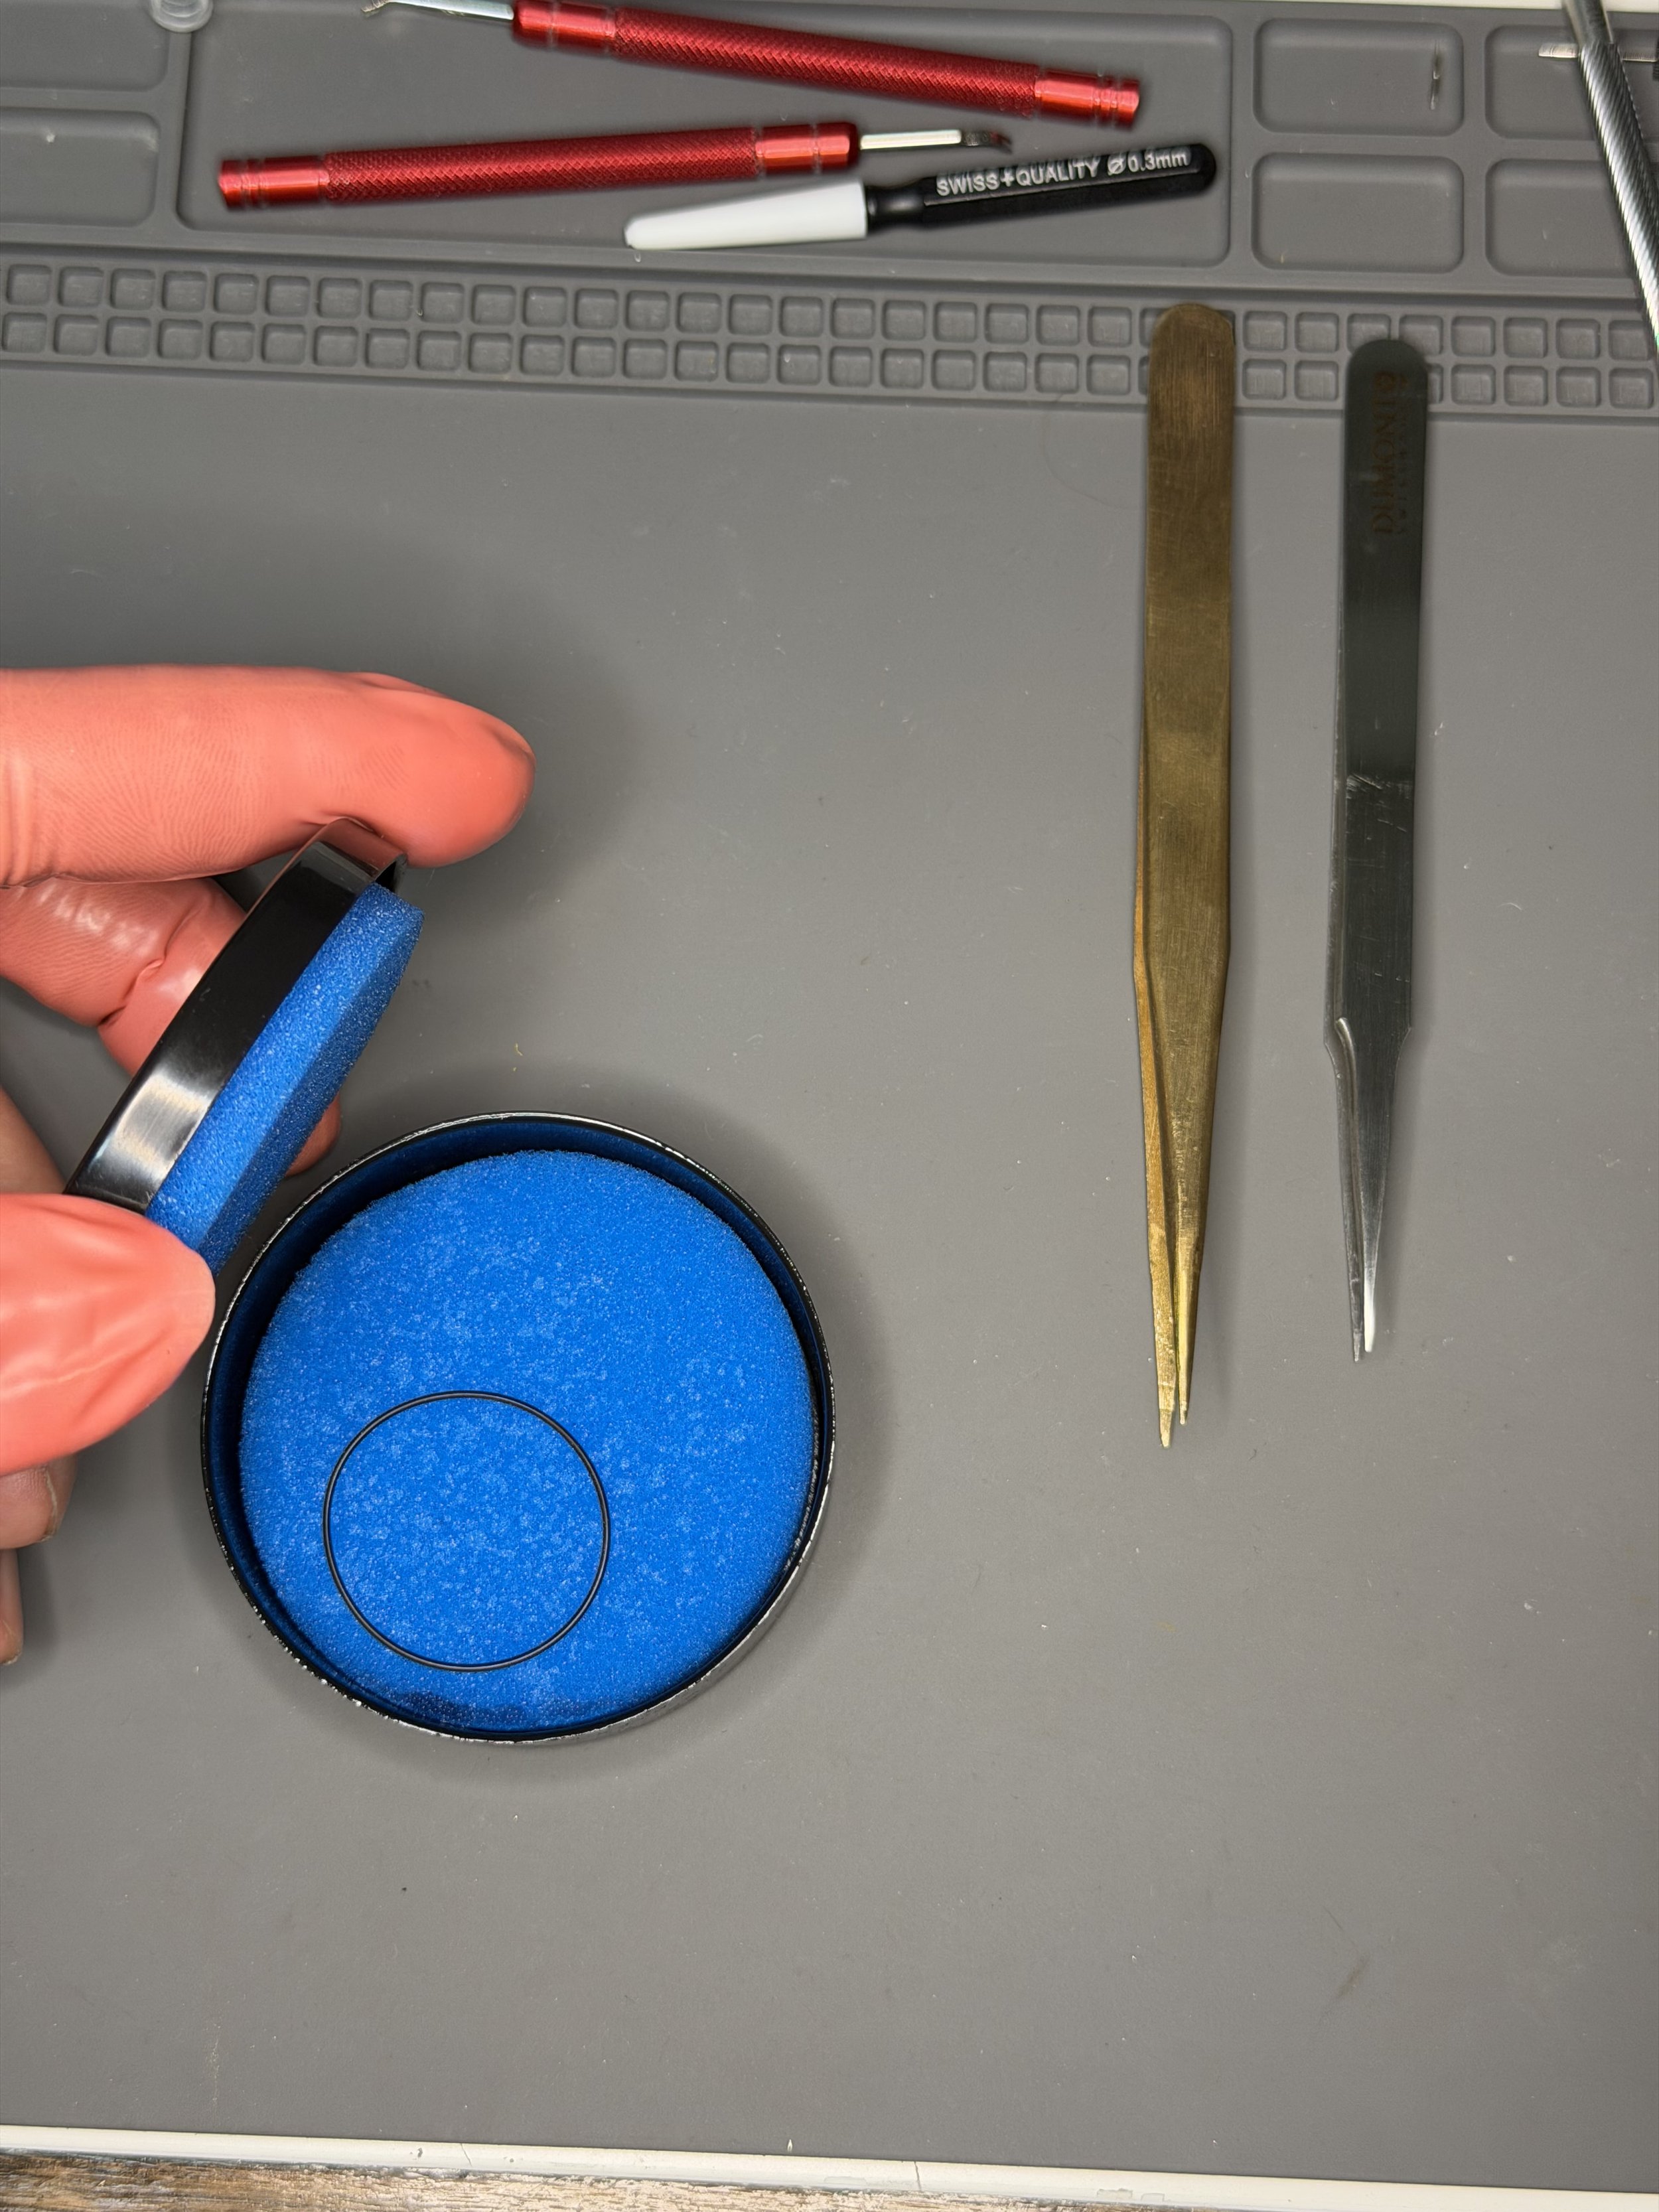
Lubricating the gasket
And finally, a bunch of strap pairings
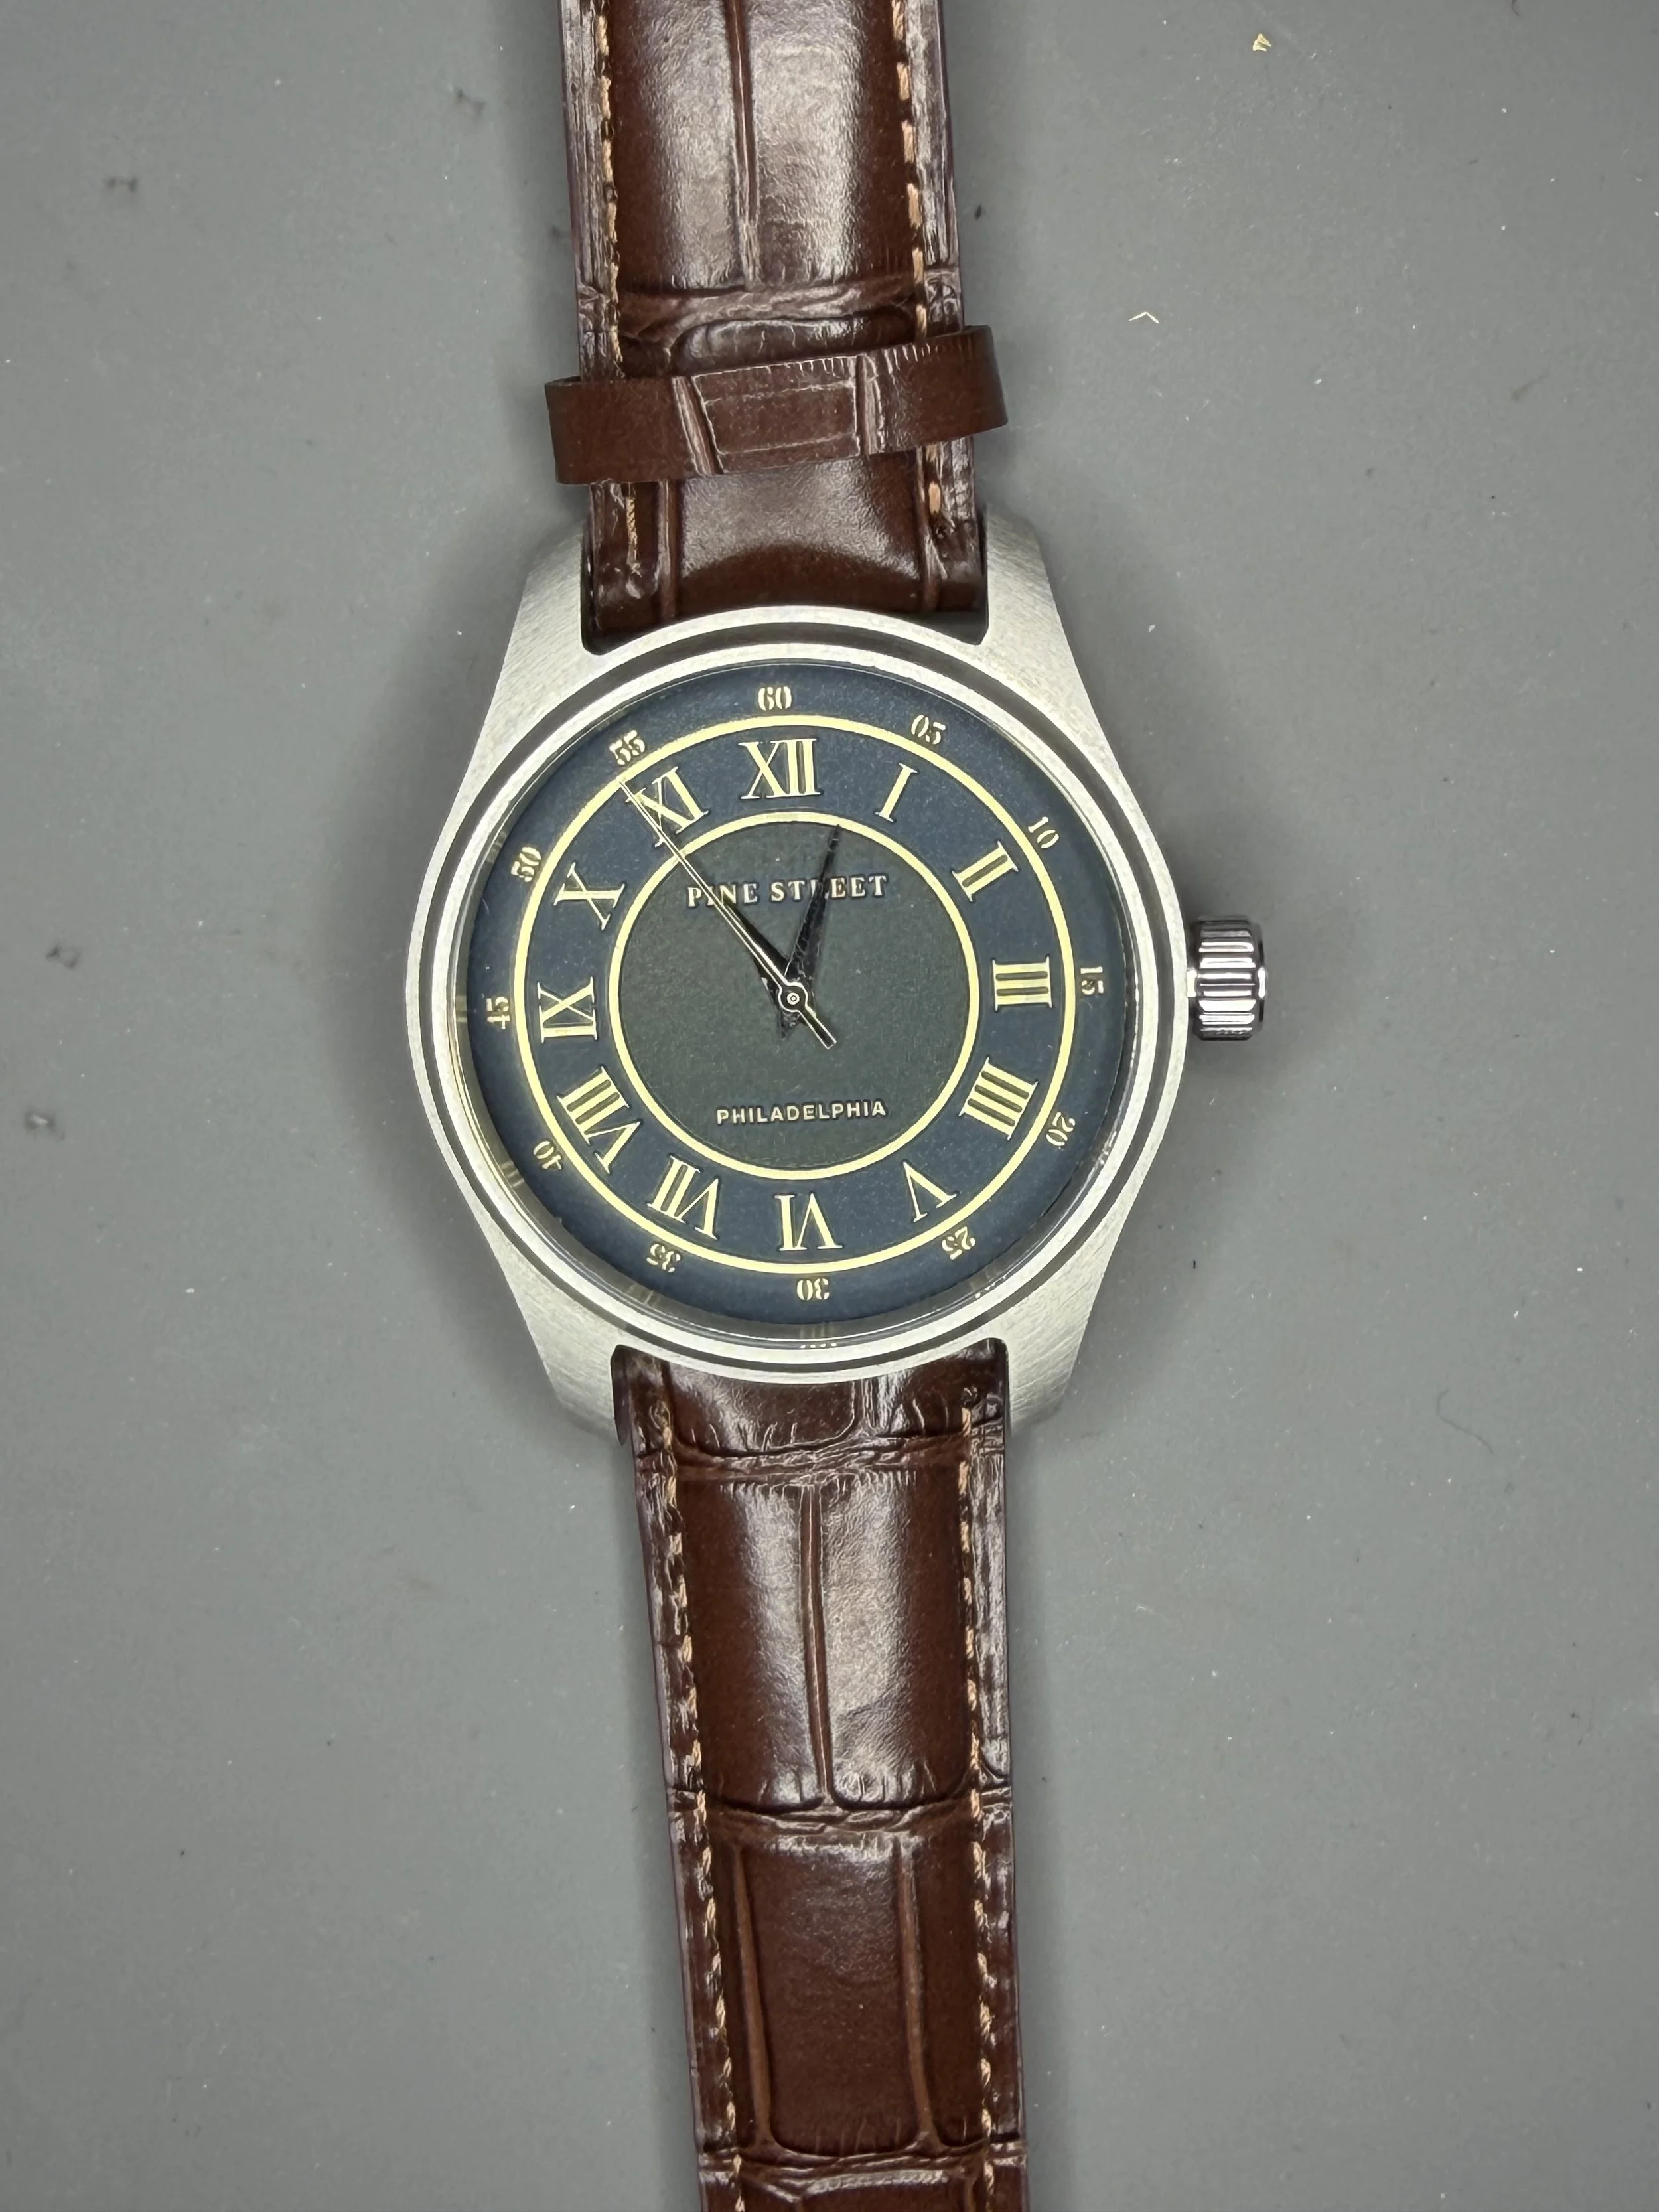
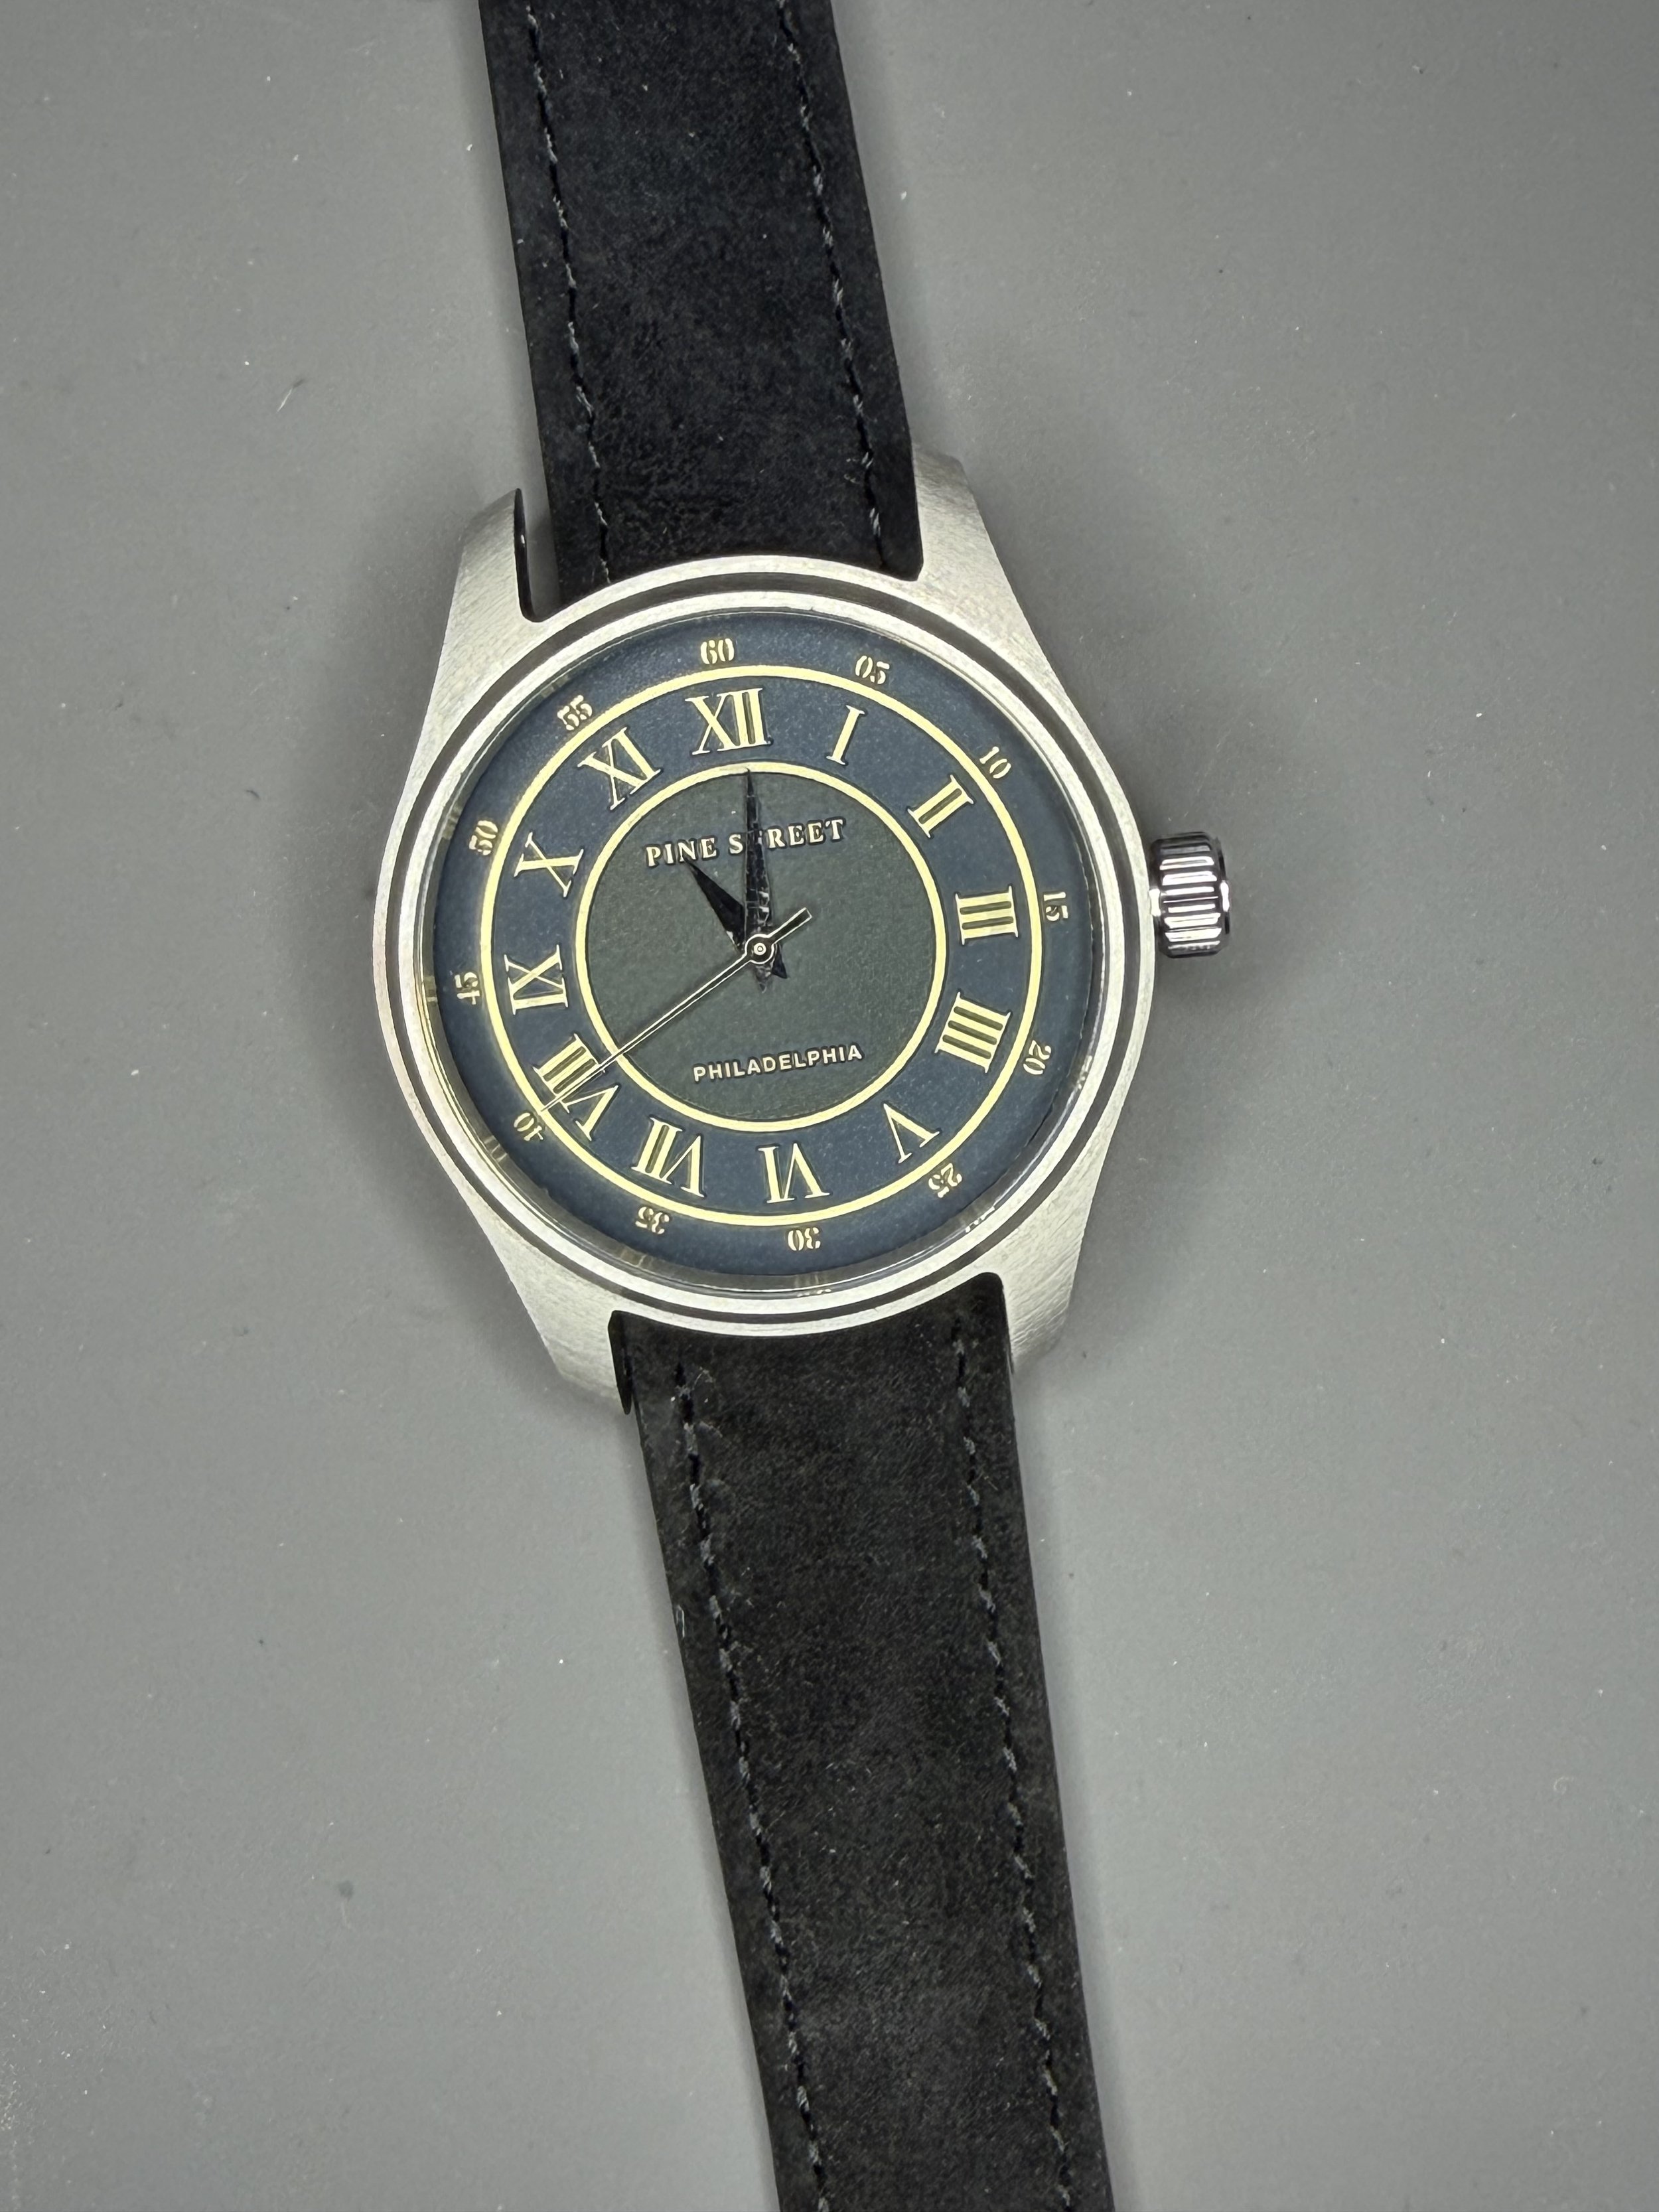
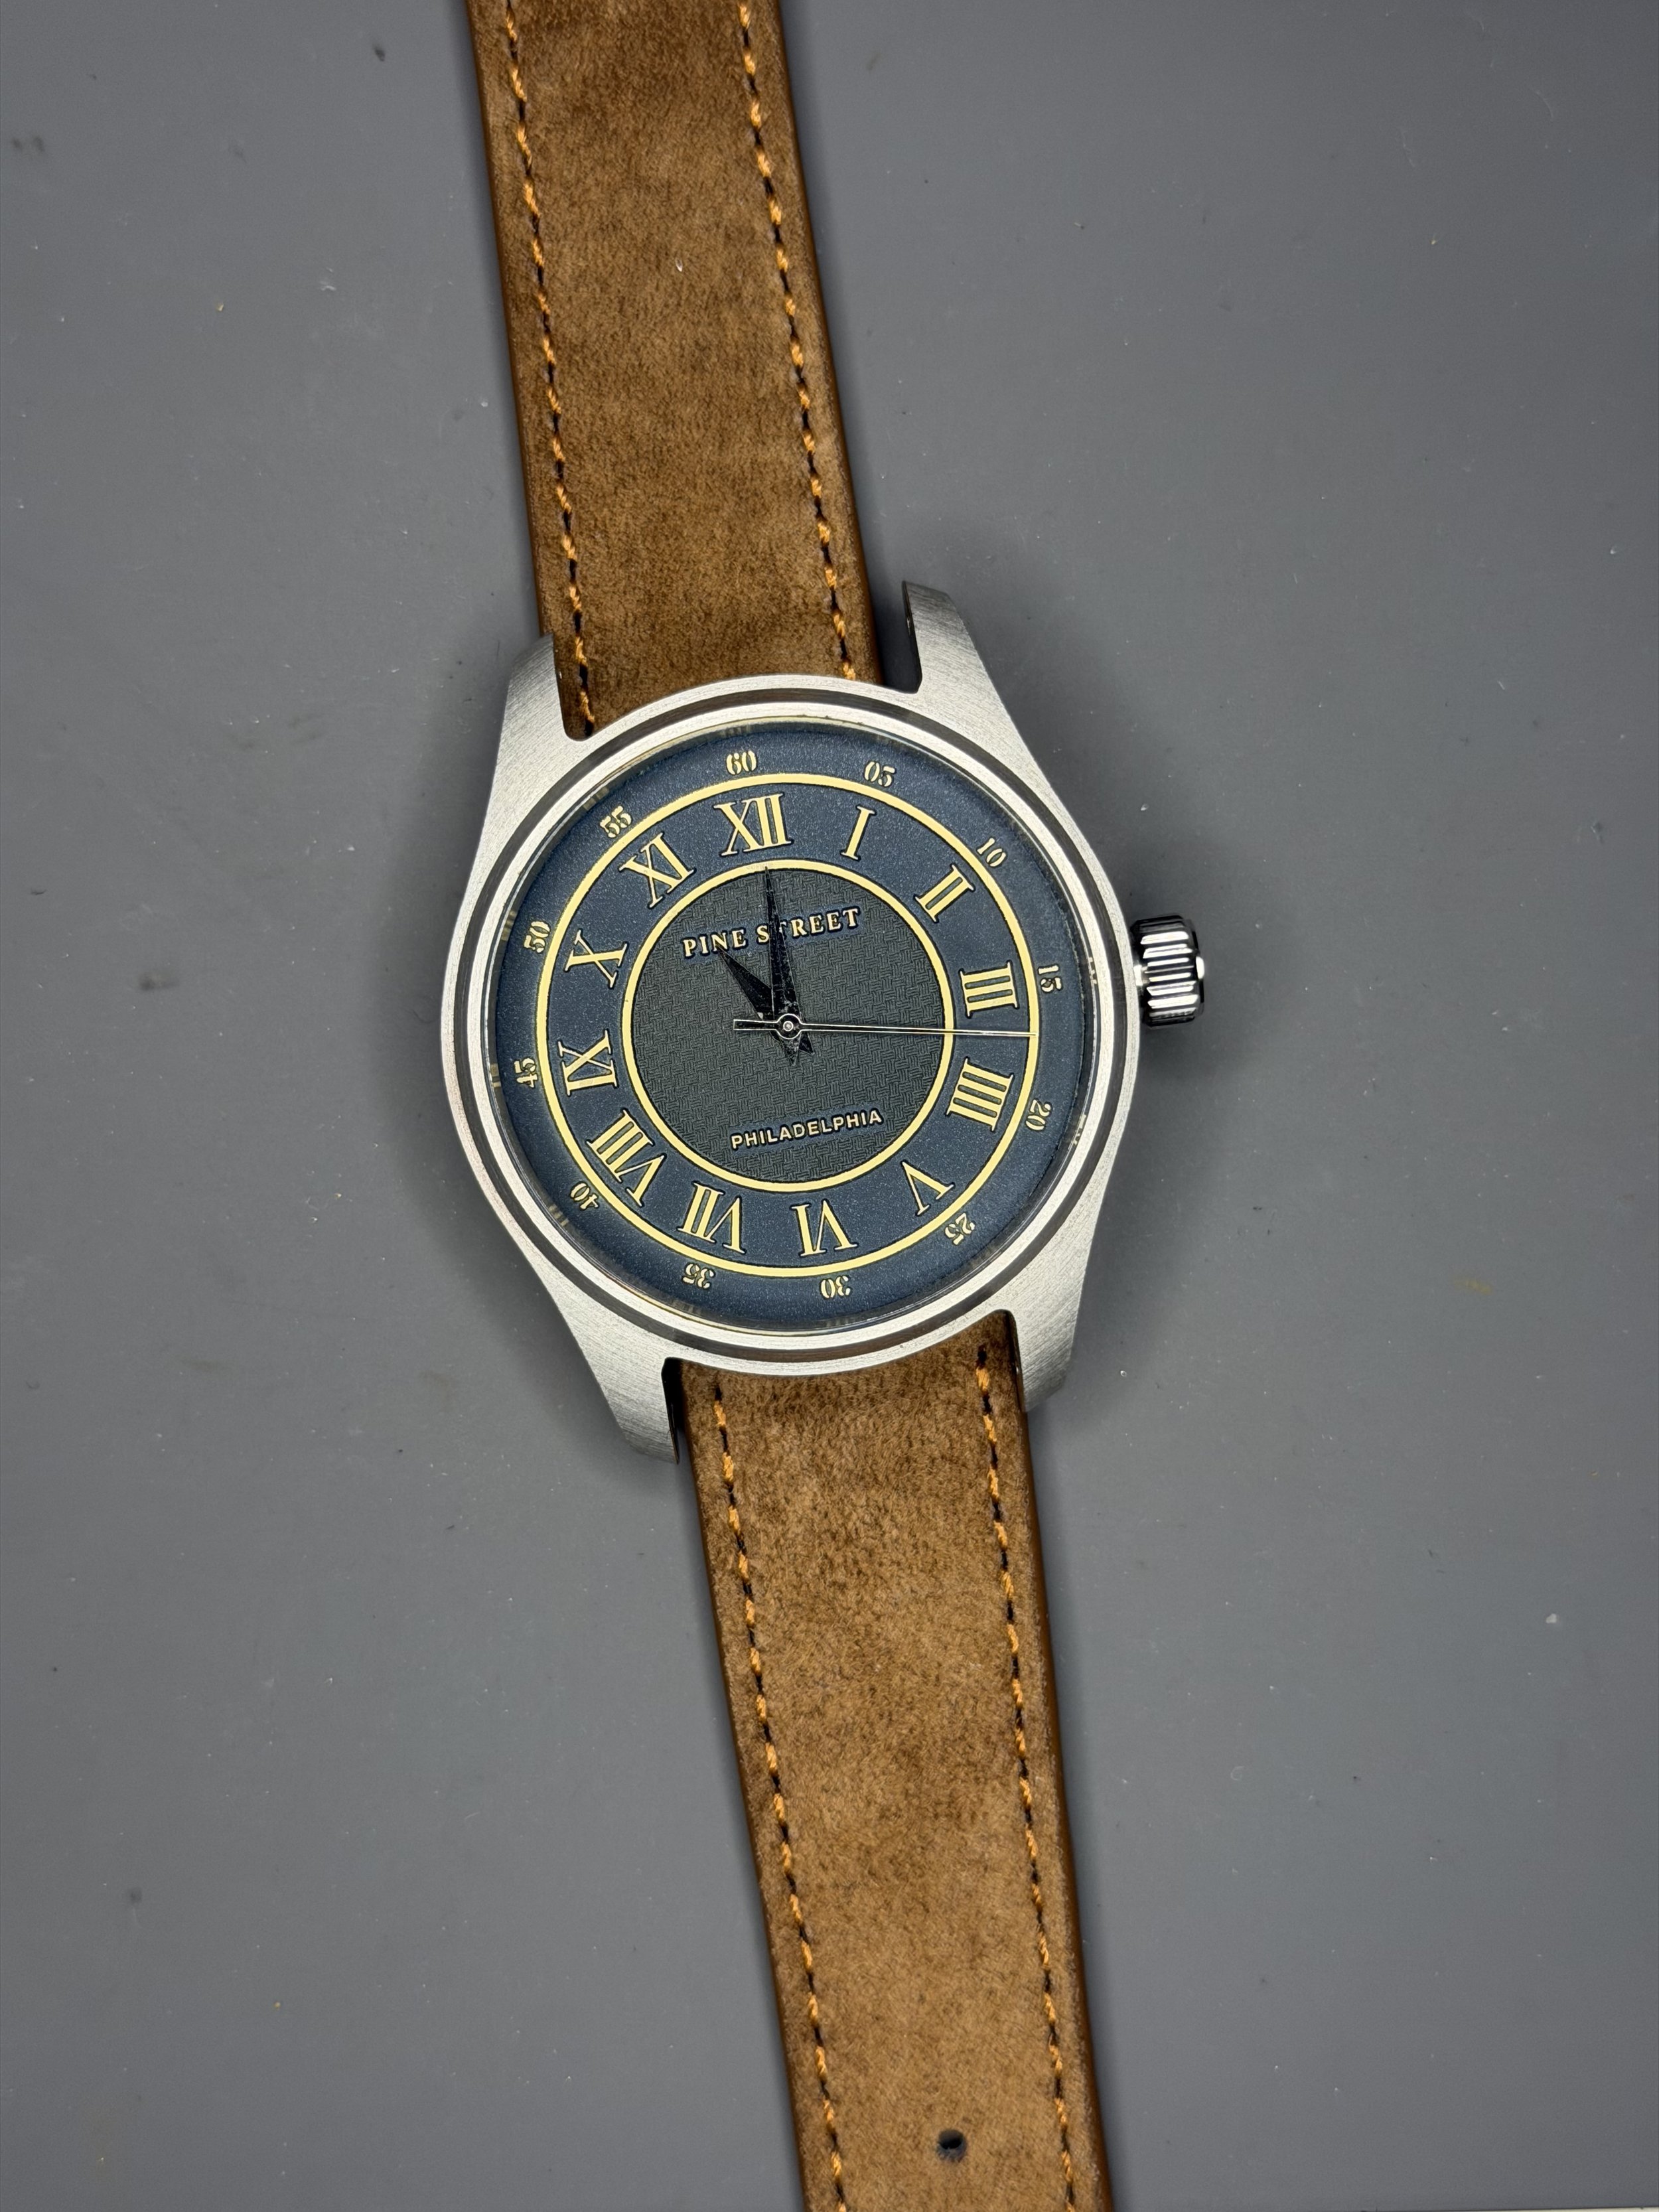
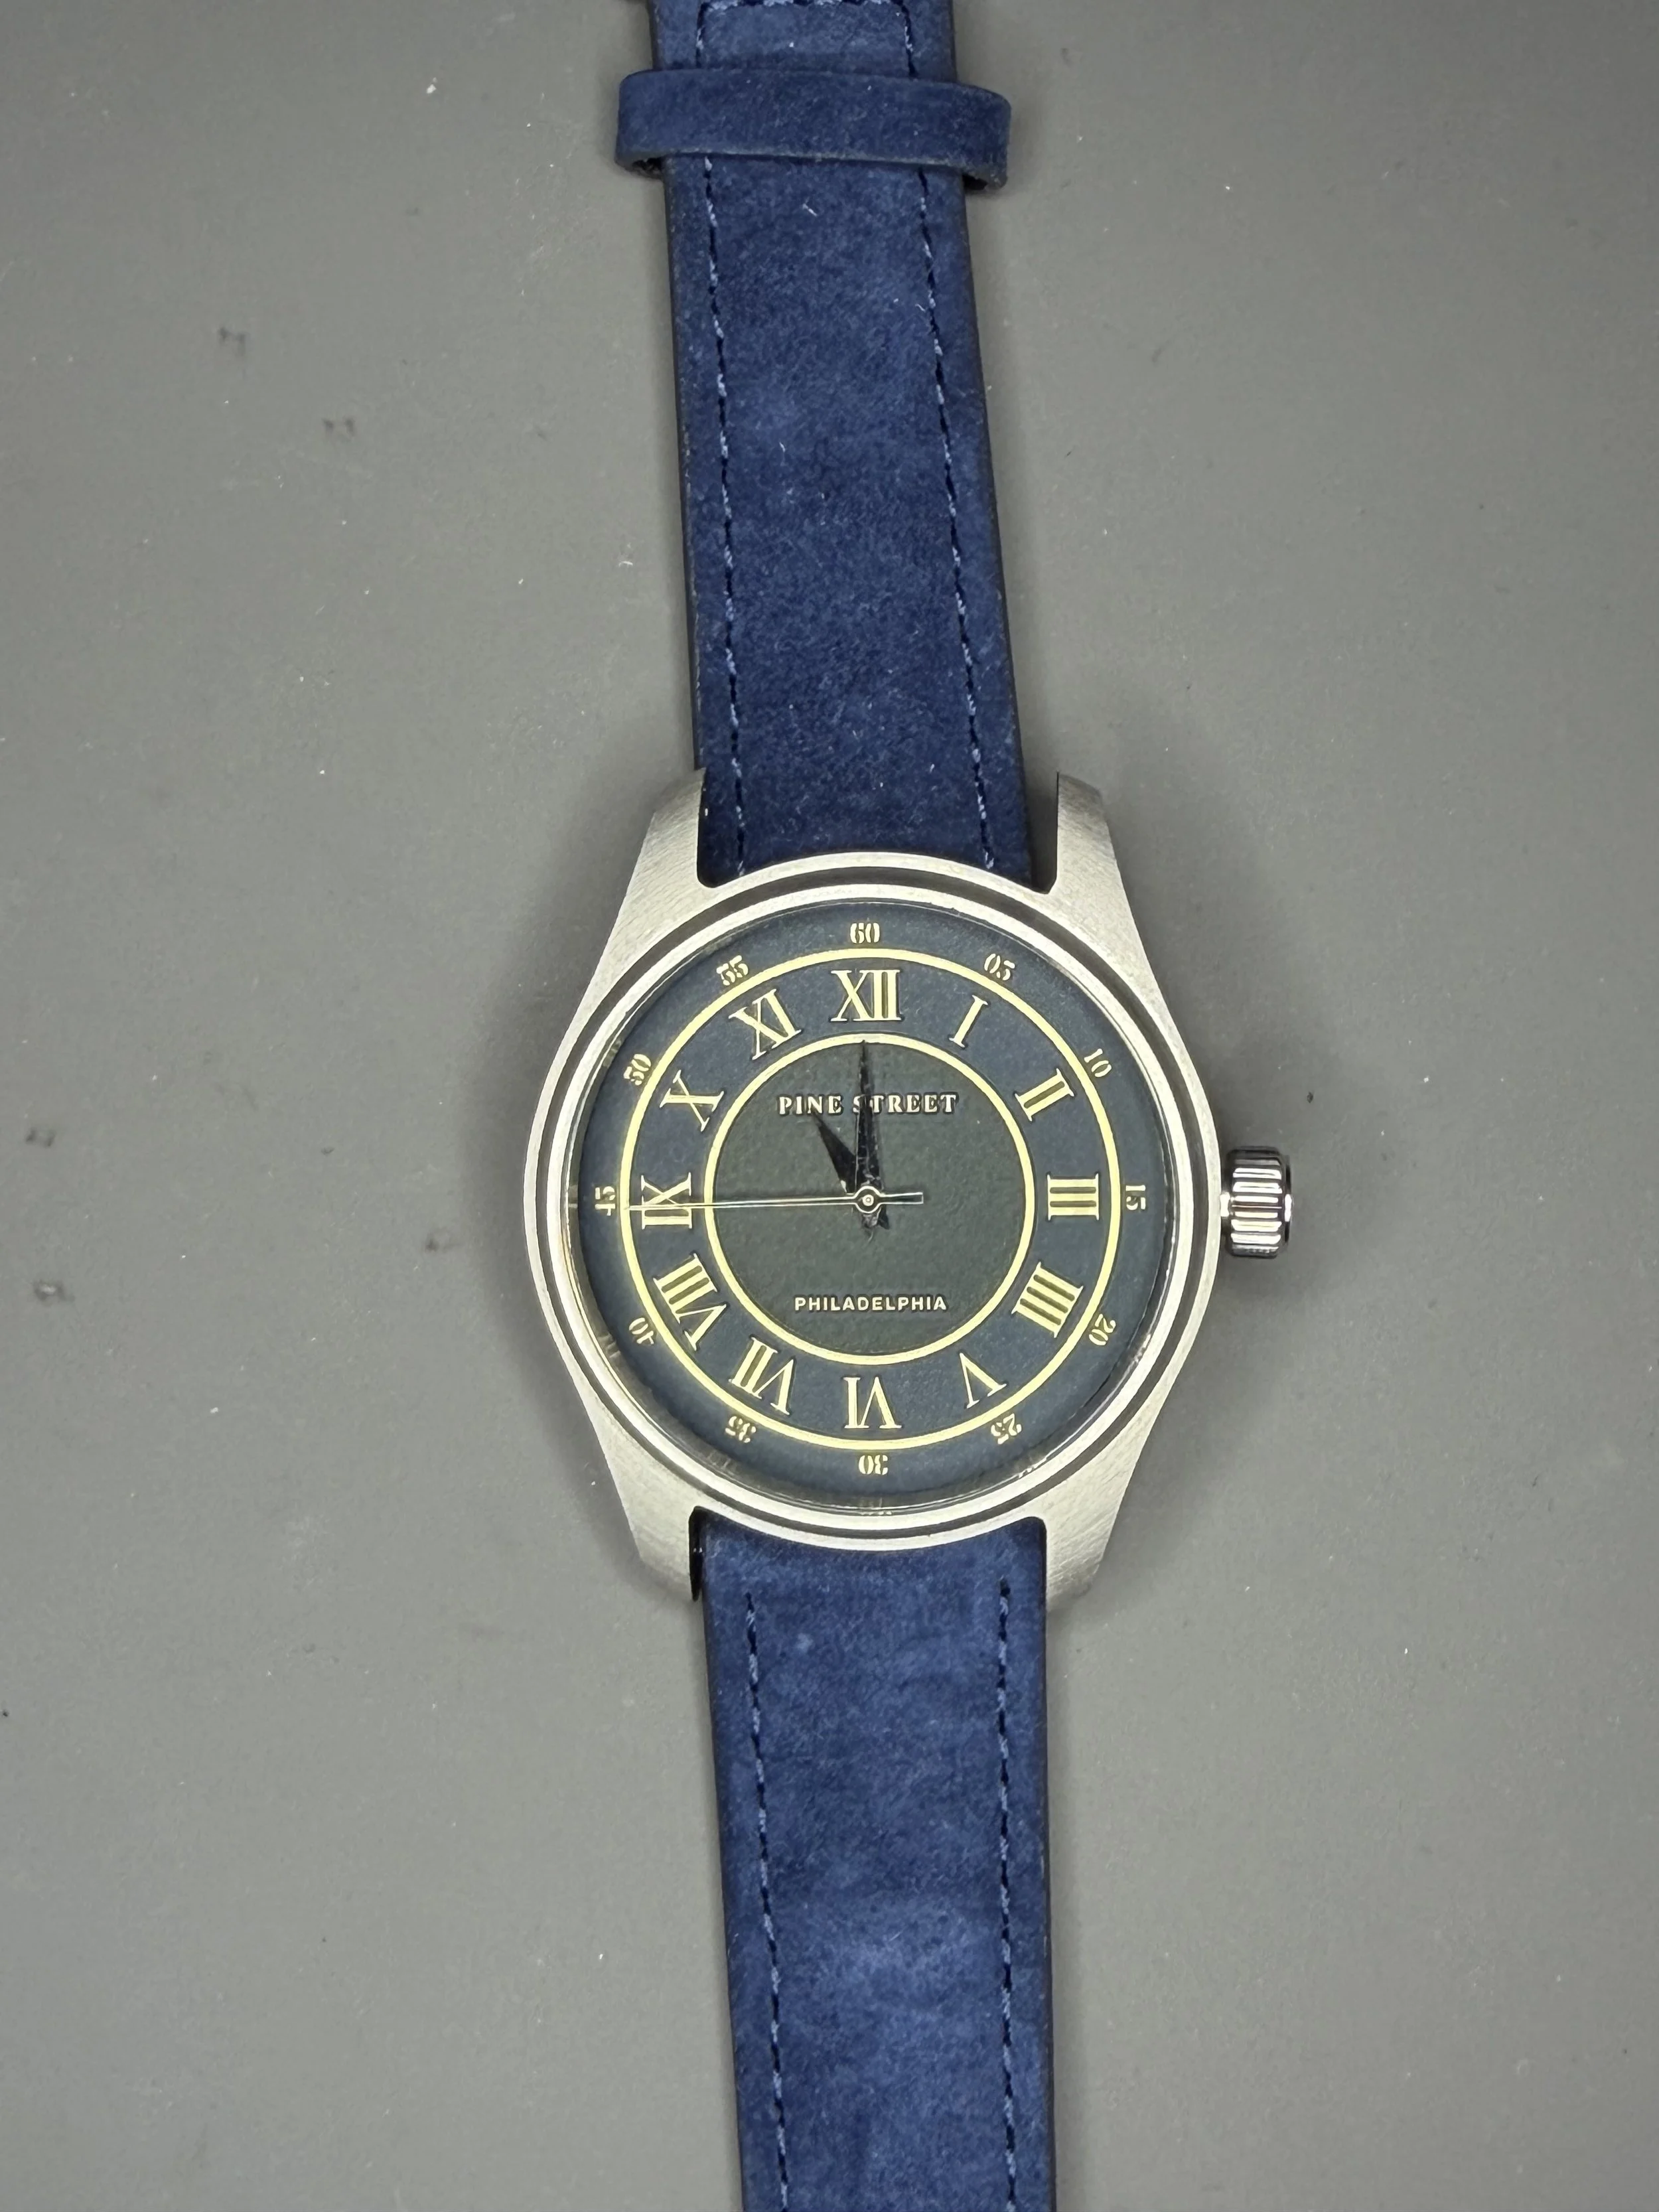
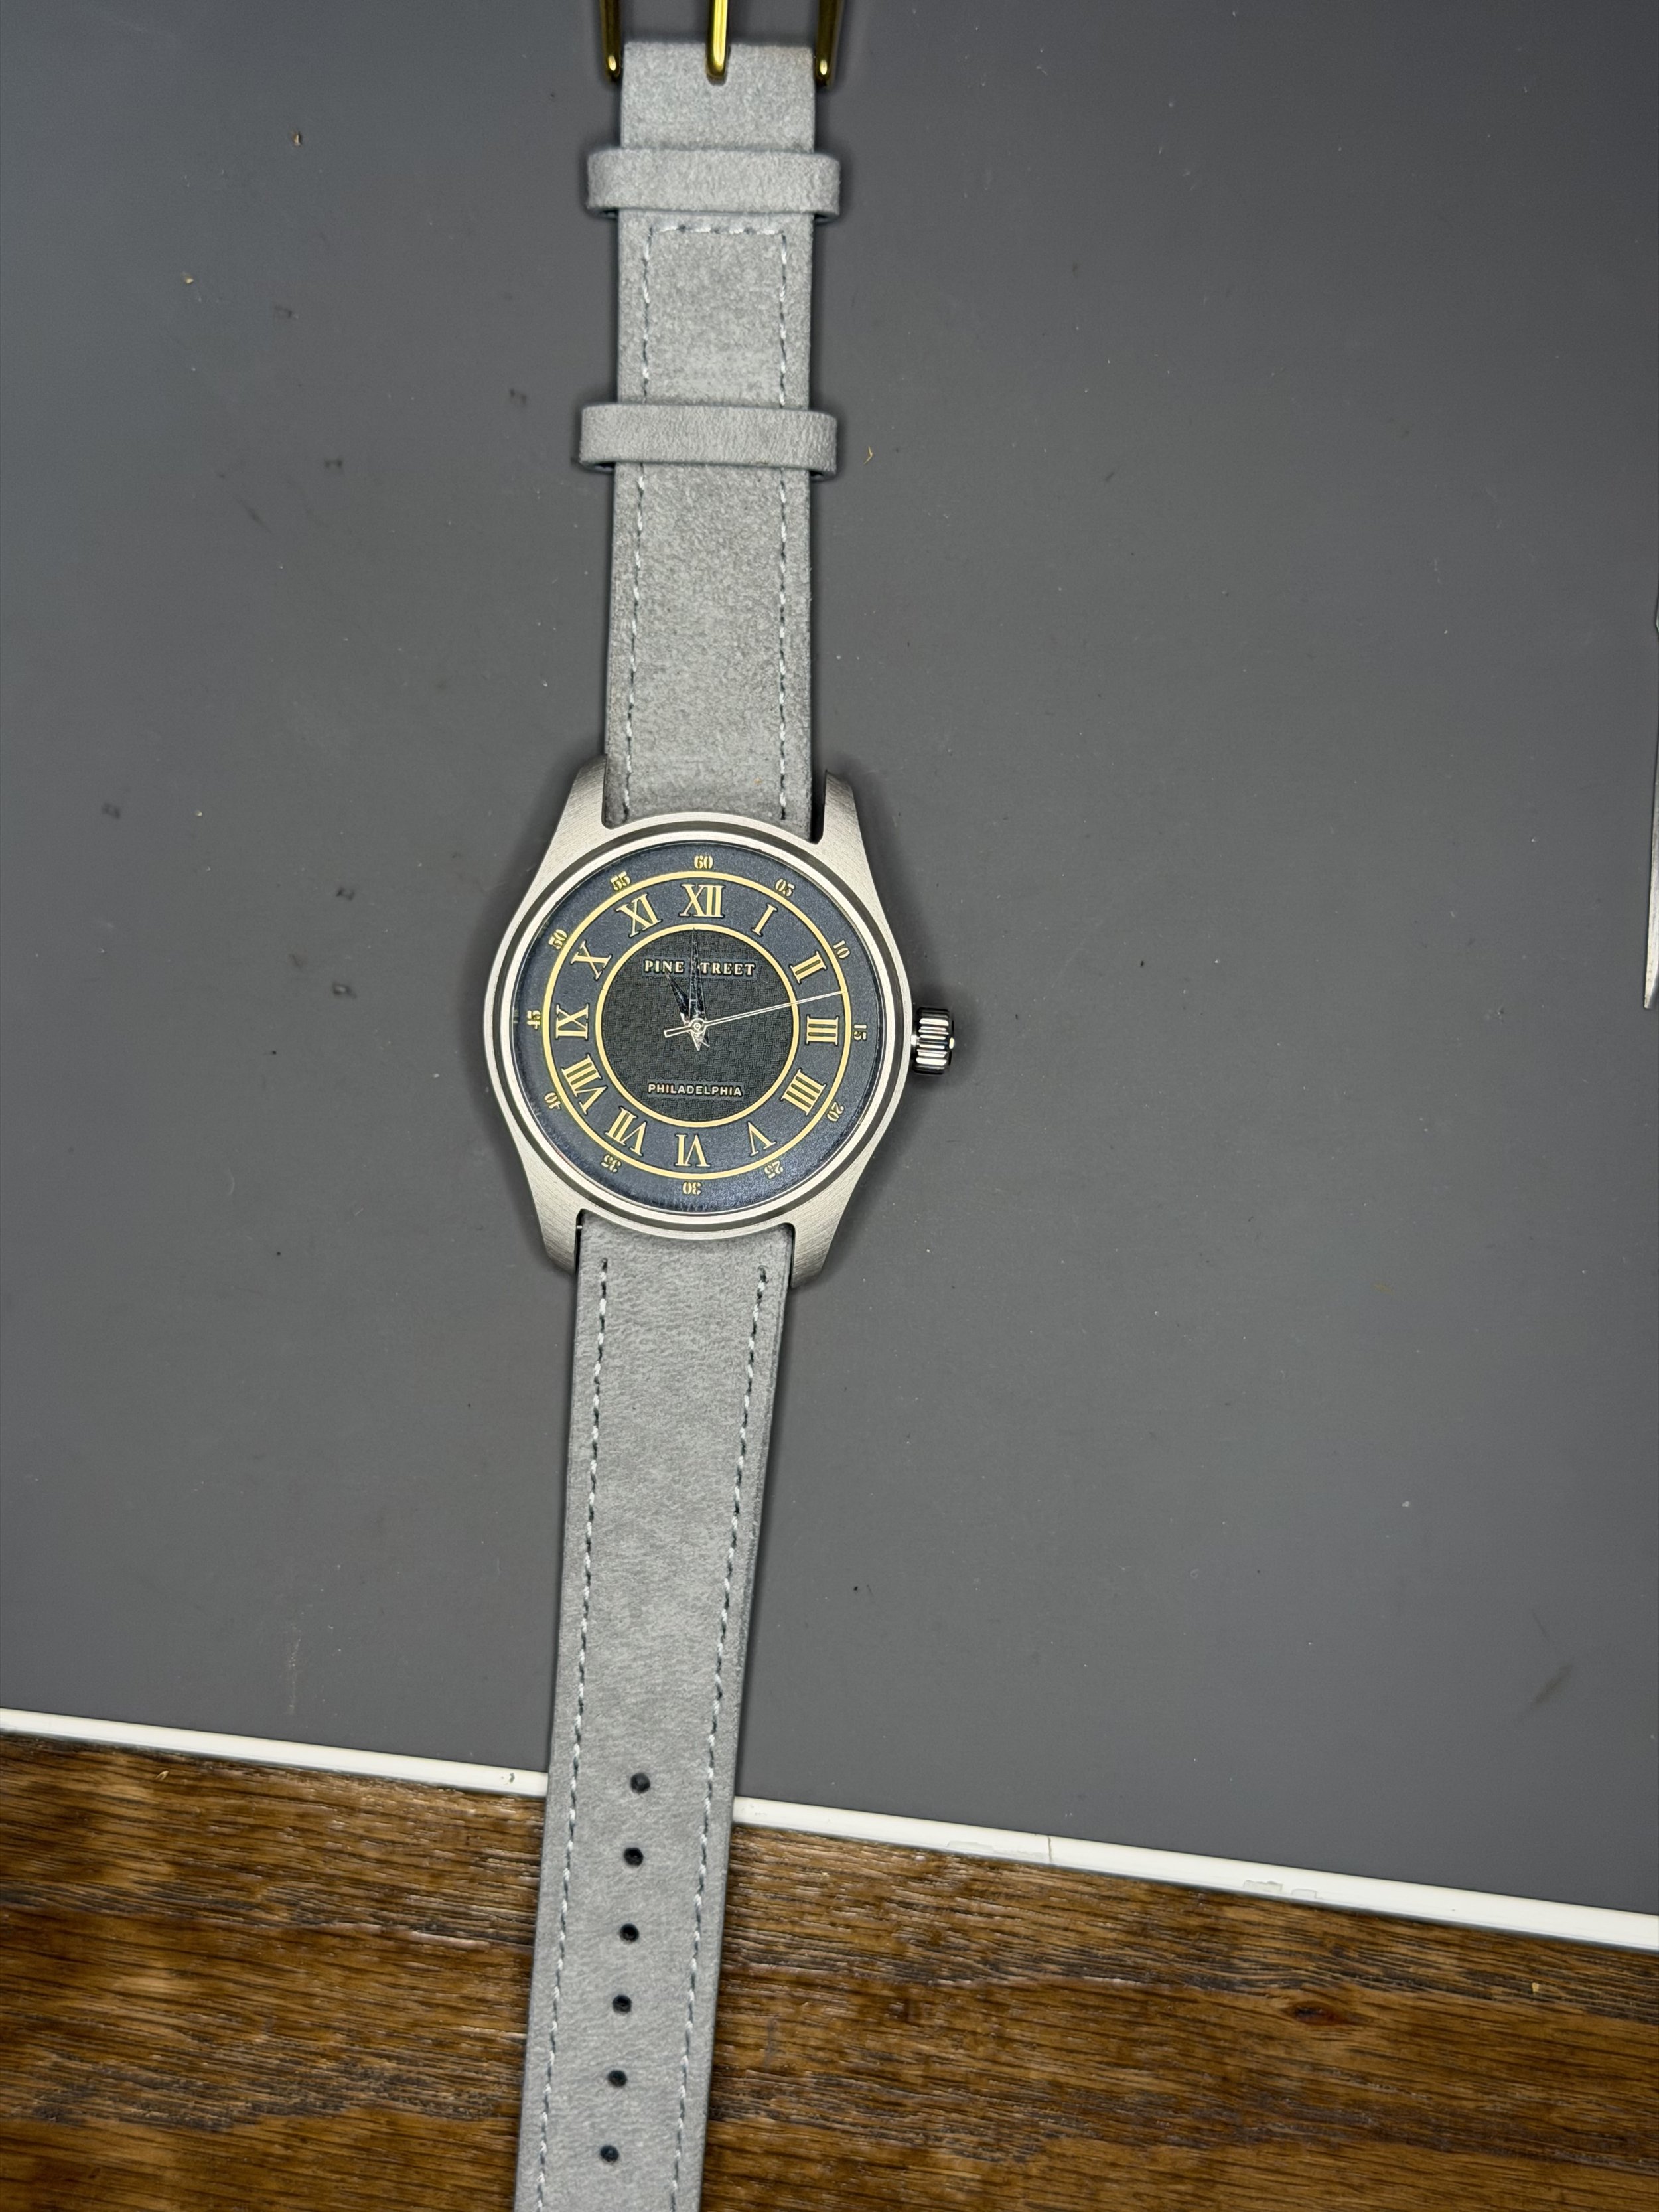
Overall, I'm really happy with where this landed. I can see that with a few more tweaks — the clear coat chief among them — and some process improvements, I'm going to end up with a watch I'm legitimately happy to own, not just happy to have finished.
But honestly, the bigger thing is this: sticking with the frustrations and watching something come out of your own imagination and into your hands is just cool. Every dial that doesn't work, every clear coat that scratches off makes me appreciate, even more, the people who are truly great at this. Watchmaking pulls together such a wide, strange range of skills… metalwork, chemistry, design, precision mechanics, patience, the list goes on. The ones who can wield all of it at once are doing something genuinely rare and deeply impressive.
More soon.